メインコンテンツにスキップ
リペアコミュニティに参加 - アカウントの作成

RYDIS H68 Pro Wheel Replacement

必要な工具と部品

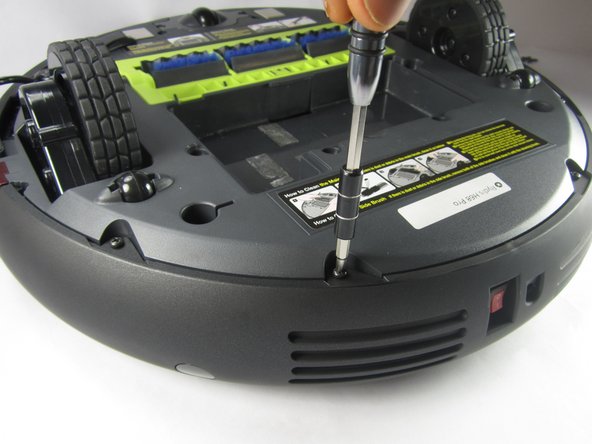
    1. RYDIS H68 Pro Wheel  Replacement, Battery: 手順 1、 2の画像 1 RYDIS H68 Pro Wheel  Replacement, Battery: 手順 1、 2の画像 2
      • Flip the vacuum over so that the wheels are facing you.

      • Use a Phillips #1 screwdriver to remove the four 10 mm screws that surround the battery cover.

      FixBotに聞いてみる

      コメントを追加

    2. RYDIS H68 Pro Wheel  Replacement: 手順 2、 1の画像 1
      • Lift the battery cover up to reveal the battery.

      • Remove the battery.

      FixBotに聞いてみる

      コメントを追加

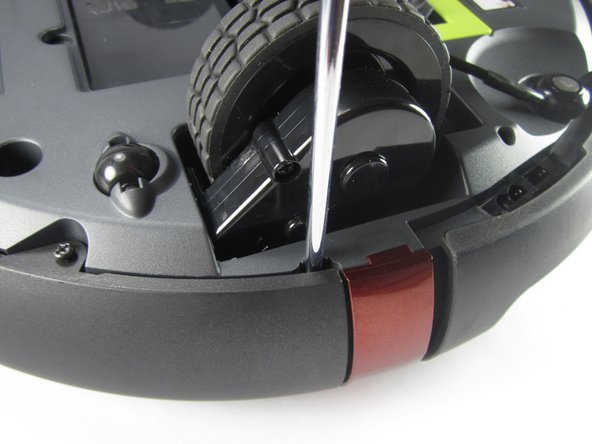
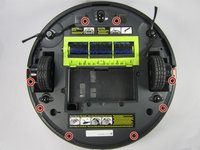
    1. RYDIS H68 Pro Wheel  Replacement, Bumper: 手順 3、 3の画像 1 RYDIS H68 Pro Wheel  Replacement, Bumper: 手順 3、 3の画像 2 RYDIS H68 Pro Wheel  Replacement, Bumper: 手順 3、 3の画像 3
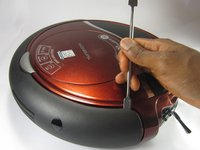
      • Remove the eight 10 mm Phillips #1 screws.

      FixBotに聞いてみる

      コメントを追加

    2. RYDIS H68 Pro Wheel  Replacement: 手順 4、 3の画像 1 RYDIS H68 Pro Wheel  Replacement: 手順 4、 3の画像 2 RYDIS H68 Pro Wheel  Replacement: 手順 4、 3の画像 3
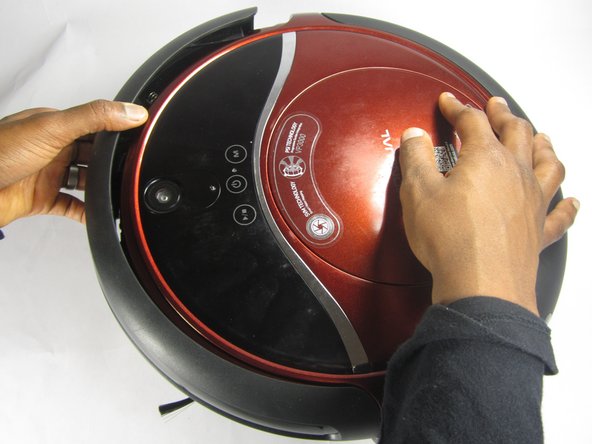
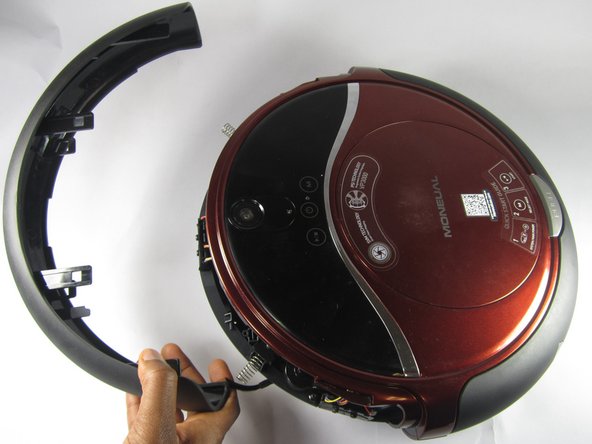
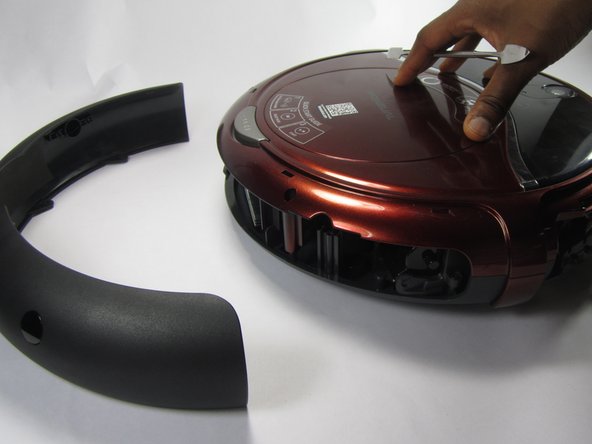
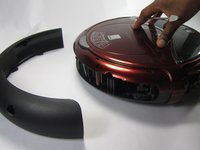
      • Hold the front bumper and pull it off.

      • It requires a lot of force to pull the bumper off.

      FixBotに聞いてみる

      コメントを追加

    3. RYDIS H68 Pro Wheel  Replacement: 手順 5、 3の画像 1 RYDIS H68 Pro Wheel  Replacement: 手順 5、 3の画像 2 RYDIS H68 Pro Wheel  Replacement: 手順 5、 3の画像 3
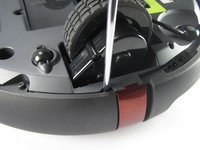
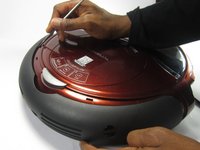
      • Pry off the back bumper by going around the entire top of the bumper with the metal spudger.

      FixBotに聞いてみる

      コメントを追加

    1. RYDIS H68 Pro Wheel  Replacement, Wheel assembly: 手順 6、 1の画像 1
      • Remove three 10mm Philips #1 screws that are securing the wheel assembly.

      FixBotに聞いてみる

      コメントを追加

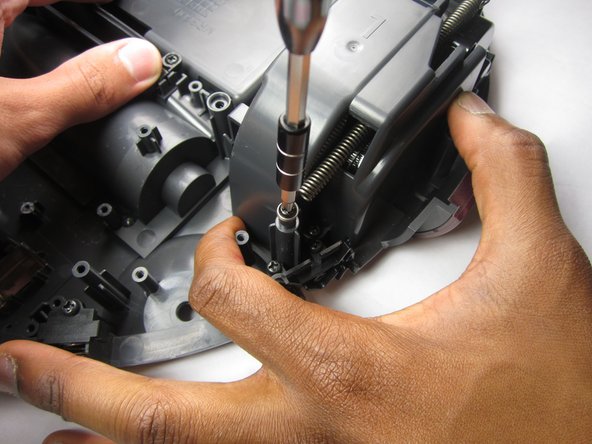
    2. RYDIS H68 Pro Wheel  Replacement: 手順 7、 2の画像 1 RYDIS H68 Pro Wheel  Replacement: 手順 7、 2の画像 2
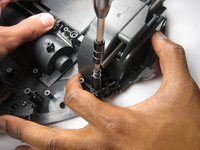
      • Remove the 10mm Phillips #1 screw securing the spring.

      • Then undo the spring from the plastic hook to completely remove it from the wheel assembly.

      FixBotに聞いてみる

      コメントを追加

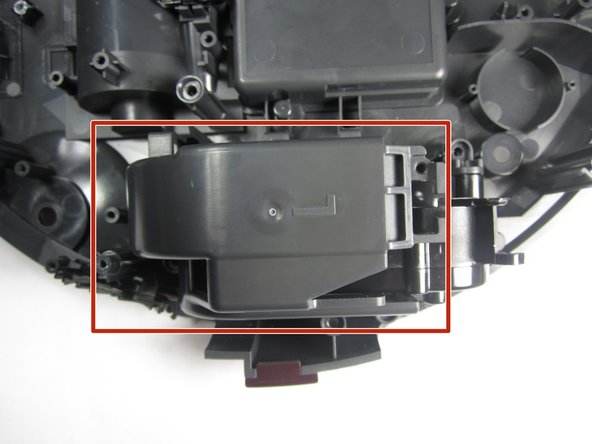
    3. RYDIS H68 Pro Wheel  Replacement: 手順 8、 3の画像 1 RYDIS H68 Pro Wheel  Replacement: 手順 8、 3の画像 2 RYDIS H68 Pro Wheel  Replacement: 手順 8、 3の画像 3
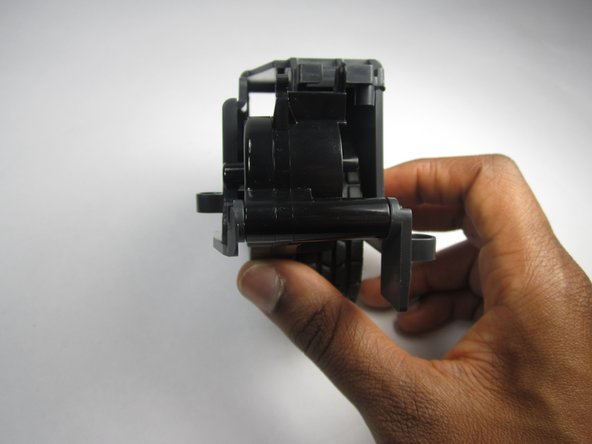
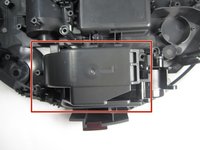
      • Lift up on the plastic piece to remove the entire wheel assembly.

      FixBotに聞いてみる

      コメントを追加

    4. RYDIS H68 Pro Wheel  Replacement: 手順 9、 3の画像 1 RYDIS H68 Pro Wheel  Replacement: 手順 9、 3の画像 2 RYDIS H68 Pro Wheel  Replacement: 手順 9、 3の画像 3
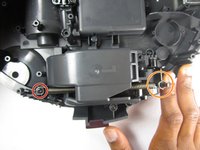
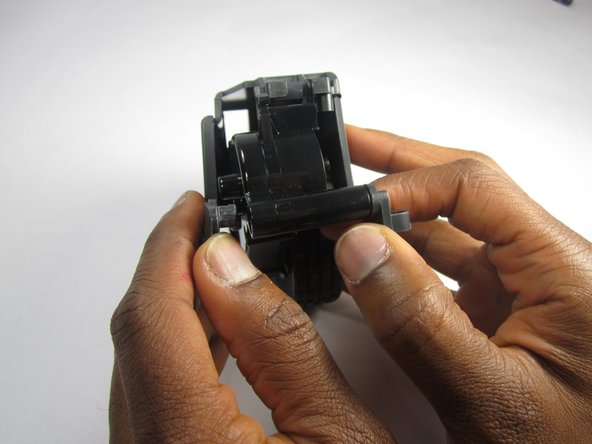
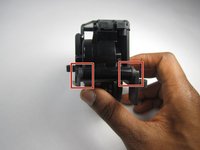
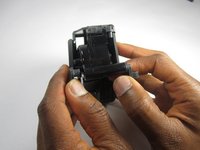
      • Remove the plastic frame by pulling outward on the two spots where it is fastened.

      FixBotに聞いてみる

      コメントを追加

    5. RYDIS H68 Pro Wheel  Replacement: 手順 10、 2の画像 1 RYDIS H68 Pro Wheel  Replacement: 手順 10、 2の画像 2
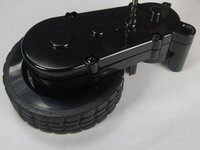
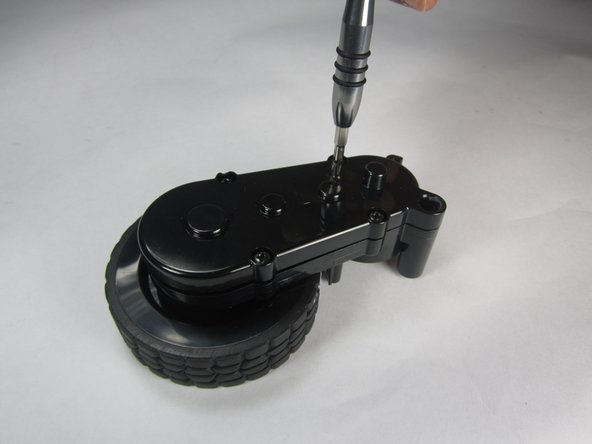
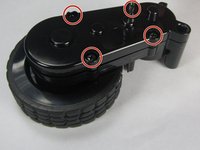
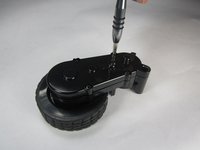
      • Remove the four 10mm Phillips #1 screws around the edges of the cover.

      FixBotに聞いてみる

      コメントを追加

    6. RYDIS H68 Pro Wheel  Replacement: 手順 11、 3の画像 1 RYDIS H68 Pro Wheel  Replacement: 手順 11、 3の画像 2 RYDIS H68 Pro Wheel  Replacement: 手順 11、 3の画像 3
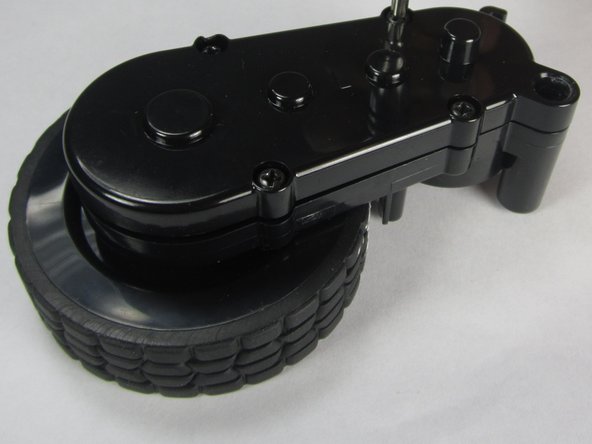
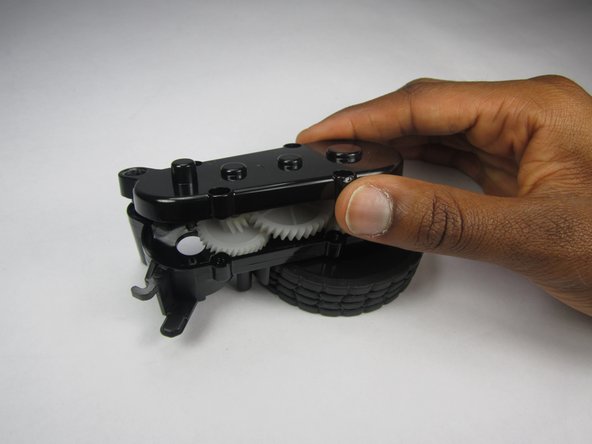
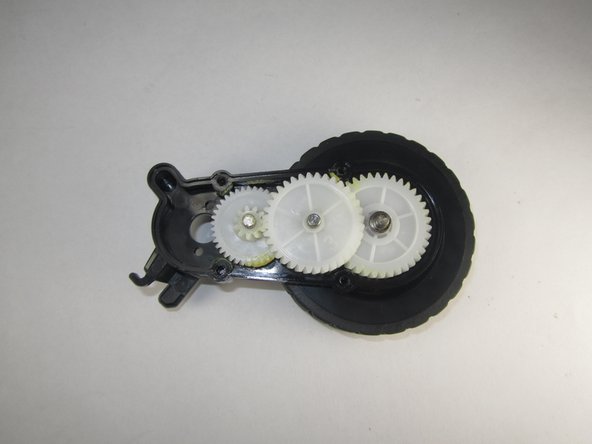
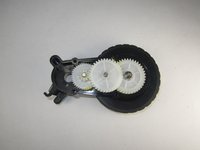
      • Lift up on the top cover to remove it.

      • Removing the top cover reveals the gear system consisting of three gears.

      FixBotに聞いてみる

      コメントを追加

終わりに

To reassemble your device, follow these instructions in reverse order.

キャンセル: このガイドを終了できませんでした。

作成者

3人の作成者と共同で作成されました。

Shawn O'Meara

メンバー登録日: 02/27/17

101 ポイント

1ガイドが承認済み

チーム

USFT-Lacy-S17S005G2 USFT-Lacy-S17S005G2人のメンバー

Local Repair Groups

4 メンバー

15のガイドは作成済み

0件のガイドコメント

コメントを追加

統計データ:

過去 24時間: 3

過去 7 日: 6

過去 30 日: 30

今までの合計 691