はじめに
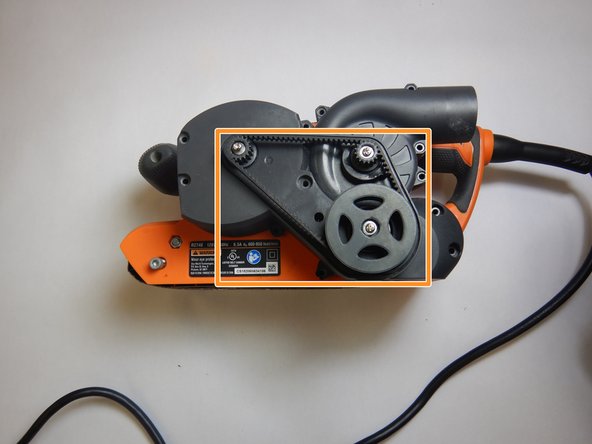
This guide is designed to walk you through step-by-step procedures on how to replace the motherboard on a RIDGID Belt Sander R2740. A damaged motherboard can result in abnormal function of the device or device failure. Motherboard failure can occur due to dust, overheating, and a buildup in debris.
Before working on the RIDGID Belt Sander make sure the power tool is unplugged or disconnected from any power source. Failure to do so may result in electrocution or personal injury while removing the sandbelt. Make sure to read through this guide for additional information before beginning the replacement of the RIDGID Belt Sander R2740 motherboard.
必要な工具と部品


To reassemble your device, follow these instructions in reverse order.
To reassemble your device, follow these instructions in reverse order.
ある他の人がこのガイドを完成しました。

チーム

The Citadel Military College of South Carolina, Team S2-G2, Eggleston Fall 2019 The Citadel Military College of South Carolina, Team S2-G2, Eggleston Fall 2019人のメンバー
CMCSC-EGGLESTON-F19S2G2
3 メンバー
3のガイドは作成済み