はじめに
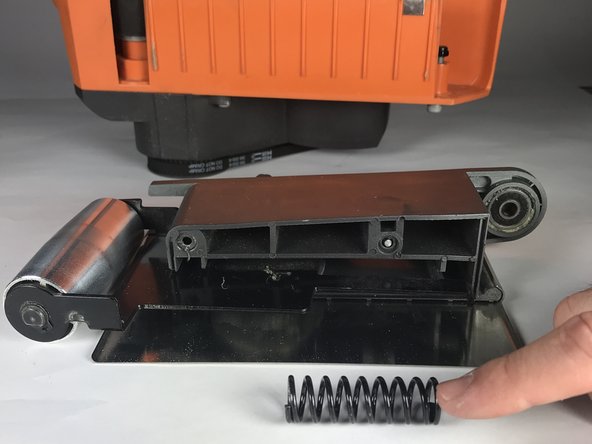
The tension lever is a small handle located on the right side of the belt sander if the power cord is pointing towards you. The lever is connected to a spring that dictates the tension for the removal and replacement of sand paper. Over time, the spring that is located behind the tension lever will wear down and cause the tension lever to malfunction. This guide will help in the replacement of the tension lever spring with a T20 Torx Screwdriver.
必要な工具と部品
-
-
Turn the belt sander so that the RIDGID logo is facing you.
-
Flip the tension lever to the open position so that the tension on the spring is released.
-
Remove any sandpaper that is on the belt sander.
-
-


To reassemble your device, follow these instructions in reverse order.
To reassemble your device, follow these instructions in reverse order.
3 の人々がこのガイドを完成させました。
チーム

Oregon Institute of Technology, Team S1-G1, Lancaster Winter 2019 Oregon Institute of Technology, Team S1-G1, Lancaster Winter 2019人のメンバー
OIT-LANCASTER-W19S1G1
4 メンバー
6のガイドは作成済み