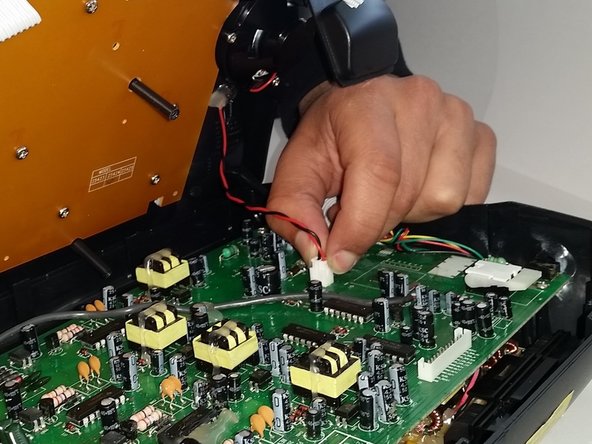
メインコンテンツにスキップ

RCA ViSYS 25424RE1 Speaker Replacement

必要な工具と部品

  1. RCA ViSYS 25424RE1 Speaker Replacement, Base: 手順 1、 3の画像 1 RCA ViSYS 25424RE1 Speaker Replacement, Base: 手順 1、 3の画像 2 RCA ViSYS 25424RE1 Speaker Replacement, Base: 手順 1、 3の画像 3
    • Remove the eight 11mm screws found on the bottom side of the base with a Phillips #00 screwdriver.

  2. RCA ViSYS 25424RE1 Speaker Replacement: 手順 2、 3の画像 1 RCA ViSYS 25424RE1 Speaker Replacement: 手順 2、 3の画像 2 RCA ViSYS 25424RE1 Speaker Replacement: 手順 2、 3の画像 3
    • Use a plastic opening tool to separate the back and front pieces.

    • Gently remove the back cover, because the wires are connected to each piece.

  3. RCA ViSYS 25424RE1 Speaker Replacement: 手順 3、 3の画像 1 RCA ViSYS 25424RE1 Speaker Replacement: 手順 3、 3の画像 2 RCA ViSYS 25424RE1 Speaker Replacement: 手順 3、 3の画像 3
    • Unclip the wires that connect the front piece to the circuit board on the back piece.

  4. RCA ViSYS 25424RE1 Speaker Replacement, Speaker: 手順 4、 3の画像 1 RCA ViSYS 25424RE1 Speaker Replacement, Speaker: 手順 4、 3の画像 2 RCA ViSYS 25424RE1 Speaker Replacement, Speaker: 手順 4、 3の画像 3
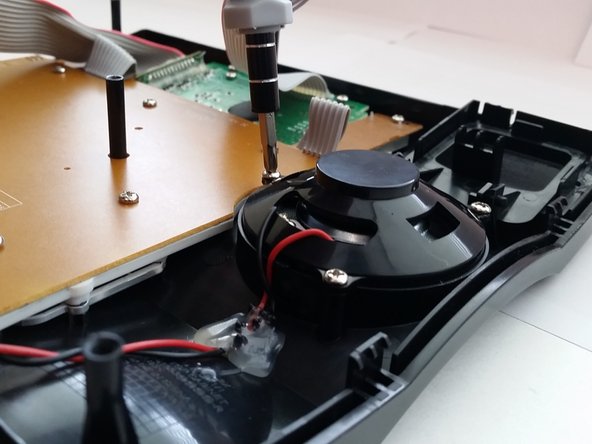
    • Use a Phillips #00 screwdriver to remove the three 11mm screws to separate the speaker from its base.

  5. RCA ViSYS 25424RE1 Speaker Replacement: 手順 5、 2の画像 1 RCA ViSYS 25424RE1 Speaker Replacement: 手順 5、 2の画像 2
    この手順で使用する道具:
    Tweezers
    $4.99
    購入する
    • Once the screws are taken out, use tweezers to remove the hot glue from the wires.

    • Be careful when removing the hot glue to ensure that the wires remain intact.

終わりに

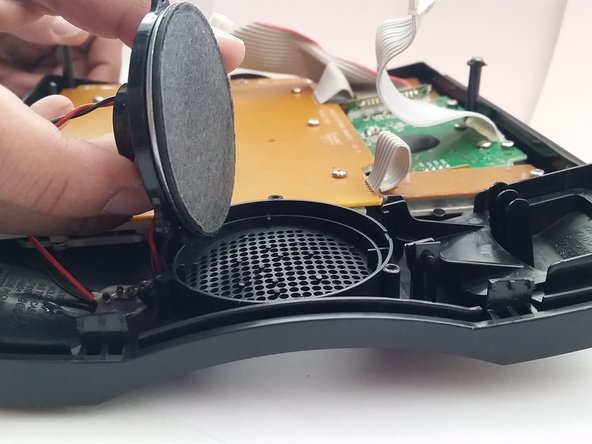
To reassemble your device, follow these instructions in reverse order.

作成者

5人の作成者と共同で作成されました。

Mit Patel

メンバー登録日: 01/27/15

255 ポイント

2のガイドは作成済み

チーム

Penn State, Team 1-17, Kaschak Winter 2015 Penn State, Team 1-17, Kaschak Winter 2015人のメンバー

PSU-KASCHAK-W15S1G17

4 メンバー

6のガイドは作成済み

0 件のコメント

コメントを追加

統計データ:

過去 24時間: 2

過去 7 日: 3

過去 30 日: 15

今までの合計 411