メインコンテンツにスキップ
リペアコミュニティに参加 - アカウントの作成

RCA RP3715A Tuning Wheel Replacement

必要な工具と部品

    1. RCA RP3715A Tuning Wheel Replacement, Reaching the battery terminal.: 手順 1、 2の画像 1 RCA RP3715A Tuning Wheel Replacement, Reaching the battery terminal.: 手順 1、 2の画像 2
      • Push down on the clip to release pressure. The pull off the plastic cover.

      FixBotに聞いてみる

      コメントを追加

    2. RCA RP3715A Tuning Wheel Replacement, Replacing the battery: 手順 2、 1の画像 1
      • Remove the 9-volt battery from the battery terminal.

      FixBotに聞いてみる

      コメントを追加

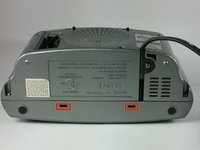
    1. RCA RP3715A Tuning Wheel Replacement, Getting inside the device.: 手順 3、 1の画像 1
      • Take out the six screws located on the back of the device.

      • The red screws are 10 mm Phillip's #1. The orange screws are 13 mm Phillips #1.

      • Three screws are located on the back panel. One is located inside the battery carriage.

      • Two screws are located on the on the back panel on the bottom left and right side.

      FixBotに聞いてみる

      コメントを追加

    2. RCA RP3715A Tuning Wheel Replacement, Relieve extension cord tension.: 手順 4、 3の画像 1 RCA RP3715A Tuning Wheel Replacement, Relieve extension cord tension.: 手順 4、 3の画像 2 RCA RP3715A Tuning Wheel Replacement, Relieve extension cord tension.: 手順 4、 3の画像 3
      • Remove the 10 mm Phillip's #1 screw.

      • Then remove the metal reinforcement.

      FixBotに聞いてみる

      コメントを追加

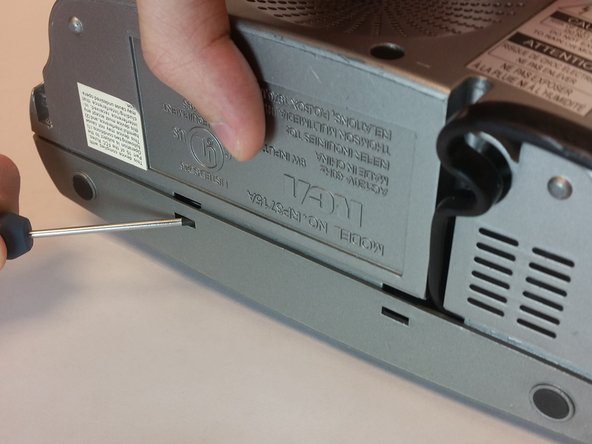
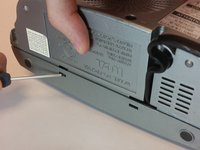
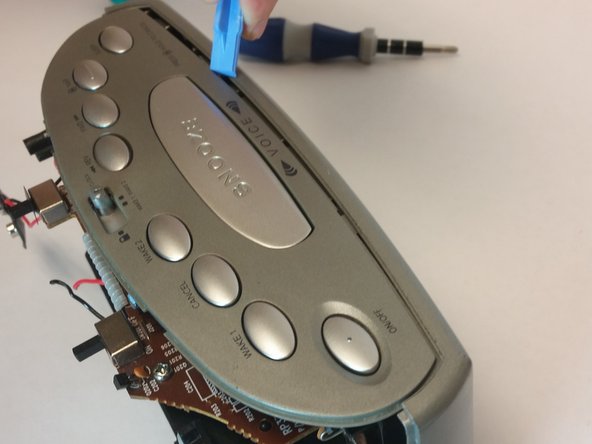
    3. RCA RP3715A Tuning Wheel Replacement: 手順 5、 2の画像 1 RCA RP3715A Tuning Wheel Replacement: 手順 5、 2の画像 2
      • Using flathead screwdriver undo the release tabs.

      FixBotに聞いてみる

      コメントを追加

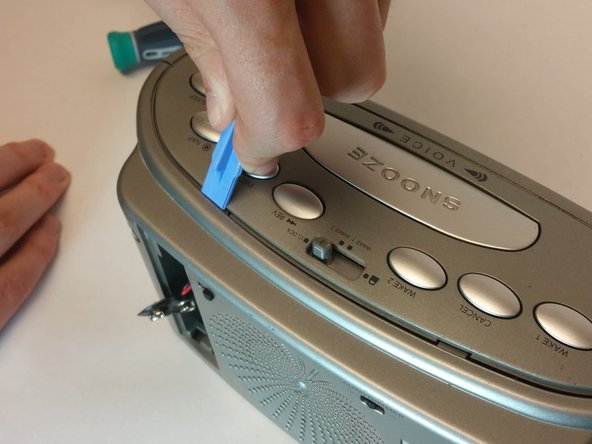
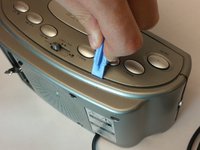
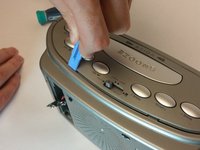
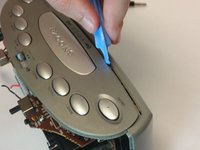
    4. RCA RP3715A Tuning Wheel Replacement: 手順 6、 3の画像 1 RCA RP3715A Tuning Wheel Replacement: 手順 6、 3の画像 2 RCA RP3715A Tuning Wheel Replacement: 手順 6、 3の画像 3
      • Pry the release tabs with a spudger.

      • Start with back of the device on the topside.

      FixBotに聞いてみる

      コメントを追加

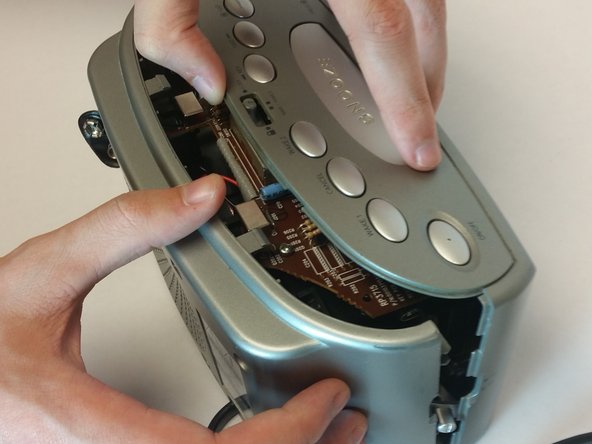
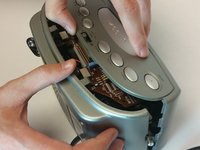
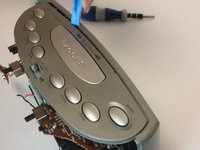
    5. RCA RP3715A Tuning Wheel Replacement: 手順 7、 2の画像 1 RCA RP3715A Tuning Wheel Replacement: 手順 7、 2の画像 2
      • Pry open both tabs to remove the topside of the clock.

      FixBotに聞いてみる

      コメントを追加

    6. RCA RP3715A Tuning Wheel Replacement, Speaker Replacement: 手順 8、 1の画像 1
      • Remove the two 10mm Phillip's #1 screws. Also remove the two reinforcements holding the speaker in place.

      FixBotに聞いてみる

      コメントを追加

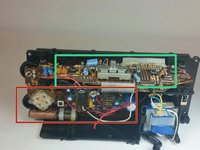
    1. RCA RP3715A Tuning Wheel Replacement, Motherboard: 手順 9、 2の画像 1 RCA RP3715A Tuning Wheel Replacement, Motherboard: 手順 9、 2の画像 2
      • asd

      FixBotに聞いてみる

      コメントを追加

    2. RCA RP3715A Tuning Wheel Replacement, Removing the top part of motherboard: 手順 10、 1の画像 1
      • Remove the top 5 10mm Phillips #1 screws holding the top part of the motherboard

      FixBotに聞いてみる

      コメントを追加

    3. RCA RP3715A Tuning Wheel Replacement, Removing the side part of motherboard: 手順 11、 1の画像 1
      • Remove the 5 10mm Phillip's #1 screws that holding side part of the motherboard

      FixBotに聞いてみる

      コメントを追加

    4. RCA RP3715A Tuning Wheel Replacement: 手順 12、 1の画像 1
      • Remove the transformer by pulling back the release tab shown.

      FixBotに聞いてみる

      コメントを追加

    5. RCA RP3715A Tuning Wheel Replacement: 手順 13、 1の画像 1
      • Pull the battery terminal through the whole shown.

      FixBotに聞いてみる

      コメントを追加

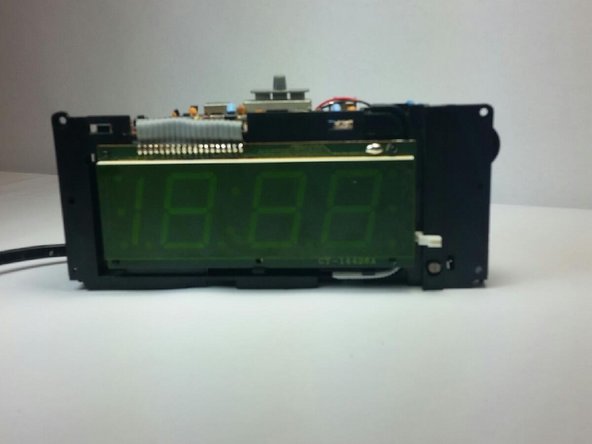
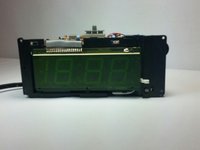
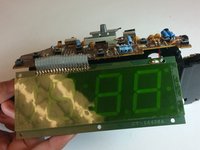
    6. RCA RP3715A Tuning Wheel Replacement, Lift the digital screen: 手順 14、 1の画像 1
      • First release the latch highlighted in the picture. Then grab the screen by the bottom and lift it up.

      FixBotに聞いてみる

      コメントを追加

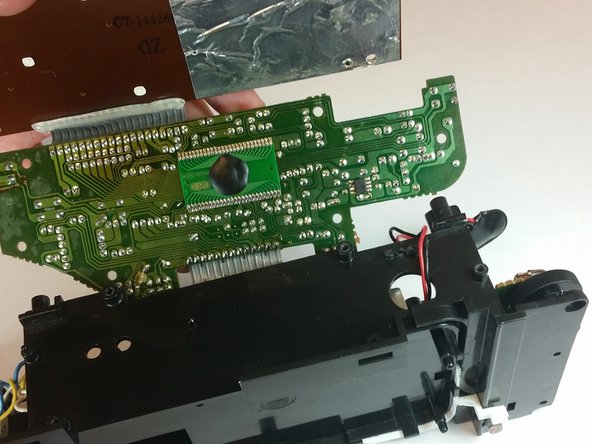
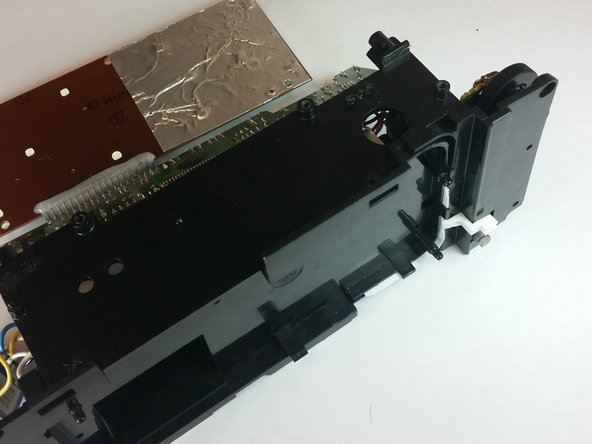
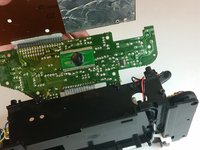
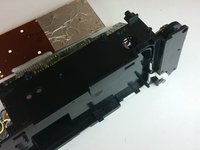
    7. RCA RP3715A Tuning Wheel Replacement, Lift the top piece of motherboard: 手順 15、 3の画像 1 RCA RP3715A Tuning Wheel Replacement, Lift the top piece of motherboard: 手順 15、 3の画像 2 RCA RP3715A Tuning Wheel Replacement, Lift the top piece of motherboard: 手順 15、 3の画像 3
      • Remove the motherboard from the frame using the illustration shown.

      FixBotに聞いてみる

      コメントを追加

    1. RCA RP3715A Tuning Wheel Replacement, Replacing the tuning wheel: 手順 16、 1の画像 1
      • Lift up the gray tuning wheel and replace it with the new one.

      FixBotに聞いてみる

      コメントを追加

終わりに

To reassemble your device, follow these instructions in reverse order.

キャンセル: このガイドを終了できませんでした。

作成者

5人の作成者と共同で作成されました。

Alexander Trowell

メンバー登録日: 09/22/14

222 ポイント

2のガイドは作成済み

チーム

USF Tampa, Team 10-5, Brown Fall 2014 USF Tampa, Team 10-5, Brown Fall 2014人のメンバー

USFT-BROWN-F14S10G5

3 メンバー

15のガイドは作成済み

0件のガイドコメント

コメントを追加

統計データ:

過去 24時間: 0

過去 7 日: 10

過去 30 日: 24

今までの合計 539