メインコンテンツにスキップ

RC Vehicle Electronic Speed Control Replacement

必要な工具と部品

  1. RC Vehicle Electronic Speed Control Replacement, Electronic Speed Control: 手順 1、 2の画像 1 RC Vehicle Electronic Speed Control Replacement, Electronic Speed Control: 手順 1、 2の画像 2
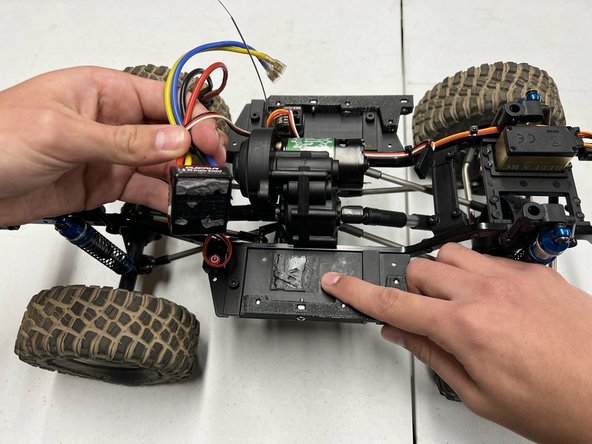
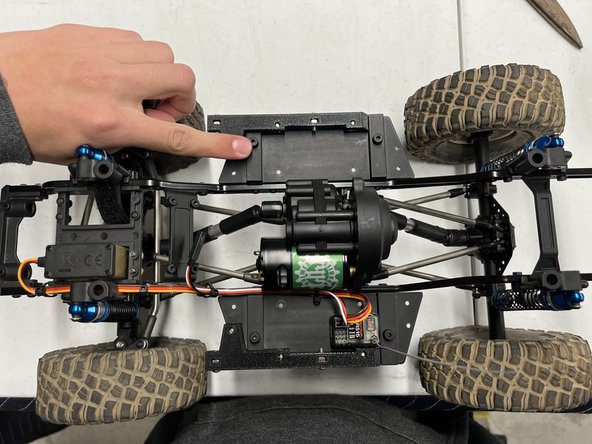
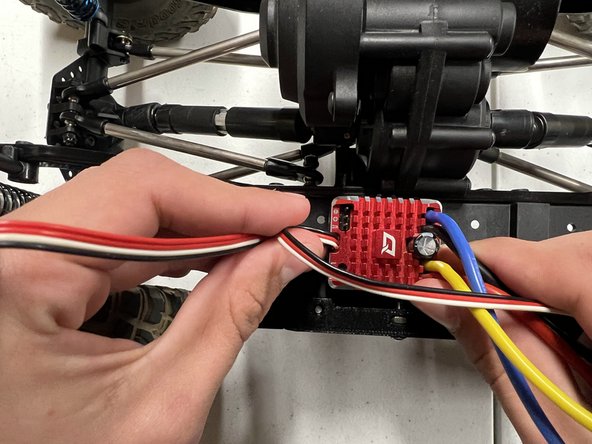
    • Place the remote-controlled car in front of you where all the wires are exposed.

    • Grab a hold of these four wires, as these are the ones that we will be unplugging. These wires consist of a blue wire, a yellow wire, a thin wire with black, white, and red, and a thick black and red wire.

  2. RC Vehicle Electronic Speed Control Replacement: 手順 2、 3の画像 1 RC Vehicle Electronic Speed Control Replacement: 手順 2、 3の画像 2 RC Vehicle Electronic Speed Control Replacement: 手順 2、 3の画像 3
    • Unplug the yellow and blue wires. Begin by unplugging the blue wire first, followed by the yellow wire.

    • Always grab the wires by the metal wire connector, not the wire itself. This will prevent any damage to the wire in the future!

  3. RC Vehicle Electronic Speed Control Replacement: 手順 3、 2の画像 1 RC Vehicle Electronic Speed Control Replacement: 手順 3、 2の画像 2
    • Simply unplug the thin black, white, and red wire from each other. Place them off to the side out of your way.

    • Again, make sure to grab the wires by the plastic head to avoid damage to the wire in the future!

  4. RC Vehicle Electronic Speed Control Replacement: 手順 4、 3の画像 1 RC Vehicle Electronic Speed Control Replacement: 手順 4、 3の画像 2 RC Vehicle Electronic Speed Control Replacement: 手順 4、 3の画像 3
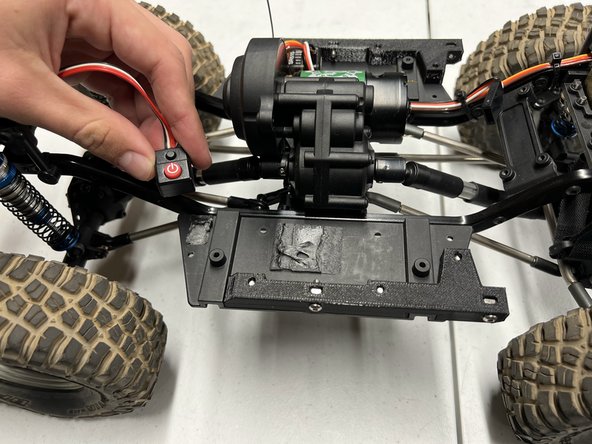
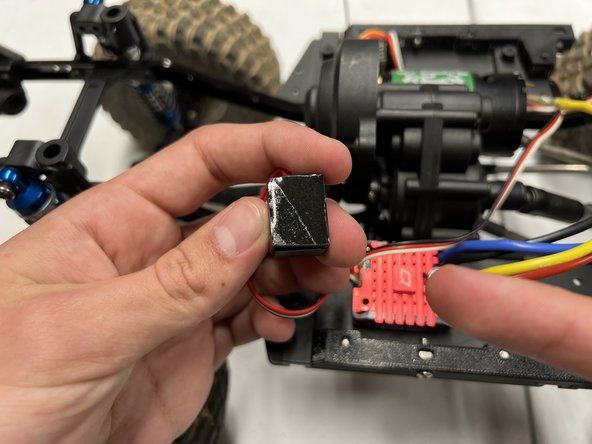
    • We are going to remove the Electronic Speed Control unit from our remote-controlled car. Use a plastic pry removal tool, to get beneath the unit and pry upwards with moderate force until the unit is attached.

  5. RC Vehicle Electronic Speed Control Replacement: 手順 5、 3の画像 1 RC Vehicle Electronic Speed Control Replacement: 手順 5、 3の画像 2 RC Vehicle Electronic Speed Control Replacement: 手順 5、 3の画像 3
    • Use a iFixit opening tool to get beneath the power button and pry upwards with moderate force, until the power button is detached.

  6. RC Vehicle Electronic Speed Control Replacement: 手順 6、 3の画像 1 RC Vehicle Electronic Speed Control Replacement: 手順 6、 3の画像 2 RC Vehicle Electronic Speed Control Replacement: 手順 6、 3の画像 3
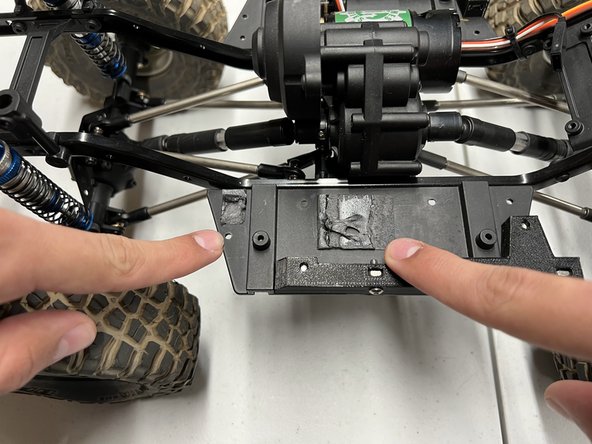
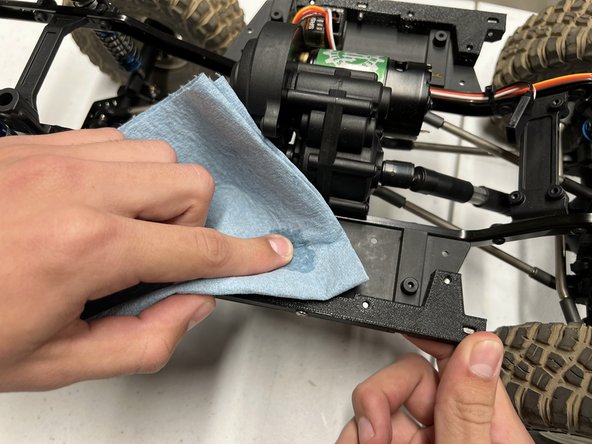
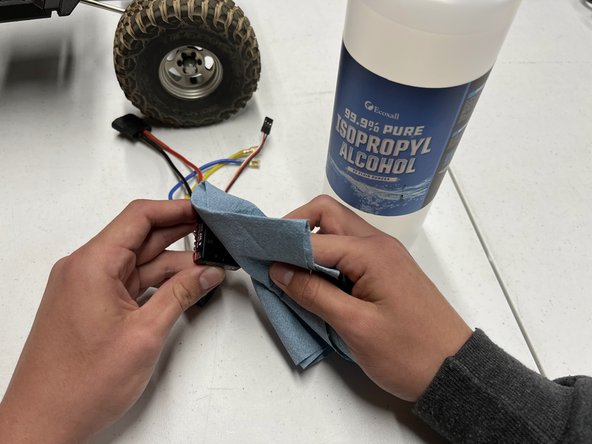
    • After the Electronic Speed Control unit and the power button is removed, there will be a residue of old adhesive. To clean this and prepare for future steps, get a shop towel which is a thick paper towel and get a dab of 99.9% pure Isopropyl Alcohol. Begin to rub the alcohol in various motions to clean off all the remaining glue.

    • You know you have done a proper job when your surface is smooth and your finger can run along the surface with ease.

  7. RC Vehicle Electronic Speed Control Replacement: 手順 7、 3の画像 1 RC Vehicle Electronic Speed Control Replacement: 手順 7、 3の画像 2 RC Vehicle Electronic Speed Control Replacement: 手順 7、 3の画像 3
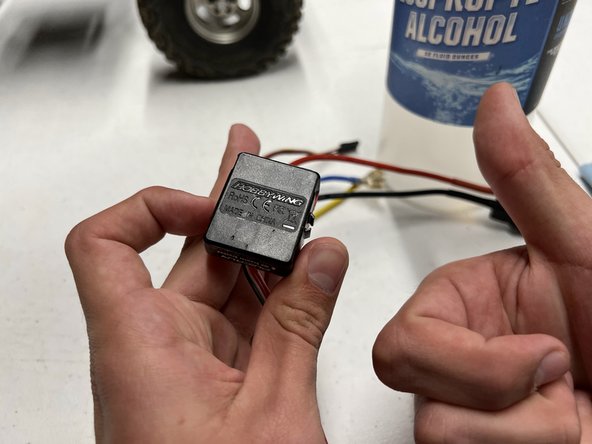
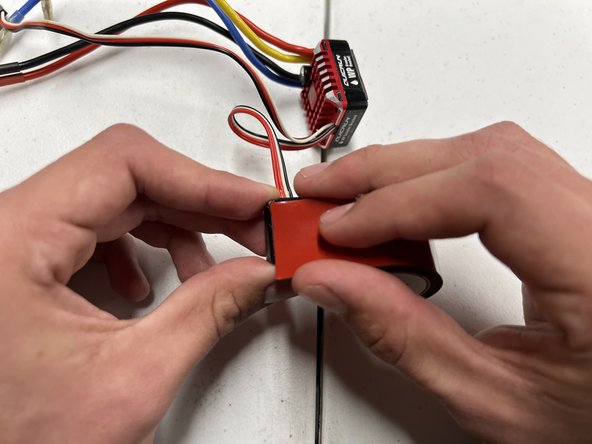
    • You will grab your new Electronic Speed Control unit and prepare the surface for the new adhesive. You will use a dab of alcohol on a shop towel to wipe away any contaminants that may be on the base of this unit.

  8. RC Vehicle Electronic Speed Control Replacement: 手順 8、 1の画像 1
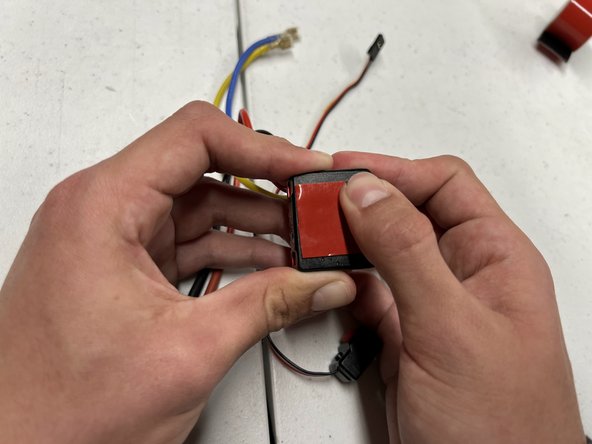
    • Grab your power button and repeat the same process that you used to clean your Electronic Speed Control unit. Use a shop towel with a dab of alcohol to completely wipe down the base of your power button.

  9. RC Vehicle Electronic Speed Control Replacement: 手順 9、 3の画像 1 RC Vehicle Electronic Speed Control Replacement: 手順 9、 3の画像 2 RC Vehicle Electronic Speed Control Replacement: 手順 9、 3の画像 3
    • Simply grab some double-sided adhesive and place it in the middle of your base.

    • To make sure that your adhesive is centered, place the corner of the adhesive right below the corner of the base. (Image 3)

  10. RC Vehicle Electronic Speed Control Replacement: 手順 10、 3の画像 1 RC Vehicle Electronic Speed Control Replacement: 手順 10、 3の画像 2 RC Vehicle Electronic Speed Control Replacement: 手順 10、 3の画像 3
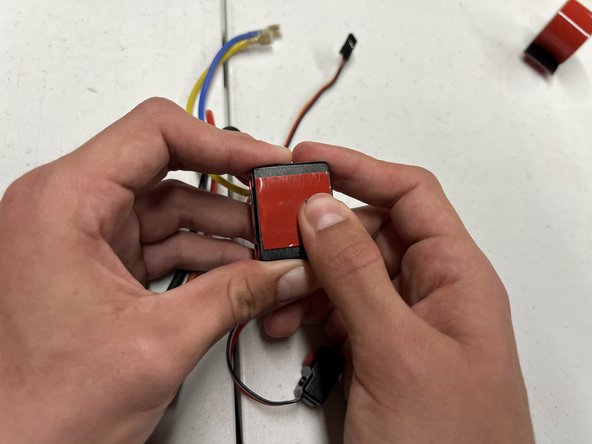
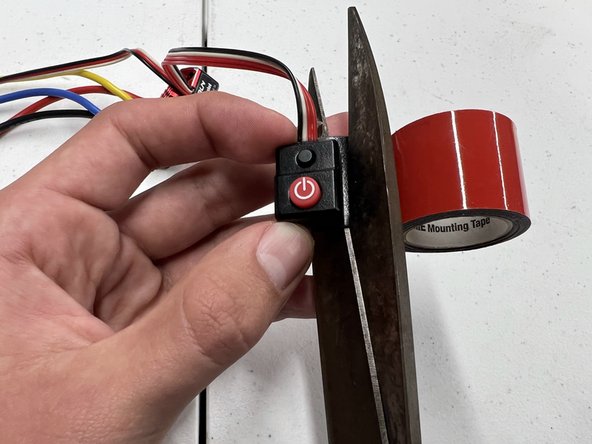
    • You will cut off any excess adhesive from the bottom of the unit. Use your fingertip to smoothen the adhesive to make sure all the tape is sticking to the base.

  11. RC Vehicle Electronic Speed Control Replacement: 手順 11、 3の画像 1 RC Vehicle Electronic Speed Control Replacement: 手順 11、 3の画像 2 RC Vehicle Electronic Speed Control Replacement: 手順 11、 3の画像 3
    • You will repeat the same process from the previous step when preparing the power button. Place the tape just below the corner of the base. Once the adhesive is placed, cut off any remaining excess tape.

  12. RC Vehicle Electronic Speed Control Replacement: 手順 12、 3の画像 1 RC Vehicle Electronic Speed Control Replacement: 手順 12、 3の画像 2 RC Vehicle Electronic Speed Control Replacement: 手順 12、 3の画像 3
    • Smoothen the adhesive with your fingertip all around the bottom of the power button.

    • Both your Electronic Speed Control unit and Power button should look like this. (Image3)

  13. RC Vehicle Electronic Speed Control Replacement: 手順 13、 3の画像 1 RC Vehicle Electronic Speed Control Replacement: 手順 13、 3の画像 2 RC Vehicle Electronic Speed Control Replacement: 手順 13、 3の画像 3
    • Peel off the layer on your double-sided adhesive and place it evenly back on the same spot where your original Electronic Speed Control unit was.

    • You can use a knife, to easily remove the layer on your double-sided adhesive.

  14. RC Vehicle Electronic Speed Control Replacement: 手順 14、 3の画像 1 RC Vehicle Electronic Speed Control Replacement: 手順 14、 3の画像 2 RC Vehicle Electronic Speed Control Replacement: 手順 14、 3の画像 3
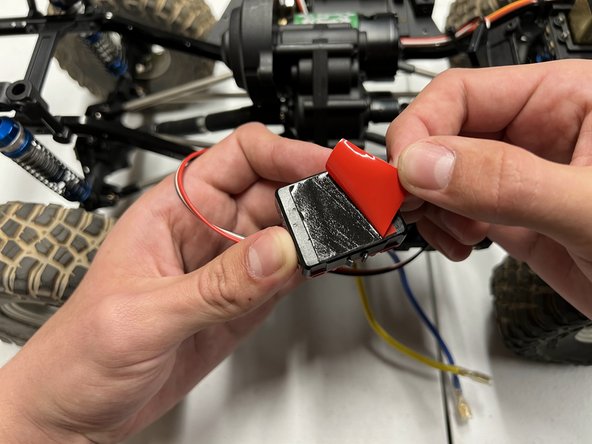
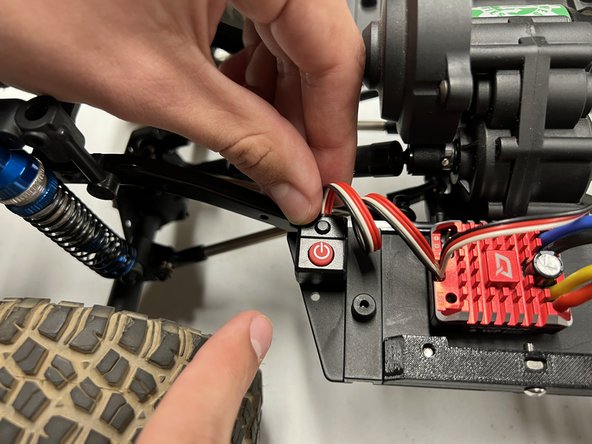
    • You will remove the thin layer of double-sided adhesive tape from the bottom of your power button. Slowly place the power button evenly where your existing power button lived.

    • Using a utility knife makes the job of peeling the layer off of the double-sided adhesive tape much easier.

  15. RC Vehicle Electronic Speed Control Replacement: 手順 15、 3の画像 1 RC Vehicle Electronic Speed Control Replacement: 手順 15、 3の画像 2 RC Vehicle Electronic Speed Control Replacement: 手順 15、 3の画像 3
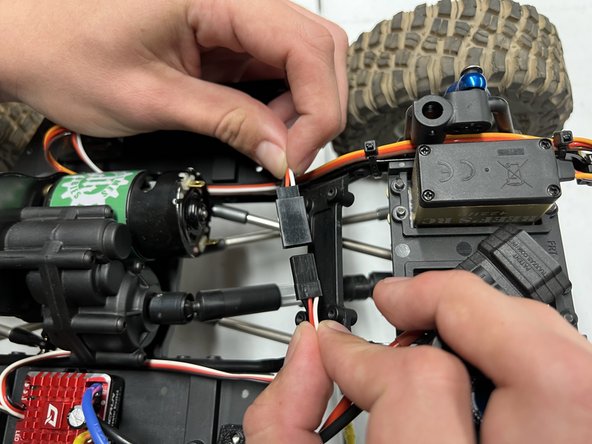
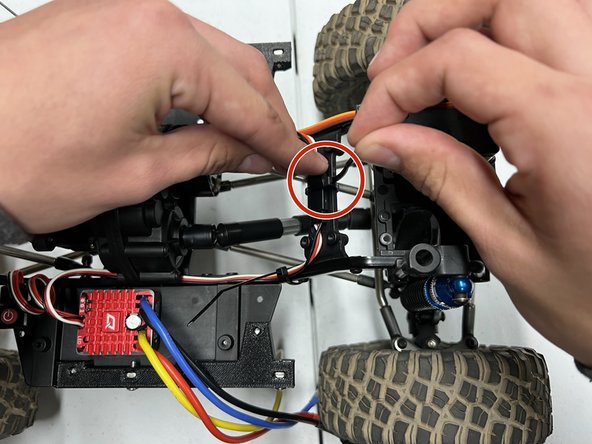
    • Grab all of the wires that you had previously unplugged. Grab the thin red, black and white wire connector and plug them back in with their corresponding head.

  16. RC Vehicle Electronic Speed Control Replacement: 手順 16、 2の画像 1 RC Vehicle Electronic Speed Control Replacement: 手順 16、 2の画像 2
    • To keep your wires organized and out of the way, attach two 4-inch zip ties to the frame of your Remote Controlled vehicle.

  17. RC Vehicle Electronic Speed Control Replacement: 手順 17、 3の画像 1 RC Vehicle Electronic Speed Control Replacement: 手順 17、 3の画像 2 RC Vehicle Electronic Speed Control Replacement: 手順 17、 3の画像 3
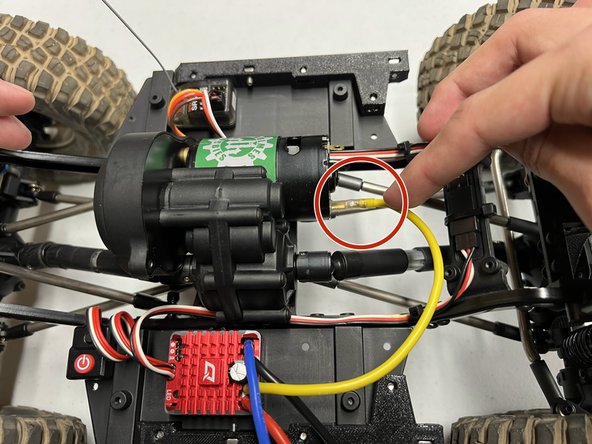
    • Grab both your blue and yellow wire. Plug them both back into the motor where you previously unplugged them from. Begin with the yellow wire and plug it into the connector at the bottom of the motor. Then attach your blue wire into the connector at the top of your motor.

  18. RC Vehicle Electronic Speed Control Replacement: 手順 18、 3の画像 1 RC Vehicle Electronic Speed Control Replacement: 手順 18、 3の画像 2 RC Vehicle Electronic Speed Control Replacement: 手順 18、 3の画像 3
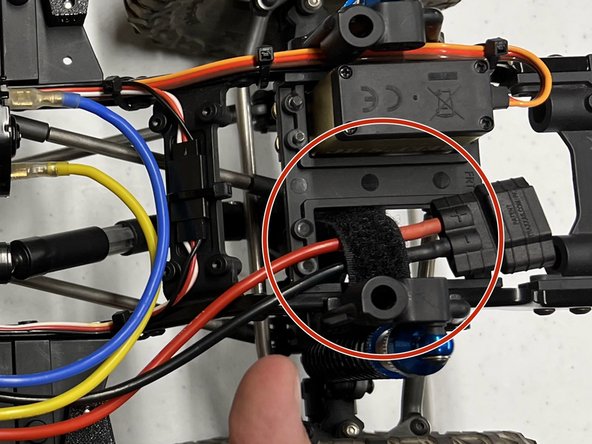
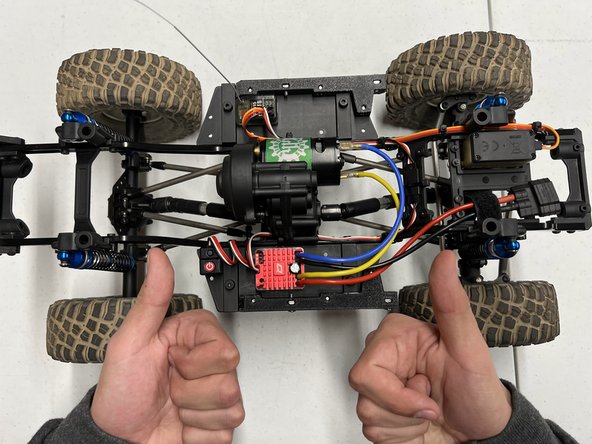
    • Tuck away the thick red and black wire that is used to connect to your Remote Control car's battery. You can tuck this wire anywhere that is out of the way and best suits you. The replacement of your Electronic Speed Control is complete. Great work!

    • I would recommend tucking this wire towards the front end of your Remote Controlled car. This can be extra-reinforced with some velcro to keep from moving around as you use your vehicle.

ゴール

作成者

1人の作成者と共同作成されました。

Maxwell Limon

メンバー登録日: 11/11/22

277 ポイント

1ガイドが承認済み

チーム

CSU Los Angeles, Team 2-83, Briggs Fall 2022 CSU Los Angeles, Team 2-83, Briggs Fall 2022人のメンバー

CSULA-BRIGGS-F22S2G83

1 メンバー

1のガイドは作成済み

0 件のコメント

コメントを追加

統計データ:

過去 24時間: 0

過去 7 日: 5

過去 30 日: 27

今までの合計 410