メインコンテンツにスキップ

RAM Replacement on Dell Latitude 5520 and 5530

必要な工具と部品

  1. RAM Replacement on Dell Latitude 5520 and 5530, Introduction: 手順 1、 1の画像 1
    • Take your RAM kit, an iFixit Mediator and a Phillips Screwdriver (if you have an iFixit Kit, you can go for the J1 bit on the Manta Toolkit ot the "1" on the Protech Toolkit)

  2. RAM Replacement on Dell Latitude 5520 and 5530, Removing the bottom Cover: 手順 2、 2の画像 1 RAM Replacement on Dell Latitude 5520 and 5530, Removing the bottom Cover: 手順 2、 2の画像 2
    • Unplug your computer from the charger, flip it on the back of the screen, remove the 9 captive screw (they will not fall from the bottom case) and use after the Mediator on all the side of the laptop to pop the bottom case off.

  3. RAM Replacement on Dell Latitude 5520 and 5530, Unplug the Battery: 手順 3、 3の画像 1 RAM Replacement on Dell Latitude 5520 and 5530, Unplug the Battery: 手順 3、 3の画像 2 RAM Replacement on Dell Latitude 5520 and 5530, Unplug the Battery: 手順 3、 3の画像 3
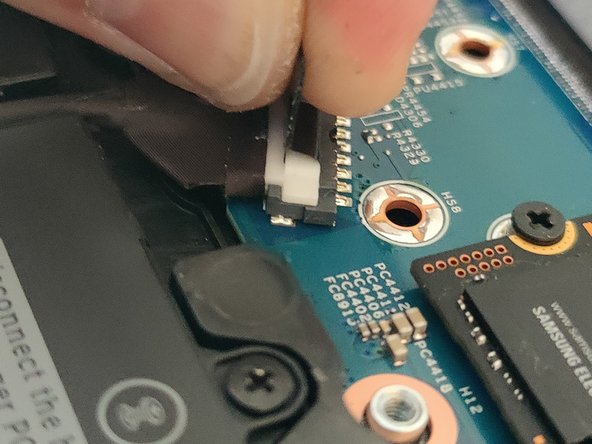
    • Locate the Battery connector, it is mandatory to remove all power from the computer before working on the Hardware.

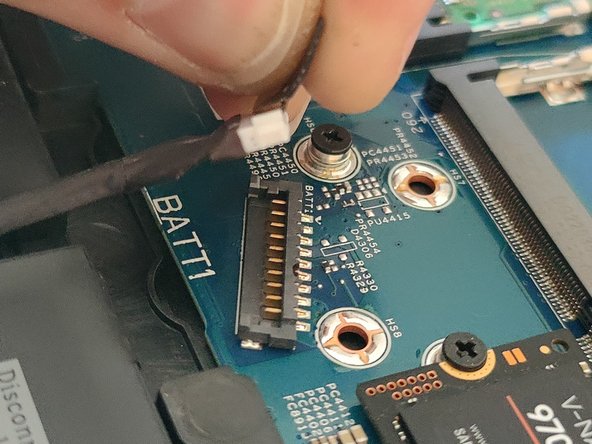
    • Unplug the battery by pulling on the black tab on the white connector. It doesn't require a lot of force.

  4. RAM Replacement on Dell Latitude 5520 and 5530, RAM Installation: 手順 4、 2の画像 1 RAM Replacement on Dell Latitude 5520 and 5530, RAM Installation: 手順 4、 2の画像 2
    • To remove the RAM, you will need to pull the metal bracket on both side of the RAM to free it and you can now remove it.

    • You can now plug the new sticks of RAM. To do it, you need to ensure that they are in their right spot.

    • If the RAM are in the right spot, when you will pull it down, you will hear both "clac" on both side of the RAM when the bracket are back on the right position.

  5. RAM Replacement on Dell Latitude 5520 and 5530, Put it back together: 手順 5、 1の画像 1
    • You can now replug the battery and put back the bottom cover and the 9 screws

    • Don't forget to replug the battery!

  6. RAM Replacement on Dell Latitude 5520 and 5530, Tests and validation: 手順 6、 3の画像 1 RAM Replacement on Dell Latitude 5520 and 5530, Tests and validation: 手順 6、 3の画像 2 RAM Replacement on Dell Latitude 5520 and 5530, Tests and validation: 手順 6、 3の画像 3
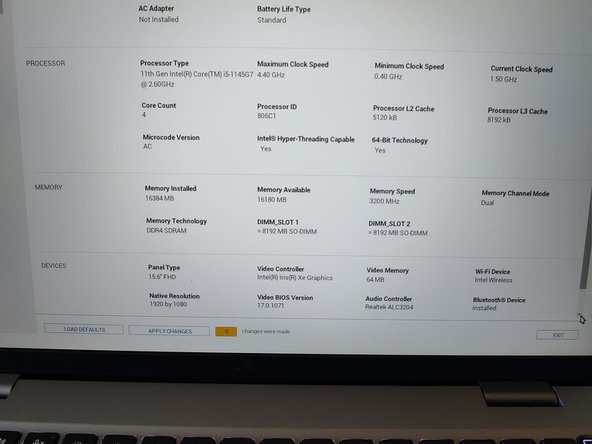
    • At the first restart (after 2 or 3 attempt), you will have and error message, saying that the amount memory have changed. You can either check it by the BIOS by clicking on "Go to BIOS" or clicking "Continue" to go to your operating System.
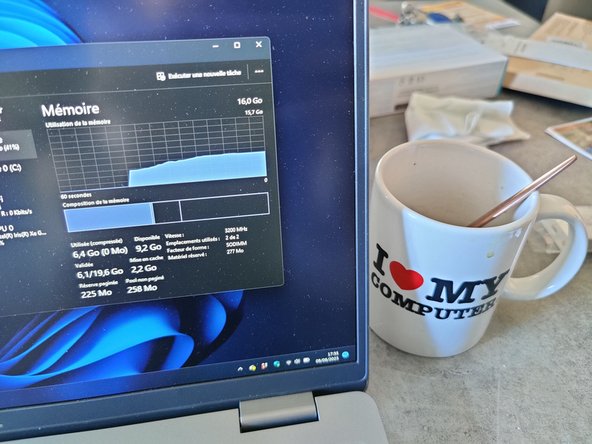
    • THe ultime validation is to check the amount of memory in your Operating system. If the correct amount is displayed, you're done!

終わりに

And it's over :)

2 の人々がこのガイドを完成させました。

以下の翻訳者の皆さんにお礼を申し上げます:

fr en

100%

INFOREAさんは世界中で修理する私たちを助けてくれています! あなたも貢献してみませんか?
翻訳を始める ›

作成者

1人の作成者と共同作成されました。

INFOREA

メンバー登録日: 11/16/22

490 ポイント

4のガイドは作成済み

0 件のコメント

コメントを追加

統計データ:

過去 24時間: 0

過去 7 日: 12

過去 30 日: 86

今までの合計 959