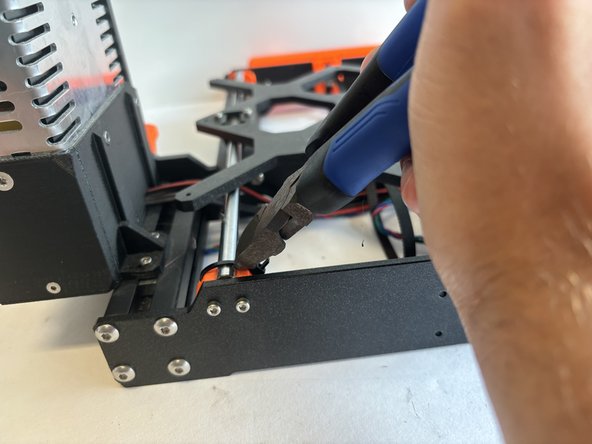
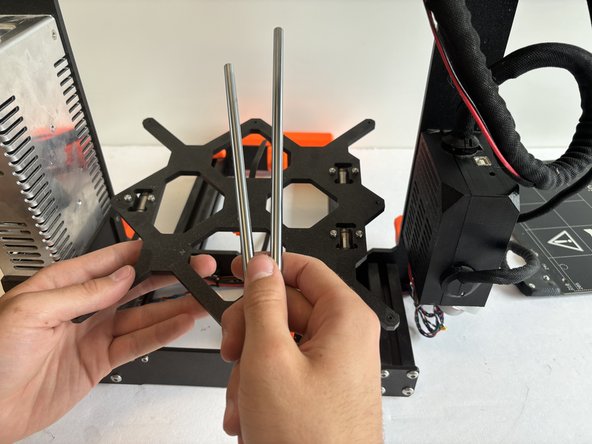
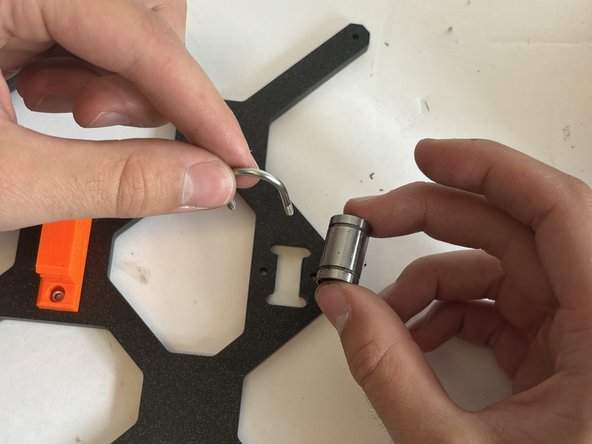
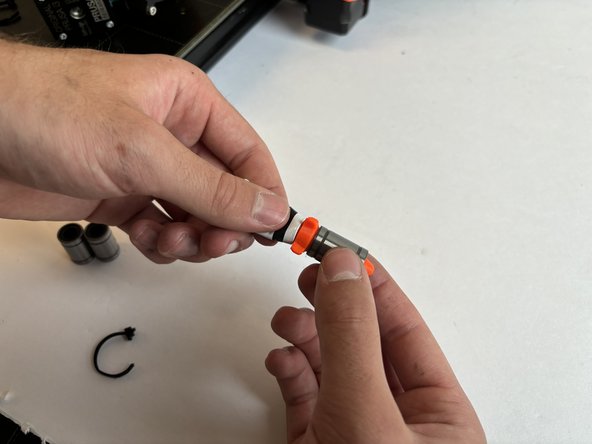
メインコンテンツにスキップ

Prusa i3 MK3 Y-Axis Bearings Replacement

必要な工具と部品

  1. Prusa i3 MK3 Y-Axis Bearings Replacement, Y-Axis Bearings: 手順 1、 3の画像 1 Prusa i3 MK3 Y-Axis Bearings Replacement, Y-Axis Bearings: 手順 1、 3の画像 2 Prusa i3 MK3 Y-Axis Bearings Replacement, Y-Axis Bearings: 手順 1、 3の画像 3
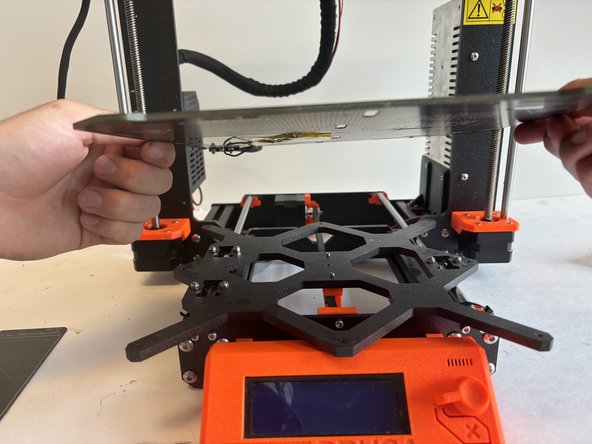
    • Orient the printer so that the screen is facing to the left.

    • Using the On/Off button, switch the printer into the Off position.

    • Ensure your printer is off by visually inspecting the screen. If the screen is not lit up, your printer is off.

    • Ensure the printer has cooled to room temperature before beginning disassembly.

  2. Prusa i3 MK3 Y-Axis Bearings Replacement: 手順 2、 2の画像 1 Prusa i3 MK3 Y-Axis Bearings Replacement: 手順 2、 2の画像 2
    • Orient the printer so that the screen is facing you.

    • Move the X-axis carriage to the highest Z-axis height for optimal accessibility.

    • Remove magnetic build plate.

  3. Prusa i3 MK3 Y-Axis Bearings Replacement: 手順 3、 2の画像 1 Prusa i3 MK3 Y-Axis Bearings Replacement: 手順 3、 2の画像 2
    • Remove the nine 2.5mm X 12mm flat-head countersink screws from the heat bead.

    • Lift and set the heat bed aside to access the heat bed mounting bracket.

  4. Prusa i3 MK3 Y-Axis Bearings Replacement: 手順 4、 1の画像 1
    • Orient the printer so that the screen is facing away from you.

    • Remove the two 2.5mm X 10mm socket head screws holding the Y-axis belt motor bracket.

    • During reassembly, these screws will be used to properly tension the Y-axis belt.

  5. Prusa i3 MK3 Y-Axis Bearings Replacement: 手順 5、 2の画像 1 Prusa i3 MK3 Y-Axis Bearings Replacement: 手順 5、 2の画像 2
    • Use the side cutters to cut and remove the four zip ties that secure the Y-axis rods.

  6. Prusa i3 MK3 Y-Axis Bearings Replacement: 手順 6、 2の画像 1 Prusa i3 MK3 Y-Axis Bearings Replacement: 手順 6、 2の画像 2
    • Lift the heat bed mounting bracket assembly from the printer.

    • Remove the Y-axis rods from the heat bed mounting bracket assembly.

  7. Prusa i3 MK3 Y-Axis Bearings Replacement: 手順 7、 1の画像 1
    • Rotate the heat bed mounting bracket assembly to access the bottom side.

    • Remove the Y-axis belt from the Y-axis belt grip.

    • Remove the heat bed mounting bracket assembly and set it aside to complete the next steps.

  8. Prusa i3 MK3 Y-Axis Bearings Replacement: 手順 8、 2の画像 1 Prusa i3 MK3 Y-Axis Bearings Replacement: 手順 8、 2の画像 2
    • Orient the heat bed mounting bracket so that you are looking at the top side.

    • Use the 5.5mm nut driver to remove the six 5.5mm u-bolt nuts.

    • Orient the heat bed mounting bracket so that you are looking at the bottom side.

    • Remove the three sets of U-bolts and Y-axis bearings.

  9. Prusa i3 MK3 Y-Axis Bearings Replacement: 手順 9、 3の画像 1 Prusa i3 MK3 Y-Axis Bearings Replacement: 手順 9、 3の画像 2 Prusa i3 MK3 Y-Axis Bearings Replacement: 手順 9、 3の画像 3
    • During reassembly, grease the Y-axis bearings with the PRUSA Lubricant Applicator.

    • When reinstalling the Y-axis bearings, the balls inside the bearings should form a diagonal "X", not a vertical "+".

終わりに

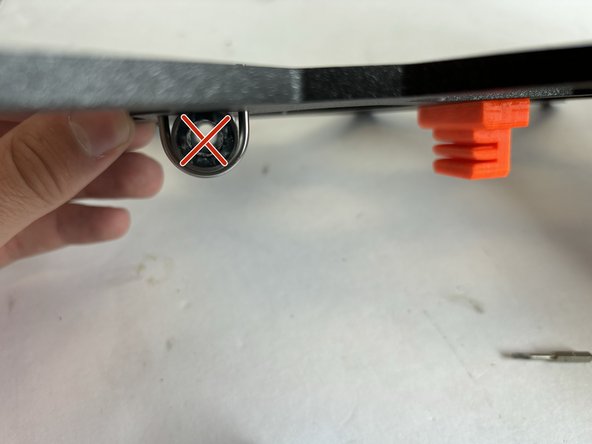
To reassemble your device, follow these instructions in reverse order. Use Step 9 for reference.

作成者

3人の作成者と共同で作成されました。

Cade SmithMartin

メンバー登録日: 01/23/24

595 ポイント

5のガイドは作成済み

チーム

Western Carolina University, Team 1-5, Virtue Spring 2024 Western Carolina University, Team 1-5, Virtue Spring 2024人のメンバー

WCU-VIRTUE-S24S1G5

4 メンバー

6のガイドは作成済み

0 件のコメント

コメントを追加

統計データ:

過去 24時間: 0

過去 7 日: 2

過去 30 日: 10

今までの合計 75