メインコンテンツにスキップ

Prusa i3 MK3 Filament Sensor Replacement

必要な工具と部品

  1. Prusa i3 MK3 Filament Sensor Replacement, Filament Sensor: 手順 1、 3の画像 1 Prusa i3 MK3 Filament Sensor Replacement, Filament Sensor: 手順 1、 3の画像 2 Prusa i3 MK3 Filament Sensor Replacement, Filament Sensor: 手順 1、 3の画像 3
    • Orient the printer so that the screen is facing to the left.

    • Using the On/Off button, switch the printer into the Off position.

    • Ensure your printer is off by visually inspecting the screen. If the screen is not lit up, your printer is off.

    • Ensure the printer has cooled to room temperature before beginning disassembly.

  2. Prusa i3 MK3 Filament Sensor Replacement: 手順 2、 3の画像 1 Prusa i3 MK3 Filament Sensor Replacement: 手順 2、 3の画像 2 Prusa i3 MK3 Filament Sensor Replacement: 手順 2、 3の画像 3
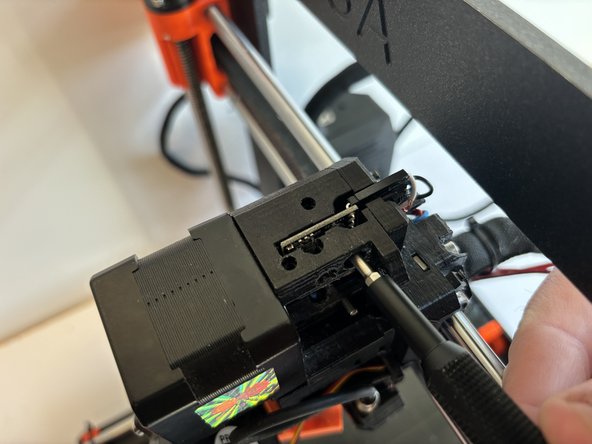
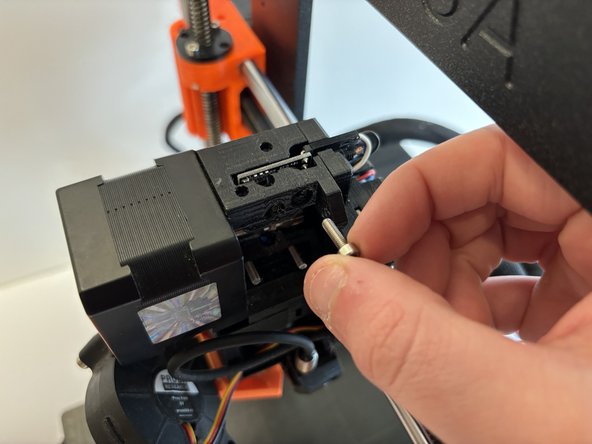
    • Orient the printer so that the top of the extruder head can be accessed.

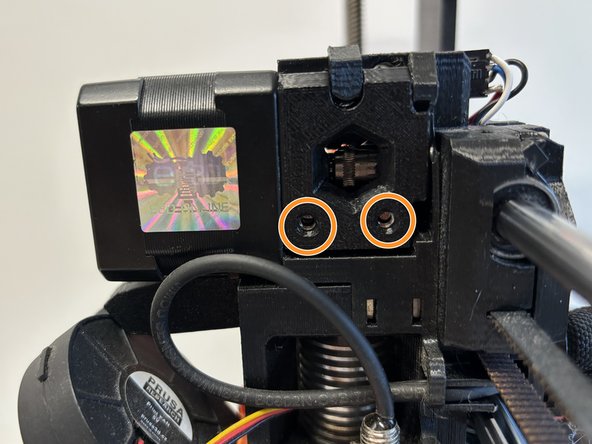
    • Remove the two 2.5mm X 10mm socket head screws. These screws secure the cover of the filament sensor.

    • Remove the filament sensor cover.

  3. Prusa i3 MK3 Filament Sensor Replacement: 手順 3、 2の画像 1 Prusa i3 MK3 Filament Sensor Replacement: 手順 3、 2の画像 2
    • Orient the printer so that the screen is facing to the right.

    • Loosen the two 2.5mm X 40mm socket head screws while holding the extruder head firmly, keeping pressure on the opposite side.

    • Ensure the screws have cleared the embedded square nuts on the back side.

    • Be careful not to lose the small springs that are held in place by the screws.

  4. Prusa i3 MK3 Filament Sensor Replacement: 手順 4、 2の画像 1 Prusa i3 MK3 Filament Sensor Replacement: 手順 4、 2の画像 2
    • Orient the printer so that the screen is facing to the left.

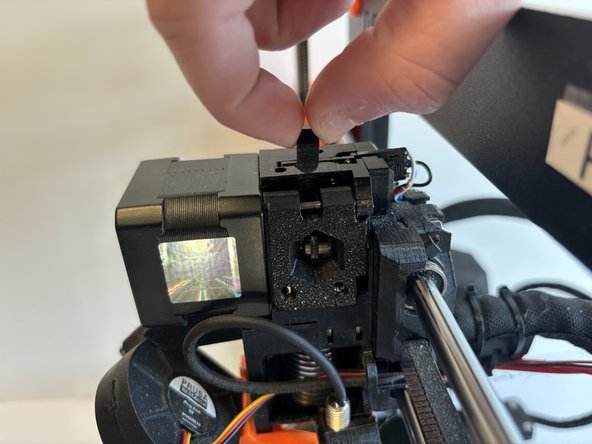
    • Remove the 3D-printed cover piece on top of the extruder access door. (Your printer might be missing this part.)

  5. Prusa i3 MK3 Filament Sensor Replacement: 手順 5、 3の画像 1 Prusa i3 MK3 Filament Sensor Replacement: 手順 5、 3の画像 2 Prusa i3 MK3 Filament Sensor Replacement: 手順 5、 3の画像 3
    • Orient the printer so that the screen is facing away from you.

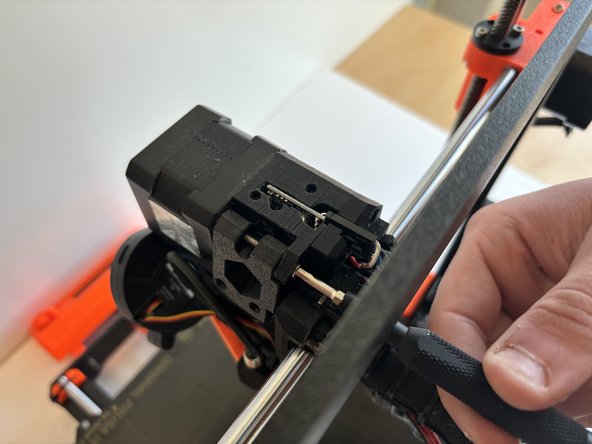
    • Remove the 2.5mm X 30mm socket head screw located on the top left of the backside of the extruder head.

    • Rotate the printer so that the screen is facing to the left.

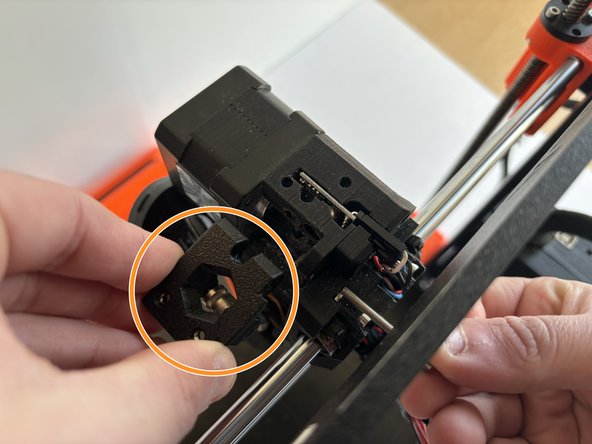
    • Remove the extruder access door from the extruder head.

    • Be careful not to lose the square nuts that hold the screws removed in Step 3. (They sit inside the extruder access door.)

  6. Prusa i3 MK3 Filament Sensor Replacement: 手順 6、 3の画像 1 Prusa i3 MK3 Filament Sensor Replacement: 手順 6、 3の画像 2 Prusa i3 MK3 Filament Sensor Replacement: 手順 6、 3の画像 3
    • Orient the printer so that the screen is facing to the left.

    • Remove the 2.5mm X 10mm socket head screw located behind the extruder access door that was removed in Step 5.

  7. Prusa i3 MK3 Filament Sensor Replacement: 手順 7、 3の画像 1 Prusa i3 MK3 Filament Sensor Replacement: 手順 7、 3の画像 2 Prusa i3 MK3 Filament Sensor Replacement: 手順 7、 3の画像 3
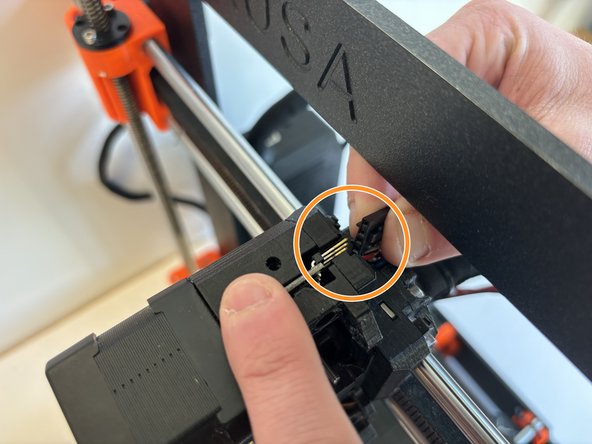
    • Orient the printer so that the top of the extruder head can be accessed.

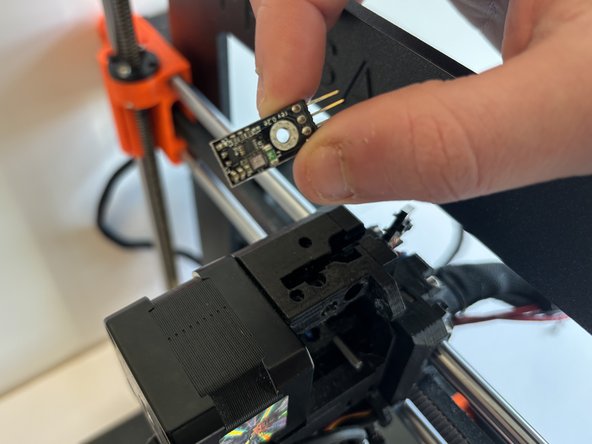
    • Locate the filament sensor.

    • Hold the filament sensor in place while unplugging the wiring connection.

    • Use caution because the wiring connections may be fragile.

    • Remove the filament sensor.

終わりに

To reassemble your device, follow these instructions in reverse order. During reassembly, ensure not to tighten the socket head screws too tight.

作成者

4人の作成者と共同で作成されました。

Bryce Rogers

メンバー登録日: 01/23/24

151 ポイント

1ガイドが承認済み

チーム

Western Carolina University, Team 1-5, Virtue Spring 2024 Western Carolina University, Team 1-5, Virtue Spring 2024人のメンバー

WCU-VIRTUE-S24S1G5

4 メンバー

6のガイドは作成済み

0 件のコメント

コメントを追加

統計データ:

過去 24時間: 0

過去 7 日: 1

過去 30 日: 8

今までの合計 113