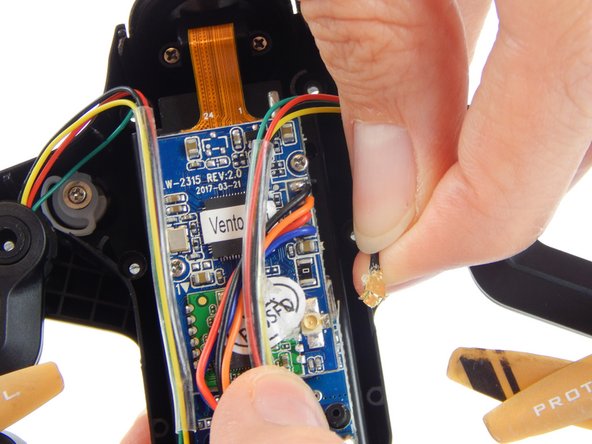
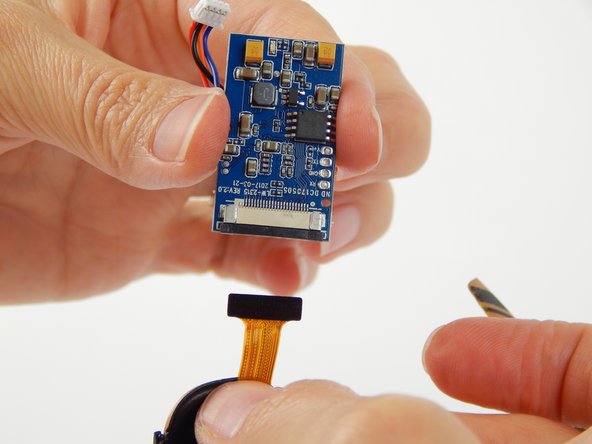
メインコンテンツにスキップ

Protocol Vento Transmitter Board Replacement

必要な工具と部品

  1. Protocol Vento Transmitter Board Replacement, Battery: 手順 1、 1の画像 1
    • Grasp the tail end of the drone where the lip of the battery protrudes.

  2. Protocol Vento Transmitter Board Replacement: 手順 2、 1の画像 1
    • Pull away from the drone to remove the battery.

    • Do not attempt any repairs or replacements before removing the battery from the drone.

  3. Protocol Vento Transmitter Board Replacement, Transmitter Board: 手順 3、 1の画像 1
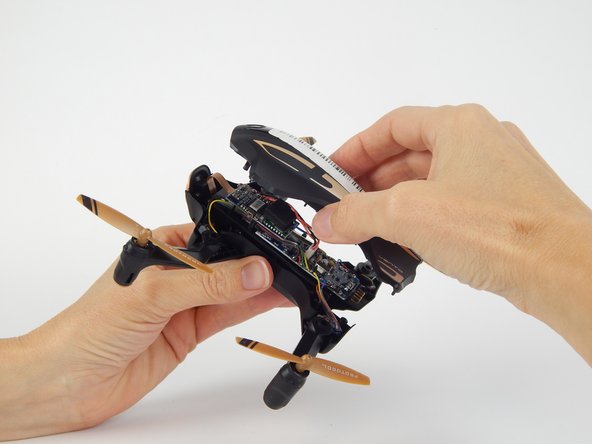
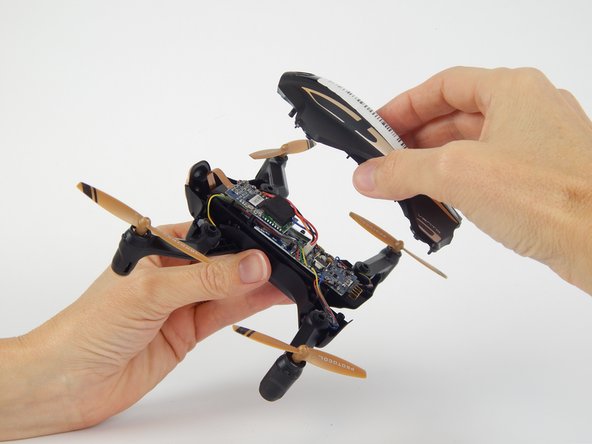
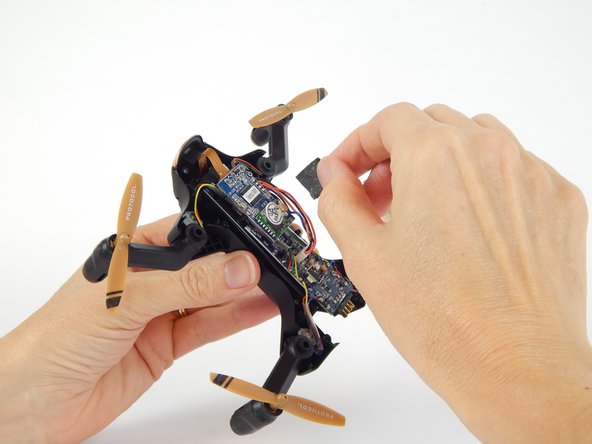
    • To get into the drone, twelve total screws need to be removed:

    • Ten 5.7mm Phillips #000 screws from the bottom of the drone body.

    • Two 4.5mm Phillips #000 screws at the front of the drone.

    • It is not necessary to remove the four screws on the arms of the drone.

  4. Protocol Vento Transmitter Board Replacement: 手順 4、 3の画像 1 Protocol Vento Transmitter Board Replacement: 手順 4、 3の画像 2 Protocol Vento Transmitter Board Replacement: 手順 4、 3の画像 3
    • Flip the drone over and lift off the top plastic shell of the drone.

  5. Protocol Vento Transmitter Board Replacement: 手順 5、 2の画像 1 Protocol Vento Transmitter Board Replacement: 手順 5、 2の画像 2
    • Remove the foam adhesive pad located on the Wi-Fi transmitter board.

  6. Protocol Vento Transmitter Board Replacement: 手順 6、 2の画像 1 Protocol Vento Transmitter Board Replacement: 手順 6、 2の画像 2
    • Pry the gold Wi-Fi antenna connector, located under the previously removed foam pad, away from the Wi-Fi transmitter board to disconnect it.

    • Be sure to only apply force to the gold connector and not the black wire attached to it, as the connection between the two is very fragile.

  7. Protocol Vento Transmitter Board Replacement: 手順 7、 1の画像 1
    • Remove the two 3.8mm Phillips #000 screws from the Wi-Fi transmitter board.

    • Be careful with the delicate ribbon cable attached to the camera.

  8. Protocol Vento Transmitter Board Replacement: 手順 8、 1の画像 1
    • Disconnect the white clip that connects the four colored wires (black, orange, red, blue) to the motherboard.

    • Be sure to pull only on the white clip, as to avoid damaging the wires.

  9. Protocol Vento Transmitter Board Replacement: 手順 9、 2の画像 1 Protocol Vento Transmitter Board Replacement: 手順 9、 2の画像 2
    • Gently pull the black wedge away from the main board until it shifts to a stop. You will feel it slide out, then stop.

    • The black insert acts as a wedge to keep the ribbon cable attached to the board. The wedge needs to be jostled loose before the cable can be removed.

    • Lightly pull the ribbon cable away from the connector.

終わりに

To reassemble your device, follow these instructions in reverse order.

3 の人々がこのガイドを完成させました。

作成者

4人の作成者と共同で作成されました。

Maria Larcomb

メンバー登録日: 02/15/18

926 ポイント

5のガイドは作成済み

チーム

USF Tampa, Team S1-G2, Leahy Spring 2018 USF Tampa, Team S1-G2, Leahy Spring 2018人のメンバー

USFT-LEAHY-S18S1G2

4 メンバー

6のガイドは作成済み

0 件のコメント

コメントを追加

統計データ:

過去 24時間: 1

過去 7 日: 4

過去 30 日: 4

今までの合計 267