メインコンテンツにスキップ

Propel Gyro-X Drive Gears Replacement

必要な工具と部品

  1. Propel Gyro-X Drive Gears Replacement, Top Propellor Blades: 手順 1、 1の画像 1
    • Stabilizing links are easy to break. Be gentle when prying them off.

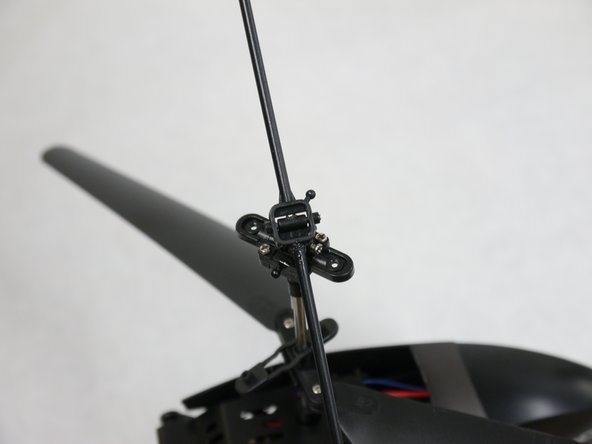
    • Place the tweezers on the sides of the links and pull straight away from the top point of connection.

  2. Propel Gyro-X Drive Gears Replacement: 手順 2、 2の画像 1 Propel Gyro-X Drive Gears Replacement: 手順 2、 2の画像 2
    • Remove the two 6.0 mm Phillips #00 screws from the rotors.

  3. Propel Gyro-X Drive Gears Replacement: 手順 3、 2の画像 1 Propel Gyro-X Drive Gears Replacement: 手順 3、 2の画像 2
    • Pull the rotors away from the mounting brackets.

  4. Propel Gyro-X Drive Gears Replacement, Bottom Propellor Blades: 手順 4、 1の画像 1
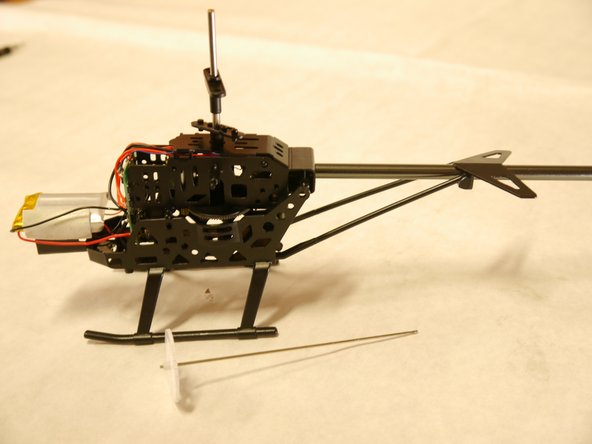
    • Remove the two 5.0 mm Phillips #00 screws from the rotors.

    • The blades will fall off when the screws have been removed.

  5. Propel Gyro-X Drive Gears Replacement, Outer Shell: 手順 5、 1の画像 1
    • Locate the nubs on either side of the helicopter.

  6. Propel Gyro-X Drive Gears Replacement: 手順 6、 1の画像 1
    • Pull the body shell off of the nubs on both sides.

  7. Propel Gyro-X Drive Gears Replacement: 手順 7、 2の画像 1 Propel Gyro-X Drive Gears Replacement: 手順 7、 2の画像 2
    • Push the front of the nose back towards the tail of the helicopter.

    • Push down on the shell and pull it away from the body, so that both slots pass over the hooks on the bottom of the helicopter.

  8. Propel Gyro-X Drive Gears Replacement, Drive Gears: 手順 8、 1の画像 1
    • Remove the two 8 mm Phillips #00 screws between the motor casing and the body.

  9. Propel Gyro-X Drive Gears Replacement: 手順 9、 1の画像 1
    • Remove the 4 mm Phillips #00 screw from the tail.

  10. Propel Gyro-X Drive Gears Replacement: 手順 10、 3の画像 1 Propel Gyro-X Drive Gears Replacement: 手順 10、 3の画像 2 Propel Gyro-X Drive Gears Replacement: 手順 10、 3の画像 3
    • Use your fingers to free the motor casing from the body, by bending the plastic body casing outwards at each of the four nubs.

    • Pull the motor casing upwards from the body.

    • The drive gear will slide out when you lift the motor casing.

終わりに

To reassemble your device, follow these instructions in reverse order.

2 の人々がこのガイドを完成させました。

作成者

2人の作成者と共同で作成されました。

Jack Jenner

メンバー登録日: 04/08/15

293 ポイント

2のガイドは作成済み

チーム

Cal Poly, Team 17-2, Forte Spring 2015 Cal Poly, Team 17-2, Forte Spring 2015人のメンバー

CPSU-FORTE-S15S17G2

4 メンバー

7のガイドは作成済み

0 件のコメント

コメントを追加

統計データ:

過去 24時間: 0

過去 7 日: 1

過去 30 日: 12

今までの合計 3,000