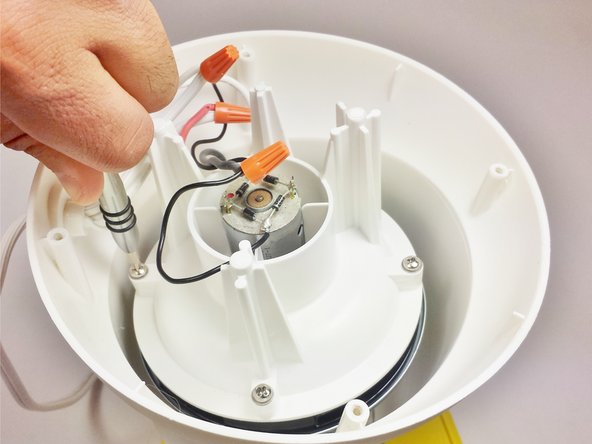
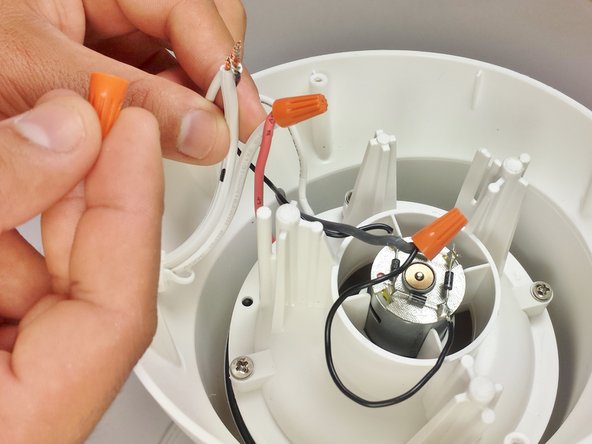
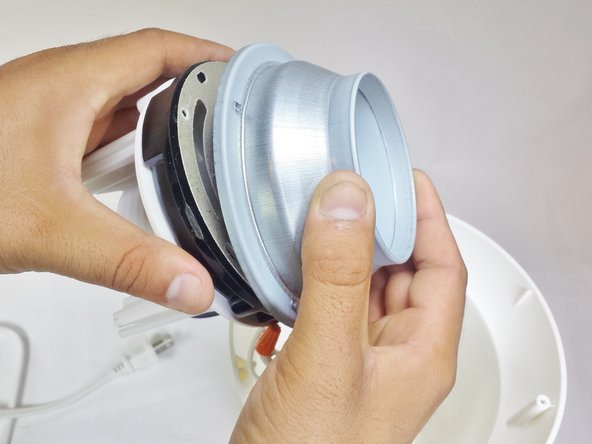
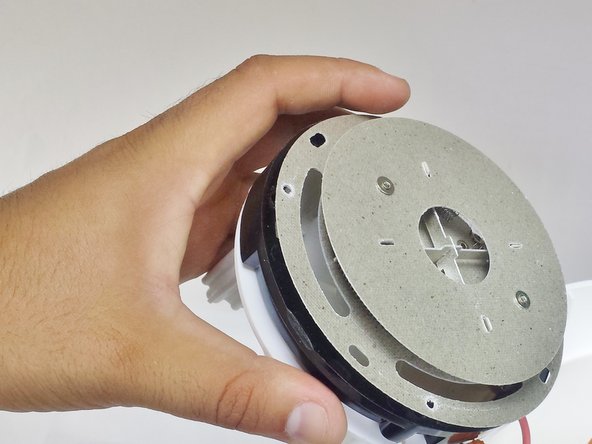
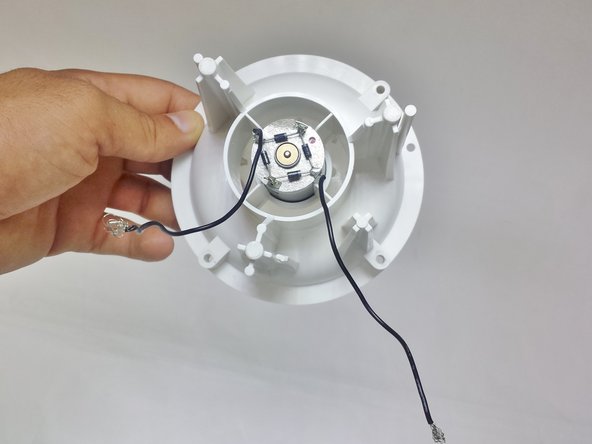
メインコンテンツにスキップ

Presto PopLite 04820 Motor Replacement

必要な工具と部品

  1. Presto PopLite 04820 Motor Replacement, Baseplate: 手順 1、 1の画像 1
    • Be sure that the popper is unplugged before disassembly.

    • Turn Presto Popper upside down.

  2. Presto PopLite 04820 Motor Replacement: 手順 2、 3の画像 1 Presto PopLite 04820 Motor Replacement: 手順 2、 3の画像 2 Presto PopLite 04820 Motor Replacement: 手順 2、 3の画像 3
    • Remove the four 9 mm Phillips #2 screws from the base.

    • Once all four screws are removed, take the base off.

  3. Presto PopLite 04820 Motor Replacement, Motor: 手順 3、 2の画像 1 Presto PopLite 04820 Motor Replacement, Motor: 手順 3、 2の画像 2
    • Unscrew the four 13mm Phillips #2 screws but do not remove completely just yet.

  4. Presto PopLite 04820 Motor Replacement: 手順 4、 2の画像 1 Presto PopLite 04820 Motor Replacement: 手順 4、 2の画像 2
    • Locate the two twist-on wire connectors.

    • Unscrew the two caps and keep track of the wires that wire up together to make it easier in the end to put back together.

  5. Presto PopLite 04820 Motor Replacement: 手順 5、 3の画像 1 Presto PopLite 04820 Motor Replacement: 手順 5、 3の画像 2 Presto PopLite 04820 Motor Replacement: 手順 5、 3の画像 3
    • Pull the entire cavity out of the popper that holds the motor.

    • Remove the popping chamber base.

  6. Presto PopLite 04820 Motor Replacement: 手順 6、 2の画像 1 Presto PopLite 04820 Motor Replacement: 手順 6、 2の画像 2
    • Remove circuit board from the motor base holder.

    • Make sure these 3 wires are securely placed inside grooves when reassembling the motor base holder.

  7. Presto PopLite 04820 Motor Replacement: 手順 7、 2の画像 1 Presto PopLite 04820 Motor Replacement: 手順 7、 2の画像 2
    • Remove the orange twist-on wire connector connecting the black wire to the grey wire.

  8. Presto PopLite 04820 Motor Replacement: 手順 8、 2の画像 1 Presto PopLite 04820 Motor Replacement: 手順 8、 2の画像 2
    • Locate the clear plastic motor fan.

    • Grab hold of the motor and pull upwards to pop the motor fan off of the needle that connects to the motor.

    • This may require large amounts of force to pull it off the needle.

  9. Presto PopLite 04820 Motor Replacement: 手順 9、 3の画像 1 Presto PopLite 04820 Motor Replacement: 手順 9、 3の画像 2 Presto PopLite 04820 Motor Replacement: 手順 9、 3の画像 3
    • Remove the two 4 mm Phillips #00 screws.

    • Once the screws are removed, the motor should drop down.

    • Now remove the motor base to expose the motor.

  10. Presto PopLite 04820 Motor Replacement: 手順 10、 2の画像 1 Presto PopLite 04820 Motor Replacement: 手順 10、 2の画像 2
    • This is the motor.

    • Now replace it with your new one!

終わりに

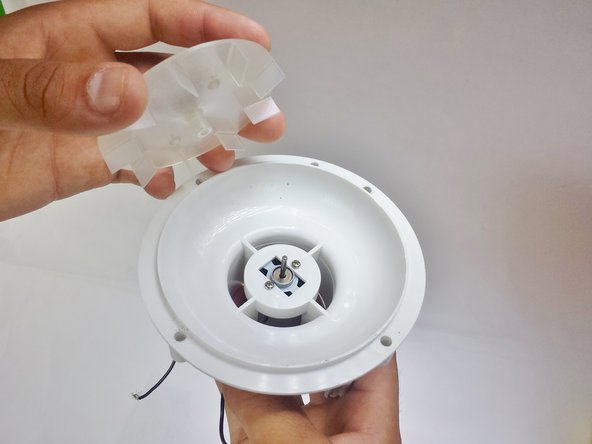
To reassemble your device, follow these instructions in reverse order.

4 の人々がこのガイドを完成させました。

作成者

3人の作成者と共同で作成されました。

Emanuele Rocco

メンバー登録日: 08/27/15

694 ポイント

6のガイドは作成済み

チーム

USF Tampa, Team 2-5, Blackwell Fall 2015 USF Tampa, Team 2-5, Blackwell Fall 2015人のメンバー

USFT-BLACKWELL-F15S2G5

2 メンバー

6のガイドは作成済み

コメント 1 件

What new motor? Where do we get said motor, and what are the motor specs? What about installing the bridge rectifier on the new motor? A 3rd party supplier is not likely to sell these motors with the rectifier pre-installed.

Bill Richardson - 返信

コメントを追加

統計データ:

過去 24時間: 0

過去 7 日: 2

過去 30 日: 12

今までの合計 2,614