メインコンテンツにスキップ

このバージョンは誤った内容を含んでいる可能性があります。最新の承認済みスナップショットに切り替えてください。

必要な工具と部品

  1. この手順は未翻訳です。 翻訳を手伝う。

    : 手順 1、 2の画像 1 : 手順 1、 2の画像 2
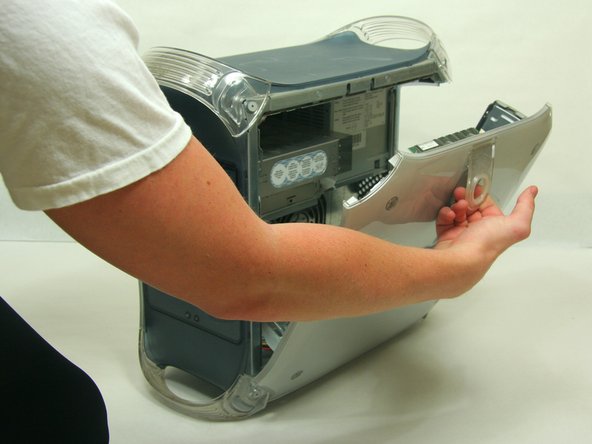
    • Pull on outer latch.

    • Lower door until it is level with your work surface.

    • Before working on the computer make sure it is not plugged into a power supply, then touch a metal object. This discharges static electricity, which could damage the computer.

  2. この手順は未翻訳です。 翻訳を手伝う。

    : 手順 2、 2の画像 1 : 手順 2、 2の画像 2
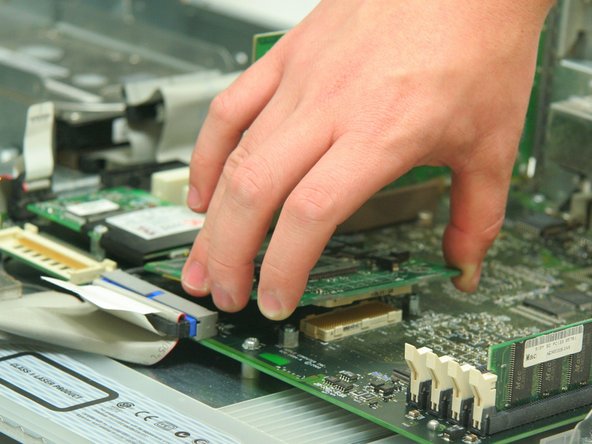
    • Use the spudger to pry the clips horizontally off of the heat sink.

    • Fully remove the clips by lifting upwards.

  3. この手順は未翻訳です。 翻訳を手伝う。

    : 手順 3、 1の画像 1
    • Remove the heat sink by pulling upwards, off of the logic board.

  4. この手順は未翻訳です。 翻訳を手伝う。

    : 手順 4、 2の画像 1 : 手順 4、 2の画像 2
    • Remove the 3 screws attaching the processor to the logic board using the Phillips #2 screwdriver.

    • Remove processor by pulling vertically upwards.

ゴール

13 の人々がこのガイドを完成させました。

作成者

4人の作成者と共同で作成されました。

Justin Petrilli

メンバー登録日: 01/21/10

3,114 ポイント

11のガイドは作成済み

チーム

Cal Poly, Team 13-24, Maness Winter 2010 Cal Poly, Team 13-24, Maness Winter 2010人のメンバー

CPSU-MANESS-W10S13G24

4 メンバー

25のガイドは作成済み

2 件のコメント

anyone still sell the replacement processor?

Joseph Cole - 返信

Anyone who has upgraded their CPU’s manage to flash from MacPro1,1 to MacPro2,1? And If so How?

Michael Inman - 返信

コメントを追加

統計データ:

過去 24時間: 2

過去 7 日: 11

過去 30 日: 42

今までの合計 12,087