メインコンテンツにスキップ

Polaroid PMID4312 Speaker Replacement

必要な工具と部品

  1. Polaroid PMID4312 Speaker Replacement, Battery: 手順 1、 1の画像 1
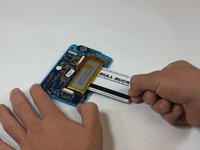
    • Pry the seam between the screen and the case and slide it on all four sides with a large plastic opening tool until the plastic case comes off.

  2. Polaroid PMID4312 Speaker Replacement: 手順 2、 1の画像 1
    • Lift the device off of the case and flip over the device so that it sits screen side down.

  3. Polaroid PMID4312 Speaker Replacement: 手順 3、 1の画像 1
    • The device is now free from the plastic case.

  4. Polaroid PMID4312 Speaker Replacement: 手順 4、 2の画像 1 Polaroid PMID4312 Speaker Replacement: 手順 4、 2の画像 2
    この手順で使用する道具:
    Plastic Cards
    $2.99
    購入する
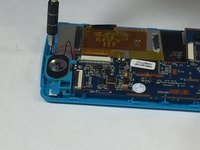
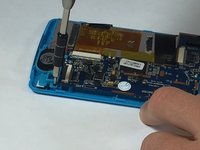
    • Wedge a plastic card beneath the battery unit and wiggle the card side to side and up and down gently until the glue sealing the battery to the device is broken.

  5. Polaroid PMID4312 Speaker Replacement: 手順 5、 1の画像 1
    • Peel back any yellow tape not directly attached to the battery.

    • Using a soldering iron, desolder the two wires that connect the battery to the motherboard.

  6. Polaroid PMID4312 Speaker Replacement, Speaker: 手順 6、 2の画像 1 Polaroid PMID4312 Speaker Replacement, Speaker: 手順 6、 2の画像 2
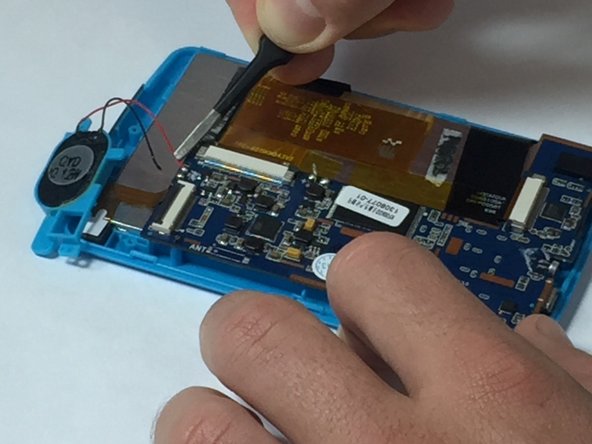
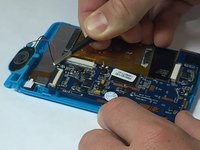
    • Remove the two 5mm screws attached to the top right and bottom left corners of the speaker

  7. Polaroid PMID4312 Speaker Replacement: 手順 7、 2の画像 1 Polaroid PMID4312 Speaker Replacement: 手順 7、 2の画像 2
    • Solder off the wires connecting the speaker to the device

  8. Polaroid PMID4312 Speaker Replacement: 手順 8、 1の画像 1
    • Pull the speaker out of the casing to release it.

終わりに

To reassemble your device, follow these instructions in reverse order.

作成者

2人の作成者と共同で作成されました。

Christopher Bertan

メンバー登録日: 10/06/16

479 ポイント

4のガイドは作成済み

チーム

USF Tampa, Team 5-4, Lacy Fall 2016 USF Tampa, Team 5-4, Lacy Fall 2016人のメンバー

USFT-LACY-F16S5G4

4 メンバー

10のガイドは作成済み

コメント 1 件

コメントを追加

統計データ:

過去 24時間: 0

過去 7 日: 0

過去 30 日: 3

今までの合計 220