メインコンテンツにスキップ

Polaroid Onestep Close Up Rear Viewfinder Replacement

必要な工具と部品

  1. Polaroid Onestep Close Up Rear Viewfinder Replacement, Flash Assembly Removal: 手順 1、 3の画像 1 Polaroid Onestep Close Up Rear Viewfinder Replacement, Flash Assembly Removal: 手順 1、 3の画像 2 Polaroid Onestep Close Up Rear Viewfinder Replacement, Flash Assembly Removal: 手順 1、 3の画像 3
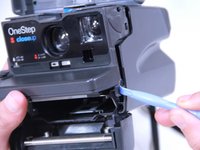
    • Begin by opening the top of the camera (flash assembly) to a slight angle.

    • Next, angle the flash assembly slightly upward and pry off the connections carefully.

    • Be careful not to damage the ribbon cable. This is essential to the operation of the flash.

  2. Polaroid Onestep Close Up Rear Viewfinder Replacement, Opening Film Tray: 手順 2、 2の画像 1 Polaroid Onestep Close Up Rear Viewfinder Replacement, Opening Film Tray: 手順 2、 2の画像 2
    • Slide the action button, on the bottom of the camera, to open the bottom.

  3. Polaroid Onestep Close Up Rear Viewfinder Replacement, Removing Face Plate: 手順 3、 3の画像 1 Polaroid Onestep Close Up Rear Viewfinder Replacement, Removing Face Plate: 手順 3、 3の画像 2 Polaroid Onestep Close Up Rear Viewfinder Replacement, Removing Face Plate: 手順 3、 3の画像 3
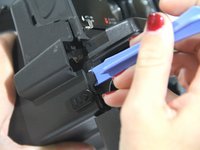
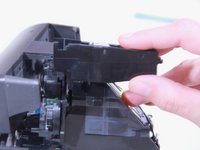
    • Insert the blue plastic opening tool between the rear case and the plastic tabs directly under the shelf, and pry it loose.

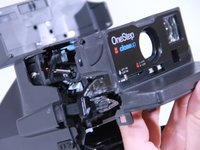
    • Pull off the face plate.

  4. Polaroid Onestep Close Up Rear Viewfinder Replacement, Core Assembly Removal: 手順 4、 3の画像 1 Polaroid Onestep Close Up Rear Viewfinder Replacement, Core Assembly Removal: 手順 4、 3の画像 2 Polaroid Onestep Close Up Rear Viewfinder Replacement, Core Assembly Removal: 手順 4、 3の画像 3
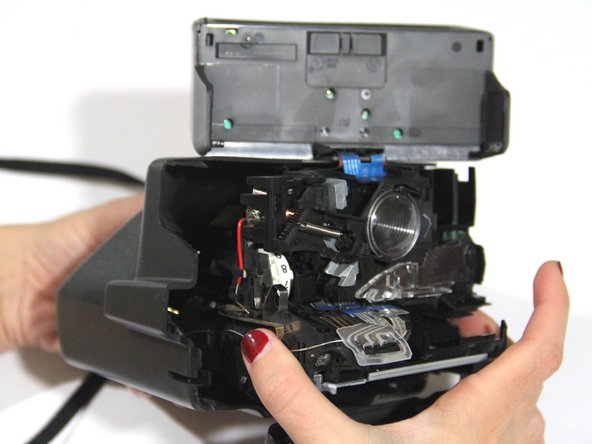
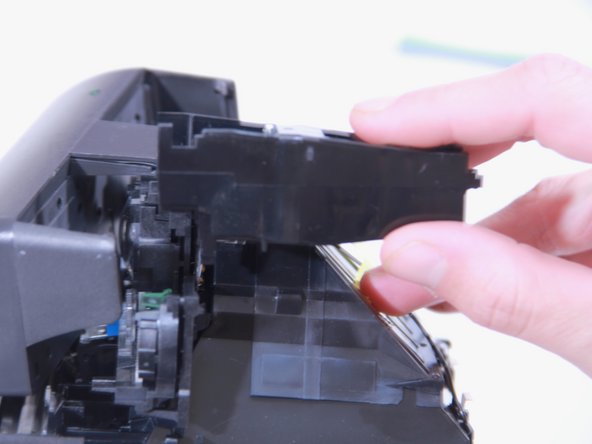
    • To remove the rear casing, use a spudger to leverage the sides of the metal frame at the bottom loose. If the spudger is in danger of breaking, it is safe to use a screwdriver.

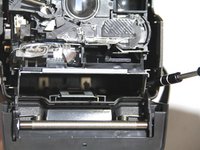
    • With that, the entire inner assembly should be separated from the rear casing. Carefully remove it.

    • During reassembly, when re-inserting the core assembly into the plastic casing, remember not to let the small red wire (visible in the third image) catch onto the small black hook on the casing (green)! The wire must be held down so as not to be hooked.

  5. Polaroid Onestep Close Up Rear Viewfinder Replacement, Removal of rear viewfinder assembly: 手順 5、 2の画像 1 Polaroid Onestep Close Up Rear Viewfinder Replacement, Removal of rear viewfinder assembly: 手順 5、 2の画像 2
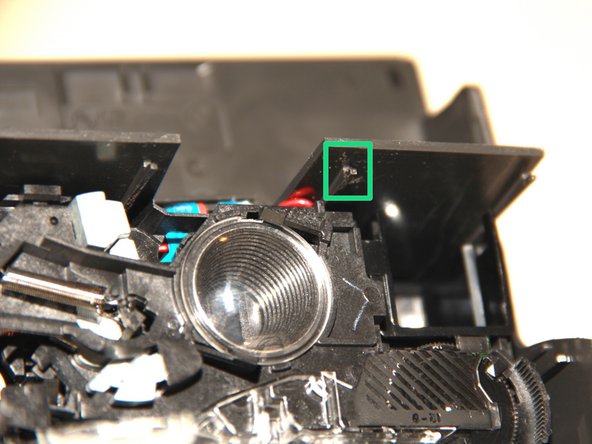
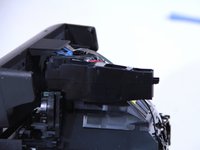
    • Once the rear casing is removed, lower the flash. The rear viewfinder lens assembly is located on the left side of the camera, when looking at it from the rear.

    • Simply wiggle the assembly loose.

  6. Polaroid Onestep Close Up Rear Viewfinder Replacement, Removal of rear viewfinder lens: 手順 6、 1の画像 1
    • You may decide to stop here and replace the assembly altogether. However, you may otherwise decide to separate the lens from the plastic enclosure.

    • In this case, there is a notch that is part of the lens shape (green) that fits into a matching groove in the enclosure (red). You will need to employ leverage to push the lens notch in and down while pulling the wall of the enclosure up in order to remove the lens.

    • WARNING: Removing the lens by exerting force on both it and the enclosure is very likely to break the fragile enclosure to some degree. The tolerances are very tight and the enclosure is reinforced in many different locations that may make the lens removal extremely difficult. Be very careful and think twice before attempting to remove the lens.

終わりに

To reassemble your device, follow these instructions in reverse order.

ある他の人がこのガイドを完成しました。

作成者

3人の作成者と共同で作成されました。

Christopher Collazo

メンバー登録日: 09/22/14

318 ポイント

2のガイドは作成済み

チーム

USF Tampa, Team 3-5, Brown Fall 2014 USF Tampa, Team 3-5, Brown Fall 2014人のメンバー

USFT-BROWN-F14S3G5

3 メンバー

6のガイドは作成済み

0 件のコメント

コメントを追加

統計データ:

過去 24時間: 0

過去 7 日: 2

過去 30 日: 20

今までの合計 1,721