はじめに
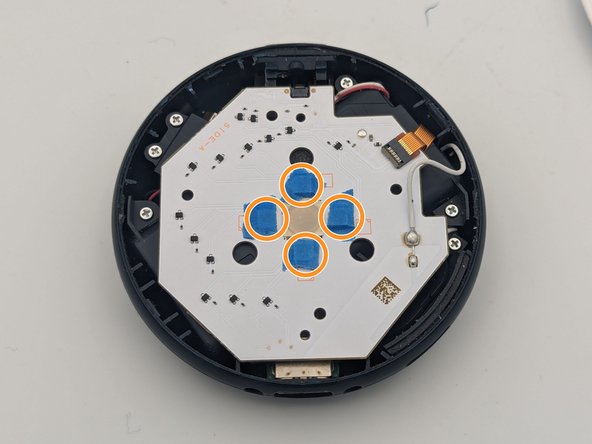
Many users of the Pokémon GO Plus+ complain about the very bright catch light, follow this guide to learn how to dampen the brightness of the lights.
必要な工具と部品
-
-
Flanking both sides of the charging port are J00 Screws. Remove these.
-
-
-
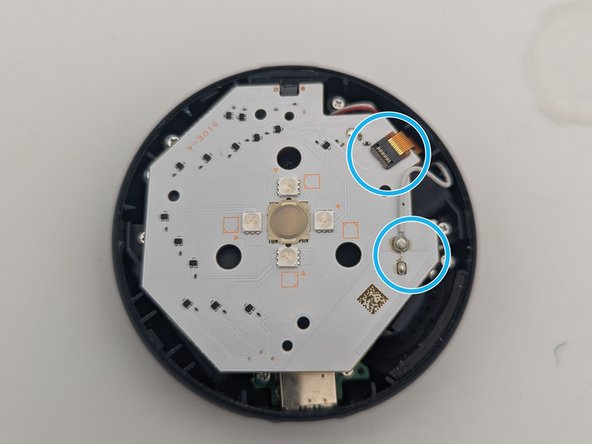
When looking at the front of the device, with the charging point at the bottom the device has a hinge clip and wires on the top right.
-
With a fingernail or some kind of slim pry tool, gently lift from the bottom left corner.
-
There is adhesive that is holding the faceplate on, If you have difficulty pulling it off, use a plastic spudger by inserting it in on the bottom left then slowly hinge the device open while applying pressure to the adhesive pad to loosen it.
-
-
-
-
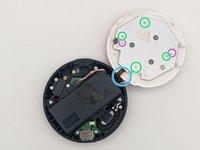
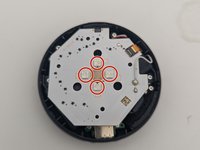
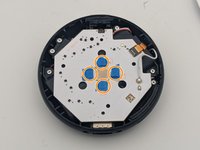
Once you've got the faceplate off, on the backside of the faceplate you will see a white PCB with 4 J00 screws securing it, remove those 4 screws
-
There are two alignment posts holding the board in place, while removing the board be careful not to damage these posts
-
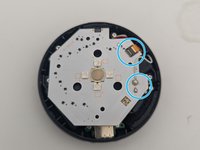
While the flat flex cable can be disconnected, the white wire is soldered to the other side of the board, so be very careful to not damage it.
-
To reassemble your device, follow these instructions in reverse order.
3 の人々がこのガイドを完成させました。
2件のガイドコメント
Is there a way to get rid of the LEDS all together
You can desolder them from the board I suppose, but that's a bit more destructive than necessary. You could get the same effect by just putting a very opaque cover on them like some black electrical tape.
David -


