はじめに
Please follow each step closely and if you are having trouble, go back a step and see where your issue is. May this guide be in your favor!
必要な工具と部品
-
-
Use a metal spudger to remove the small panels to the immediate left and right side of the camera.
-
-
-
-
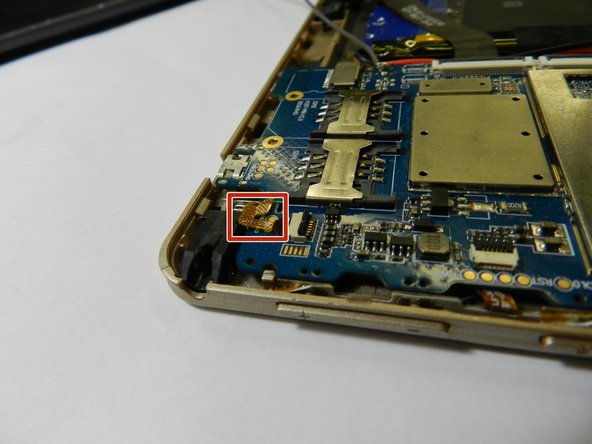
Disconnect the ribbon cable connecting the headphone jack on the motherboard by lifting up on the black press fit connector with a plastic opening tool.
-
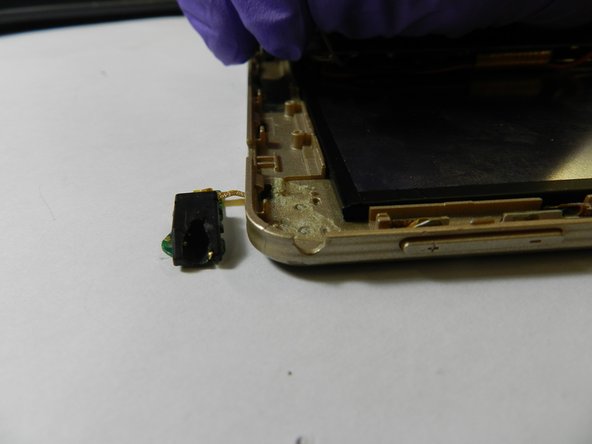
Use a plastic opening tool to pry up the headphone jack from its place in the case.
-


To reassemble your device, follow these instructions in reverse order.
To reassemble your device, follow these instructions in reverse order.
ある他の人がこのガイドを完成しました。

チーム

The Citadel Military College of South Carolina, Team S1-G17, Eggleston Fall 2019 The Citadel Military College of South Carolina, Team S1-G17, Eggleston Fall 2019人のメンバー
CMCSC-EGGLESTON-F19S1G17
3 メンバー
3のガイドは作成済み