はじめに
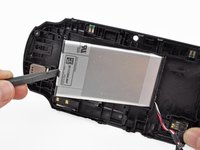
このガイドは、リアパネルを取り付けるプロセスを紹介します。リアパネルはリアタッチパッドを収容しています。
必要な工具と部品
-
-
-
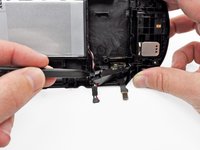
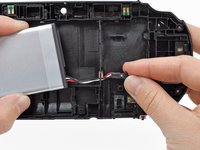
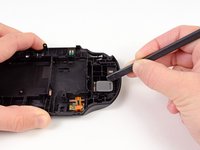
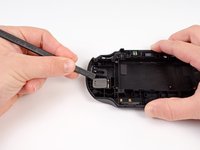
右スピーカーとリアケースの間にスパッジャーをスライドさせます。
-
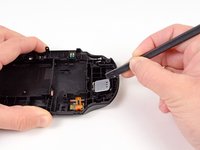
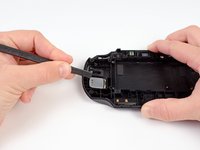
スパッジャーを使って、右スピーカーをケースに留めている薄い接着剤を慎重に剥がします。
-
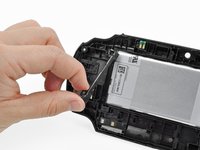
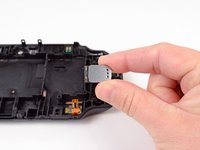
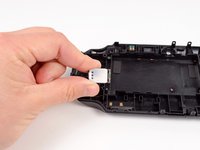
右スピーカーを取り外します。
-


デバイスを再度組み立てるには、この説明書の逆の順番で組み立ててください。
デバイスを再度組み立てるには、この説明書の逆の順番で組み立ててください。
11 の人々がこのガイドを完成させました。
以下の翻訳者の皆さんにお礼を申し上げます:
100%

これらの翻訳者の方々は世界を修理する私たちのサポートをしてくれています。 あなたも貢献してみませんか?
翻訳を始める ›


5 件のコメント
I really enjoyed Your article ! I'm about to replace the touch pad, i got a Vita recently but it has some Heavy scuffs. I've seen the back touch pad has adhesive attached on it. I bought a replacement On Ebay. I'm not sure if the replacement has adhesive with it. If it doesn't what would be your guys Thoughts on what i should use?
lol you will need some kind of adhesive its called common sense if Sony use it you use it simple
TH3ORY -
In the part that remains after complete disassembly, what are the two double pins at the top for, which later come into contact with the motherboard? I already have a new panel, but it has absolutely nothing except this one contact in the lower right part ...
Those are wifi antennas. You can get it out put it in to the new panel.