メインコンテンツにスキップ
リペアコミュニティに参加 - アカウントの作成

PlayStation Move Trigger Button Replacement

必要な工具と部品

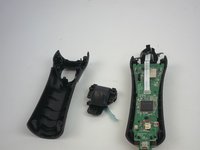
  1. PlayStation Move Trigger Button Replacement, Battery: 手順 1、 3の画像 1 PlayStation Move Trigger Button Replacement, Battery: 手順 1、 3の画像 2 PlayStation Move Trigger Button Replacement, Battery: 手順 1、 3の画像 3
    • Using a Phillips #0 screwdriver, remove the four 10mm screws located on the back of the device.

    FixBotに聞いてみる

    コメントを追加

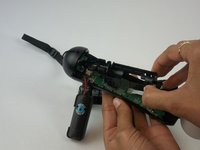
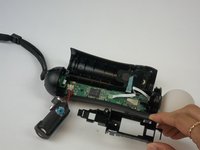
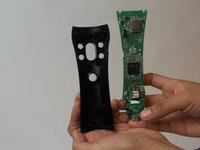
  2. PlayStation Move Trigger Button Replacement: 手順 2、 2の画像 1 PlayStation Move Trigger Button Replacement: 手順 2、 2の画像 2
    • Insert the plastic opening tool at the indent.

    • Gently use a forward and backward motion to safely pop open the cover.

    • Using your hands to further pull it apart.

    FixBotに聞いてみる

    コメントを追加

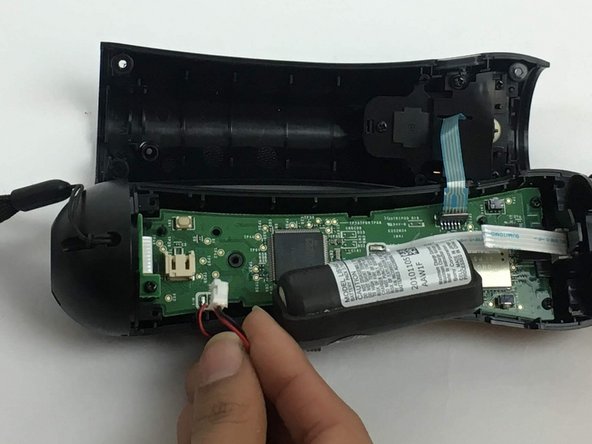
  3. PlayStation Move Trigger Button Replacement: 手順 3、 2の画像 1 PlayStation Move Trigger Button Replacement: 手順 3、 2の画像 2
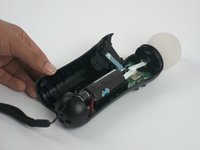
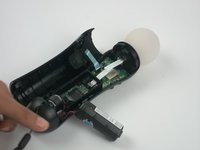
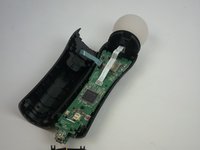
    • Once the device is opened, lift the battery out of the black plastic holder.

    • Carefully pull the battery out and ensure that it's wires are still connected to the inside.

    FixBotに聞いてみる

    コメントを追加

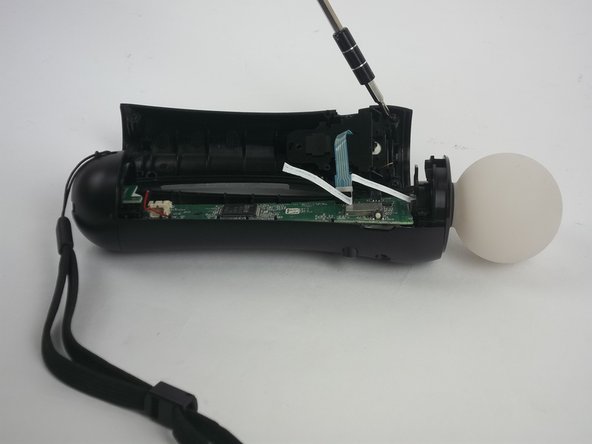
  4. PlayStation Move Trigger Button Replacement: 手順 4、 3の画像 1 PlayStation Move Trigger Button Replacement: 手順 4、 3の画像 2 PlayStation Move Trigger Button Replacement: 手順 4、 3の画像 3
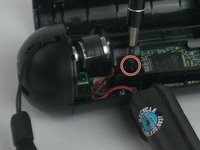
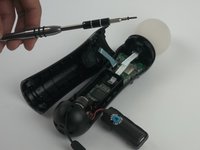
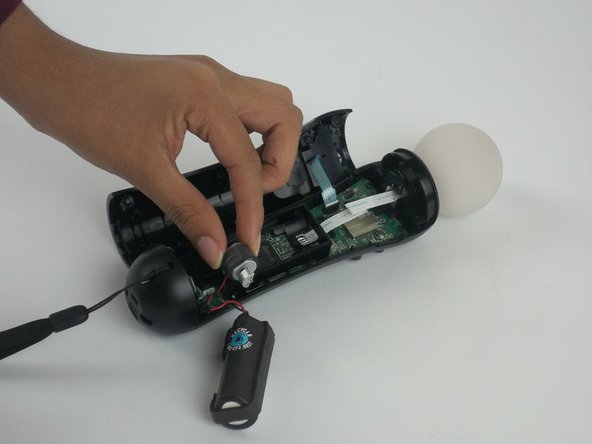
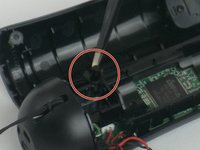
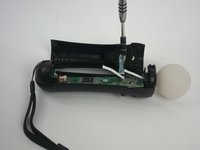
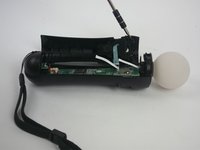
    • Using a Phillips head screwdriver, remove the 9mm screw located to the right of the battery, which is connected to the inner plastic frame.

    • Using the plastic opening tool carefully take out the grey cylindrical piece (vibrator) that is also attached to a wire.

    FixBotに聞いてみる

    コメントを追加

  5. PlayStation Move Trigger Button Replacement: 手順 5、 2の画像 1 PlayStation Move Trigger Button Replacement: 手順 5、 2の画像 2
    • Gently pull out the small grey cylindrical piece (vibrator).

    • Removing this piece makes it easier to access the wire connection of the battery and remove it.

    FixBotに聞いてみる

    コメントを追加

  6. PlayStation Move Trigger Button Replacement: 手順 6、 2の画像 1 PlayStation Move Trigger Button Replacement: 手順 6、 2の画像 2
    この手順で使用する道具:
    Tweezers
    $4.99
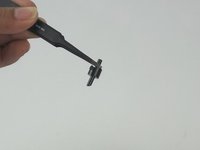
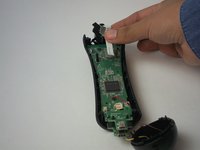
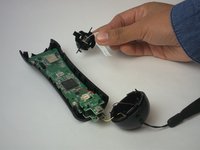
    • Using tweezers, remove the small piece with a cylindrical top that is located to the left of the inner plastic frame.

    FixBotに聞いてみる

    コメントを追加

  7. PlayStation Move Trigger Button Replacement: 手順 7、 3の画像 1 PlayStation Move Trigger Button Replacement: 手順 7、 3の画像 2 PlayStation Move Trigger Button Replacement: 手順 7、 3の画像 3
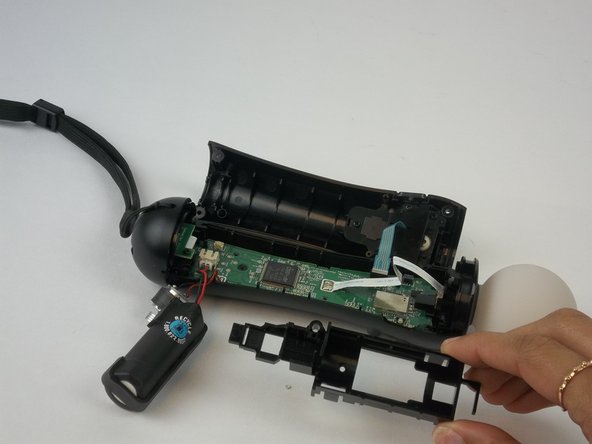
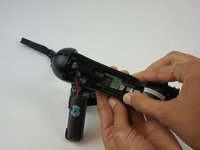
    • Using one hand to hold the device, and the other hand to squeeze the inner plastic frame.

    • Remove by squeezing the inner plastic frame, lift and pull it towards you.

    • While removing the frame, be extremely careful because it could damage the frame or the motherboard.

    FixBotに聞いてみる

    コメントを追加

  8. PlayStation Move Trigger Button Replacement: 手順 8、 2の画像 1 PlayStation Move Trigger Button Replacement: 手順 8、 2の画像 2
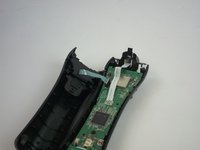
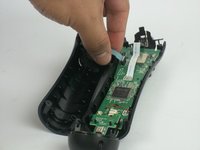
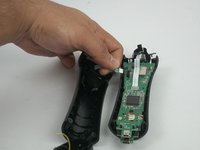
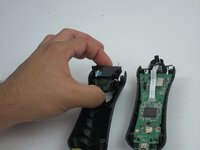
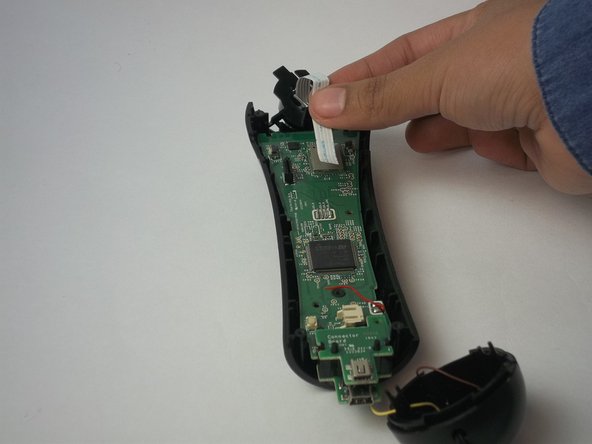
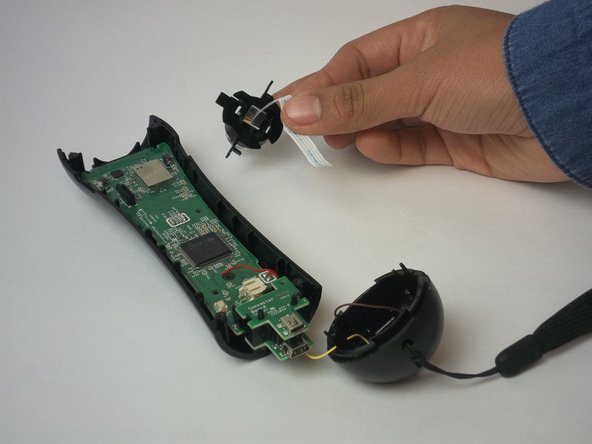
    • Gently pull on the white piece connecting the battery and the connector.

    FixBotに聞いてみる

    コメントを追加

  9. PlayStation Move Trigger Button Replacement, Motherboard: 手順 9、 3の画像 1 PlayStation Move Trigger Button Replacement, Motherboard: 手順 9、 3の画像 2 PlayStation Move Trigger Button Replacement, Motherboard: 手順 9、 3の画像 3
    • Remove the five 1.2 mm screws from upper portion of the controller.

    • If you are replacing the trigger button, continue to step 13.

    FixBotに聞いてみる

    コメントを追加

  10. PlayStation Move Trigger Button Replacement: 手順 10、 2の画像 1 PlayStation Move Trigger Button Replacement: 手順 10、 2の画像 2
    • Remove the two 1.2mm Phillips #1 screws.

    FixBotに聞いてみる

    コメントを追加

  11. PlayStation Move Trigger Button Replacement: 手順 11、 3の画像 1 PlayStation Move Trigger Button Replacement: 手順 11、 3の画像 2 PlayStation Move Trigger Button Replacement: 手順 11、 3の画像 3
    • Cautiously remove the circular white piece at the top without removing the LED inside.

    FixBotに聞いてみる

    コメントを追加

  12. PlayStation Move Trigger Button Replacement: 手順 12、 3の画像 1 PlayStation Move Trigger Button Replacement: 手順 12、 3の画像 2 PlayStation Move Trigger Button Replacement: 手順 12、 3の画像 3
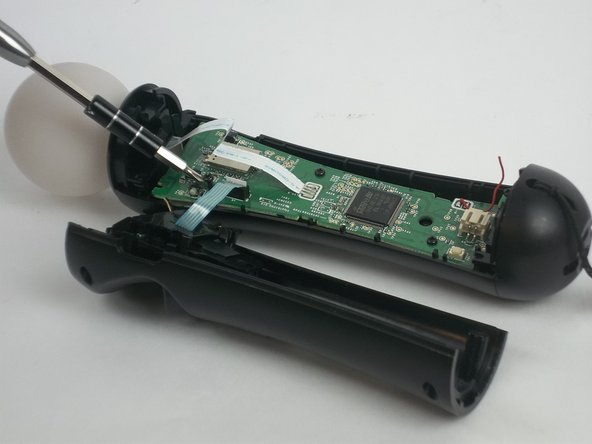
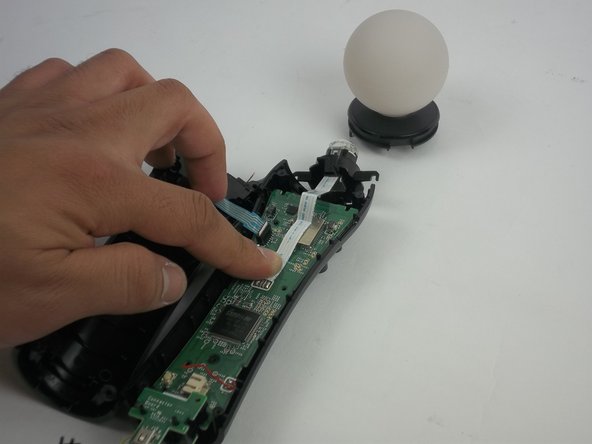
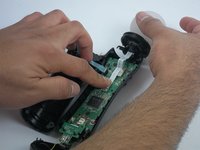
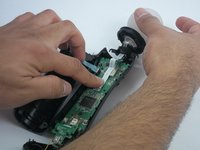
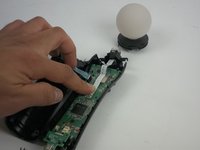
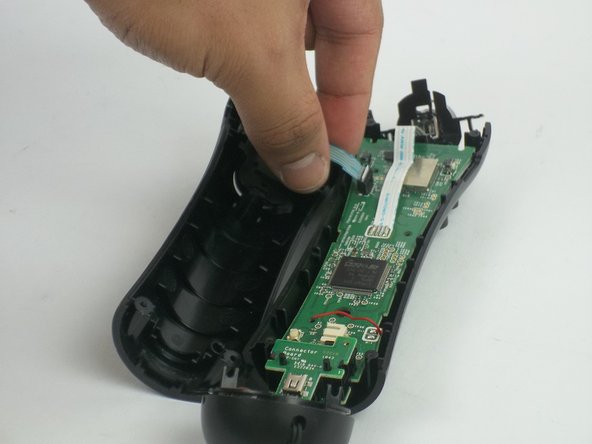
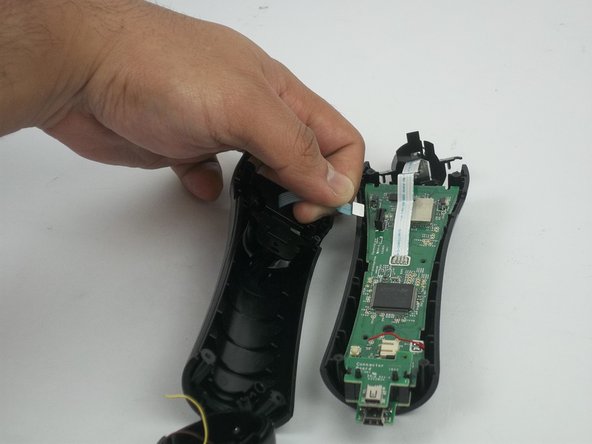
    • Remove the blue strip that is connected to the trigger button from the motherboard.

    • Be careful to gently detach it from the motherboard. The strip may rip if too much strength is applied.

    FixBotに聞いてみる

    コメントを追加

  13. PlayStation Move Trigger Button Replacement: 手順 13、 2の画像 1 PlayStation Move Trigger Button Replacement: 手順 13、 2の画像 2
    • Remove the trigger button from the controller.

    FixBotに聞いてみる

    コメントを追加

  14. PlayStation Move Trigger Button Replacement: 手順 14、 3の画像 1 PlayStation Move Trigger Button Replacement: 手順 14、 3の画像 2 PlayStation Move Trigger Button Replacement: 手順 14、 3の画像 3
    • Remove the LED light by removing the white strip.

    • If you are replacing the LED light, continue to Step 17.

    FixBotに聞いてみる

    コメントを追加

  15. PlayStation Move Trigger Button Replacement: 手順 15、 2の画像 1 PlayStation Move Trigger Button Replacement: 手順 15、 2の画像 2
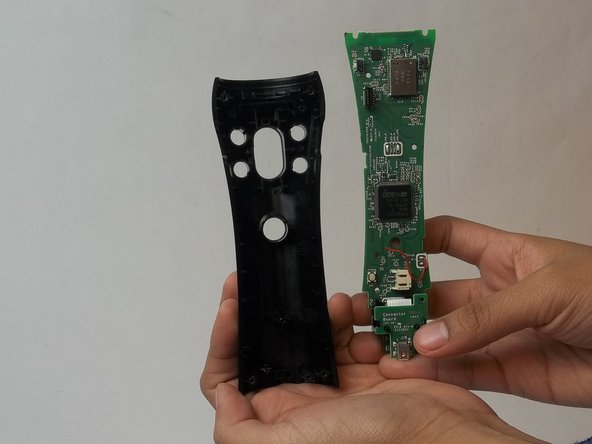
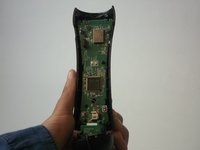
    • Remove the motherboard from the plastic case.

    FixBotに聞いてみる

    コメントを追加

終わりに

To reassemble your device, follow these instructions in reverse order.

キャンセル: このガイドを終了できませんでした。

ある他の人がこのガイドを完成しました。

作成者

5人の作成者と共同で作成されました。

Abdulaziz Refaei

メンバー登録日: 09/28/16

183 ポイント

1ガイドが承認済み

チーム

USF Tampa, Team 3-3, Passmore Fall 2016 USF Tampa, Team 3-3, Passmore Fall 2016人のメンバー

USFT-PASSMORE-F16S3G3

4 メンバー

10のガイドは作成済み

3件のガイドコメント

This disassembly is destructive (namely to the LED connector as it is soldered to the main board) and has many unnecessary steps for simply replacing the trigger button assembly. It also says no parts are required but you would clearly need replacement trigger parts.

Peter Miller - 返信 共有
this did not help at all

lucas ainsworth - 返信 共有
I have searched a lot on the internet and cannot find any parts for it.

Dormius Oksivox - 返信 共有

コメントを追加

統計データ:

過去 24時間: 1

過去 7 日: 16

過去 30 日: 52

今までの合計 3,890