はじめに
One of the reasons your PlayStation 4 Slim might not be booting is a failing hard drive. Alternatively, you may just be looking to replace it for an upgrade to either have more storage, or utilize a solid state drive to improve load times and speeds.
Before doing this procedure, here are a few steps to check for and see if it's failure that requires complete replacement (you can ignore this checklist if you are simply upgrading):
- Sometimes dust can buildup in the system, causing it to overheat and shutdown or not get past boot. It could even be inside where the hard drive connects to the system.
- Your drive's data might be corrupted, which can be fixed by a simple system software reinstallation and other safe mode boot fixes. You can boot into safe mode by pressing and holding the power button for 7 seconds and go down the list of restore options.
- You can also check for failure by looking for tell-tale signs. This includes any noises coming from the hard drive, especially loud and quick clicking, slower performance than usual, sudden system failures/forced shutdowns, and more.
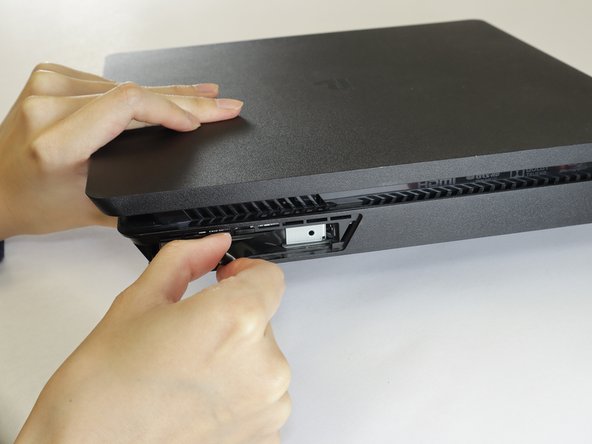
Before beginning, power down your system fully (do not put it in rest mode) and disconnect all cables, especially the power cable.
必要な工具と部品
-
-
-
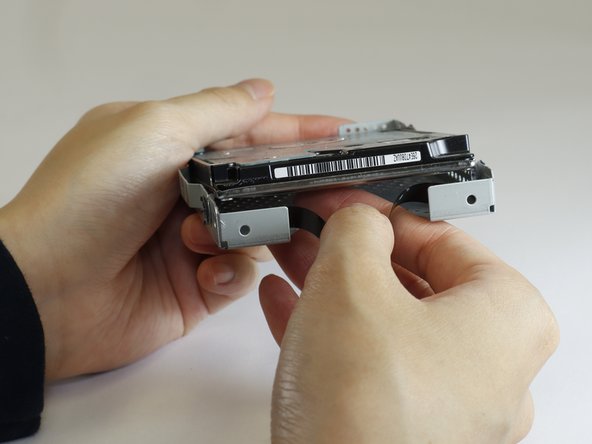
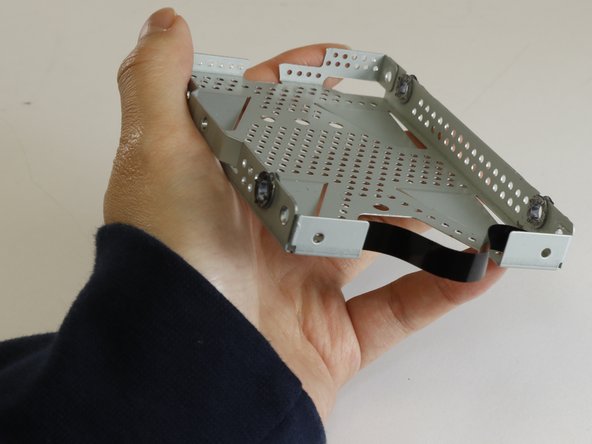
Place your replacement hard drive or solid-state drive into the caddy.
-
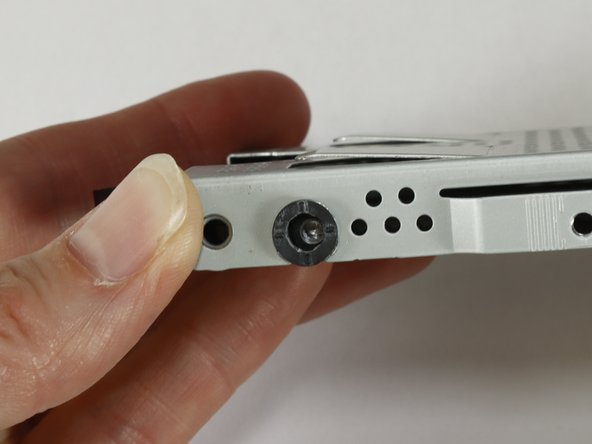
Make sure the drive is upside with the connector's golden pins facing up like so.
-
Also be sure the connector is facing away from the black tape handle. This and the above point will ensure proper connection to the Playstation 4.
-


To reassemble your device, follow these instructions in reverse order starting from Step 4.
Be sure to have a USB stick ready with an official PS4 firmware update file from Sony's website to reinstall the system software on your new hard disk or solid state drive. Follow Sony's instructions for formatting the USB as well.
3 の人々がこのガイドを完成させました。

チーム

UC Davis, Team 3-7, Andersen Winter 2024 UC Davis, Team 3-7, Andersen Winter 2024人のメンバー
UCD-ANDERSEN-W24S3G7
2 メンバー
3のガイドは作成済み
コメント 1 件
I need help why is my ps4 slim not turning on, all it does Is show the Play Station logo then the screen is black then turns off?