この修理ガイドは変更されています。最新の未承認バージョンに切り替えます。
はじめに
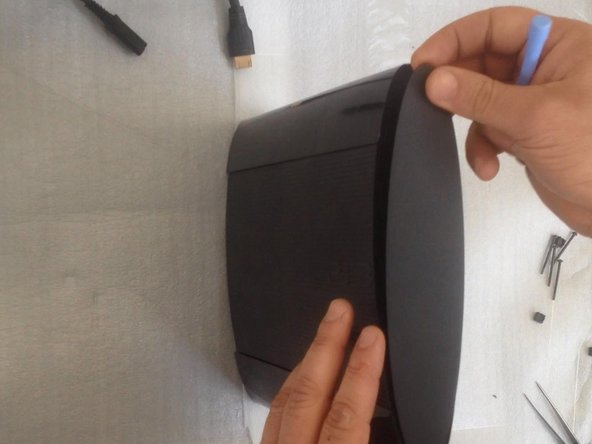
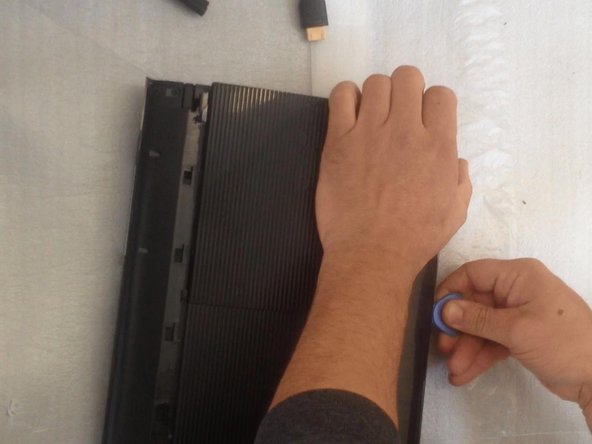
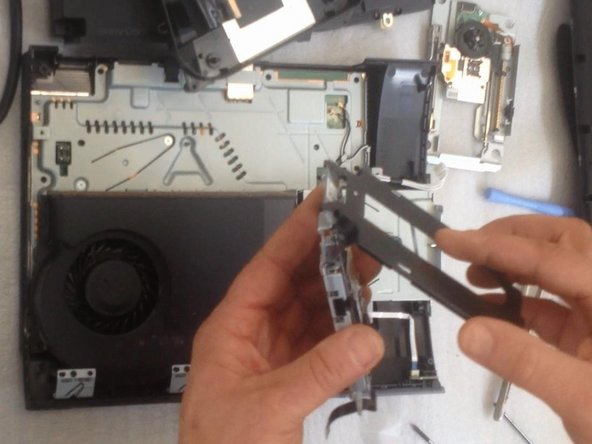
How to disassemble and change the Laser Unit.
必要な工具と部品
ビデオの概要


To reassemble your device, follow these instructions in reverse order.
To reassemble your device, follow these instructions in reverse order.
10 の人々がこのガイドを完成させました。

チーム

5 件のコメント
Very good job, kudos!
I have found that there are to types of lasers do you sell the second one that does not have the black screws on top but are silver. I have found the one with the silver screws has a smaller laser flex cable and plug. its for the cech-43xx
My only problem now is how to purchase the right Laser unit? Any specs for the right Laser unit? Thanks
I’ve done this but my ps3 still doesn’t read disks it spins it up 4 odd times but doesn’t read them and it sounds like the disk skims the top of the laser unit but it hasn't done any damage and it does it with both units, I’m so lost on what to do.
I am replacing the optical drive in my console. But didn't note where the drive ribbon was positioned!? Every video I have found, they just pop right in...my original and replacement drives, have larger receptacles than the ribbon it self. There are at least 5 pins, that don't have (potentially) anything connecting them, to the ribbon. I don't want to randomly place the ribbon in one of the possible (7?) positions and fry something in the process...so where do I connect the smaller ribbon?!