メインコンテンツにスキップ

PlayStation 2 Slimline Fan Replacement

必要な工具と部品

  1. PlayStation 2 Slimline Fan Replacement, Outer Shell: 手順 1、 1の画像 1
    • Disconnect all cables from the console and flip the unit over to reveal its base.

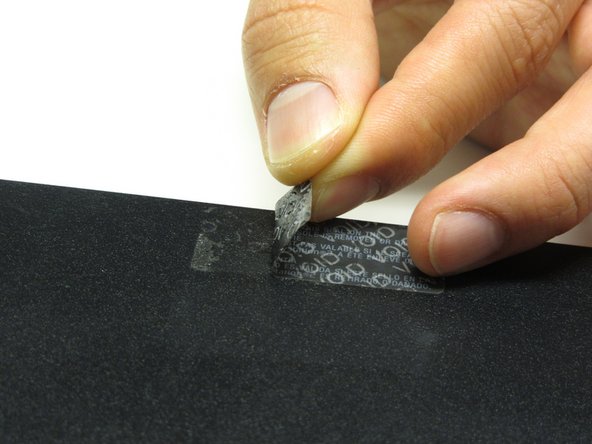
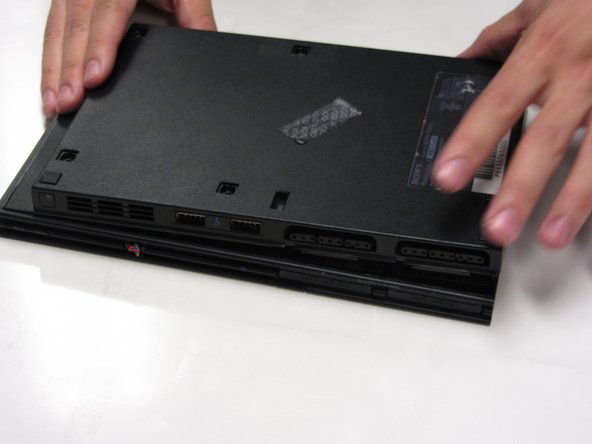
  2. PlayStation 2 Slimline Fan Replacement: 手順 2、 3の画像 1 PlayStation 2 Slimline Fan Replacement: 手順 2、 3の画像 2 PlayStation 2 Slimline Fan Replacement: 手順 2、 3の画像 3
    • Locate the 6 feet on the base of the unit. Pry them off using a spudger to reveal the screws.

    • Note: One of the feet is located under the sticker shown in the photo. Removing this sticker will void any warranty with Sony.

  3. PlayStation 2 Slimline Fan Replacement: 手順 3、 3の画像 1 PlayStation 2 Slimline Fan Replacement: 手順 3、 3の画像 2 PlayStation 2 Slimline Fan Replacement: 手順 3、 3の画像 3
    • Remove all six 4.0 mm screws from the base of the unit using a #1 Phillips screwdriver.

  4. PlayStation 2 Slimline Fan Replacement: 手順 4、 3の画像 1 PlayStation 2 Slimline Fan Replacement: 手順 4、 3の画像 2 PlayStation 2 Slimline Fan Replacement: 手順 4、 3の画像 3
    • Starting at the corner at which the power and Ethernet ports are located, pry open the outer shell using a spudger and continue around the entire unit.

    • Note: You may use your hands for additional force to separate the two pieces of the outer shell.

  5. PlayStation 2 Slimline Fan Replacement, Fan: 手順 5、 2の画像 1 PlayStation 2 Slimline Fan Replacement, Fan: 手順 5、 2の画像 2
    • Locate the fan at the front, left section of the unit.

  6. PlayStation 2 Slimline Fan Replacement: 手順 6、 2の画像 1 PlayStation 2 Slimline Fan Replacement: 手順 6、 2の画像 2
    • Peel off the sticker holding the power cords to the unit.

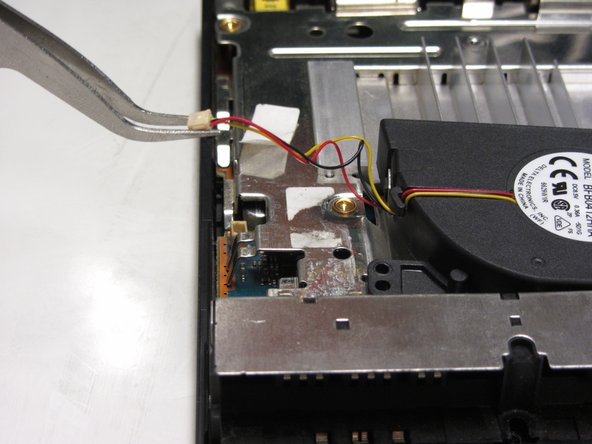
  7. PlayStation 2 Slimline Fan Replacement: 手順 7、 2の画像 1 PlayStation 2 Slimline Fan Replacement: 手順 7、 2の画像 2
    • Lift the connector from the motherboard with a pair of tweezers using a firm, upward force.

  8. PlayStation 2 Slimline Fan Replacement: 手順 8、 3の画像 1 PlayStation 2 Slimline Fan Replacement: 手順 8、 3の画像 2 PlayStation 2 Slimline Fan Replacement: 手順 8、 3の画像 3
    • Remove all three 1.6 mm screws fastening the fan to the unit using a #1 Phillips screwdriver.

    • Gently lift and remove the fan from its compartment.

終わりに

To reassemble your device, follow these instructions in reverse order.

10 の人々がこのガイドを完成させました。

作成者

1人の作成者と共同作成されました。

Thomas Sullivan

メンバー登録日: 10/23/13

3,927 ポイント

6のガイドは作成済み

0 件のコメント

コメントを追加

統計データ:

過去 24時間: 4

過去 7 日: 23

過去 30 日: 104

今までの合計 8,330