メインコンテンツにスキップ

このバージョンは誤った内容を含んでいる可能性があります。最新の承認済みスナップショットに切り替えてください。

必要な工具と部品

  1. この手順は未翻訳です。 翻訳を手伝う。

    : 手順 1、 2の画像 1 : 手順 1、 2の画像 2
    • Firmly grasp hold of the ring on the bottom of the 90 degree silver fitting on the front of the gun.

    • Pull hard, but slowly, on the macroline where it comes out of silver piece until it comes out.

    • The macroline is the black hose connecting the regulator to the tank connection.

  2. この手順は未翻訳です。 翻訳を手伝う。

    : 手順 2、 2の画像 1 : 手順 2、 2の画像 2
    • Remove the regulator by unscrewing it in a clockwise direction.

  3. この手順は未翻訳です。 翻訳を手伝う。

    : 手順 3、 2の画像 1 : 手順 3、 2の画像 2
    • Use the 5/64" hex key to remove the screw shown.

    • Remove the grip panel by gently holding the bottom of the panel and lifting the panel off.

    • If you are only replacing the battery, skip the next step.

    • The screws in this guide are interchangeable with those shown in the Eyes replacement guide.

  4. この手順は未翻訳です。 翻訳を手伝う。

    : 手順 4、 1の画像 1
    • Flip the marker over and use the 5/64" hex key to remove the screw shown.

    • Remove the grip panel by gently holding the bottom of the panel and lifting the panel off.

  5. この手順は未翻訳です。 翻訳を手伝う。

    : 手順 5、 2の画像 1 : 手順 5、 2の画像 2
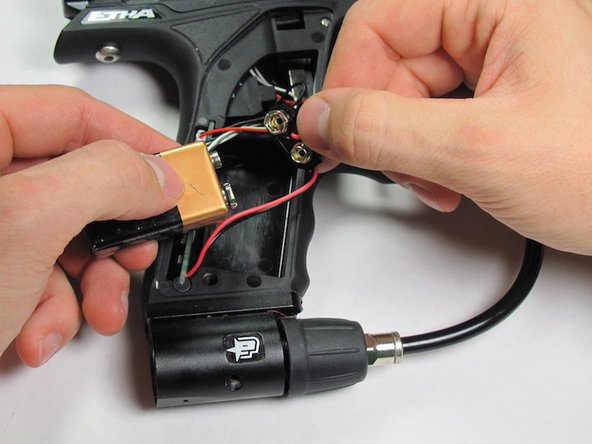
    • Carefully remove the 9V battery and connector.

    • Remove the 9V battery from the connector.

  6. この手順は未翻訳です。 翻訳を手伝う。

    : 手順 6、 2の画像 1 : 手順 6、 2の画像 2
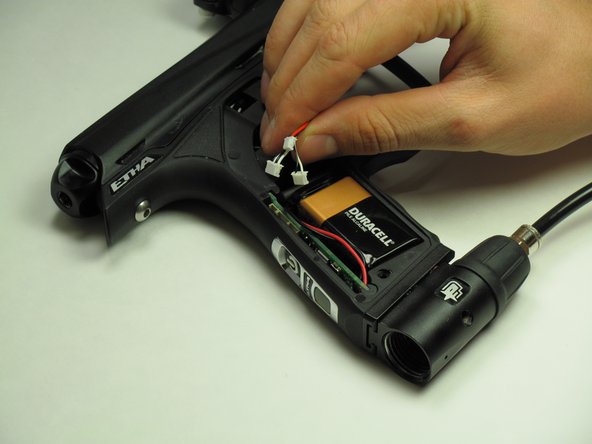
    • Carefully disconnect the three connectors from the circuit board.

    • Don't worry about remembering which direction the connectors go in, they will not fit in the board in the wrong direction.

  7. この手順は未翻訳です。 翻訳を手伝う。

    : 手順 7、 2の画像 1 : 手順 7、 2の画像 2
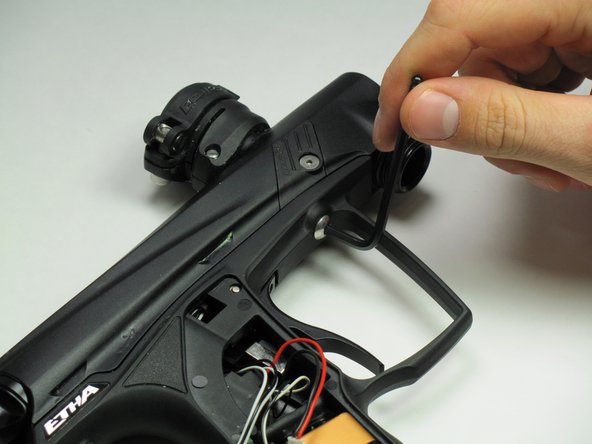
    • Use the 1/8" hex key to remove the two dome-headed screws by rotating them counter-clockwise.

  8. この手順は未翻訳です。 翻訳を手伝う。

    : 手順 8、 1の画像 1
    • Be very careful during the step to avoid damage to the solenoid or wiring.

    • Gently separate the top and bottom of the marker.

  9. この手順は未翻訳です。 翻訳を手伝う。

    : 手順 9、 2の画像 1 : 手順 9、 2の画像 2
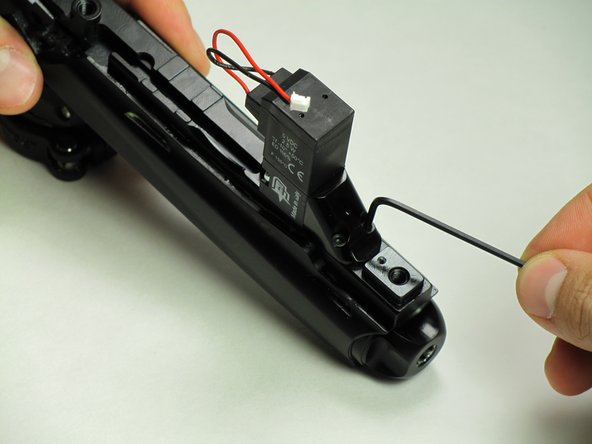
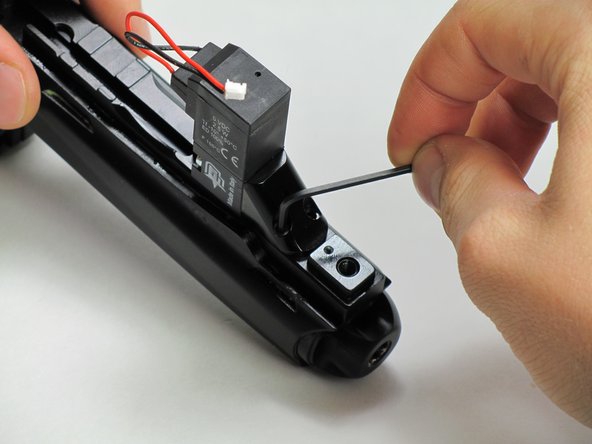
    • Remove the two black hex bolts that connect the solenoid mount to the body.

    • Use the 5/64" Allen Key to rotate each screw counter clockwise.

  10. この手順は未翻訳です。 翻訳を手伝う。

    : 手順 10、 2の画像 1 : 手順 10、 2の画像 2
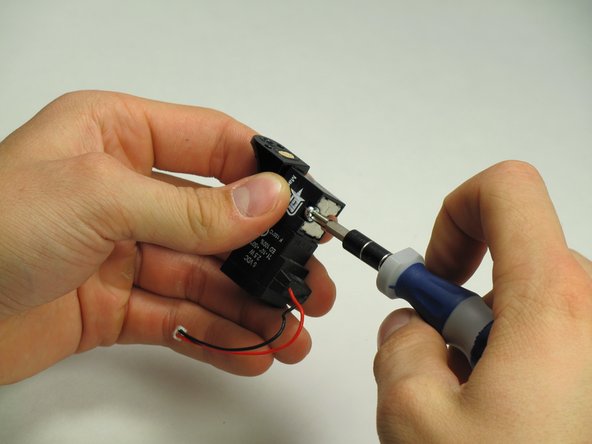
    • Remove the two Phillips head screws that connect the solenoid to its mount.

    • Use a Phillip's head screwdriver and rotate each screw counter clockwise.

    • Do not attempt to dismantle the solenoid. Intentionally dismantling or tampering with the solenoid voids the manufacturer’s warranty.

ゴール

作成者

2人の作成者と共同で作成されました。

Austin Eslinger

メンバー登録日: 10/14/14

110 ポイント

1ガイドが承認済み

チーム

Cal Poly, Team 10-42, Amido Fall 2014 Cal Poly, Team 10-42, Amido Fall 2014人のメンバー

CPSU-AMIDO-F14S10G42

5 メンバー

7のガイドは作成済み

3 件のコメント

Watis the price on etha solenoid, where can i get one , l ma staying in SA, myne is leaking ear,email ratgonefishing @gmail. Com

Roelof Koekemoer - 返信

Hi my etha solenoid leaks ear,where do l get one,wats the price,i m staying in SA

Roelof Koekemoer - 返信

Hello if it’s leaking try to lubricate your O-rings and switch out the filter, these can be very expensive from $55-$99 they don’t Make this model anymore so it’s very hard to find

Eddie -

コメントを追加

統計データ:

過去 24時間: 1

過去 7 日: 6

過去 30 日: 14

今までの合計 2,419