メインコンテンツにスキップ

Pipo Smart S1 Battery Replacement

必要な工具と部品

  1. Pipo Smart S1 Battery Replacement, Battery: 手順 1、 3の画像 1 Pipo Smart S1 Battery Replacement, Battery: 手順 1、 3の画像 2 Pipo Smart S1 Battery Replacement, Battery: 手順 1、 3の画像 3
    • Insert an iFixit opening tool between the body and display of the tablet at the bottom of the device where the charging port is.

    • Slide the tool along the gap you are creating, moving to the right direction against the mini USB port.

  2. Pipo Smart S1 Battery Replacement: 手順 2、 1の画像 1
    • Gently pry the body of the tablet and pop the back cover open.

    • Lift the back cover of the device and place it on the side.

  3. Pipo Smart S1 Battery Replacement: 手順 3、 1の画像 1
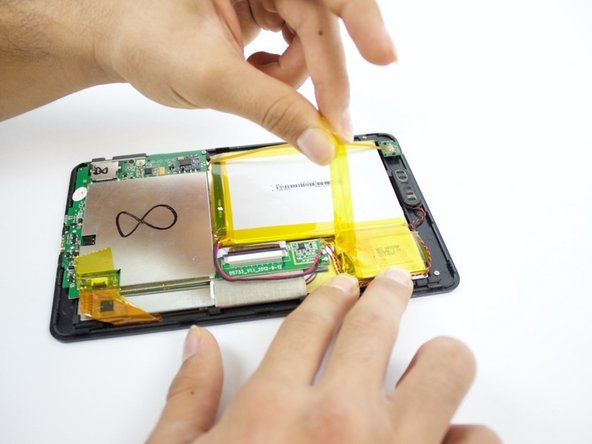
    • Lift the edge of the white tape with the iFixit opening tool.

  4. Pipo Smart S1 Battery Replacement: 手順 4、 2の画像 1 Pipo Smart S1 Battery Replacement: 手順 4、 2の画像 2
    • Lift the white tape with your fingers, then lift the yellow tape that holds the battery extension.

  5. Pipo Smart S1 Battery Replacement: 手順 5、 1の画像 1
    • On the bottom of your tablet, use the Phillips #0 screwdriver to take the two 3mm screws out.

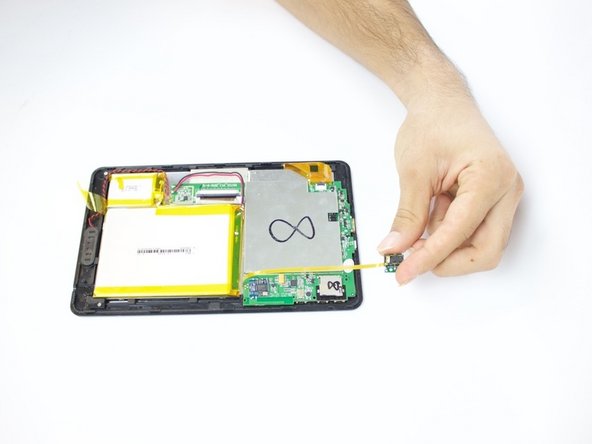
  6. Pipo Smart S1 Battery Replacement: 手順 6、 2の画像 1 Pipo Smart S1 Battery Replacement: 手順 6、 2の画像 2
    • Lift the headphone jack and move it to the other side, placing it on the surface you are working on.

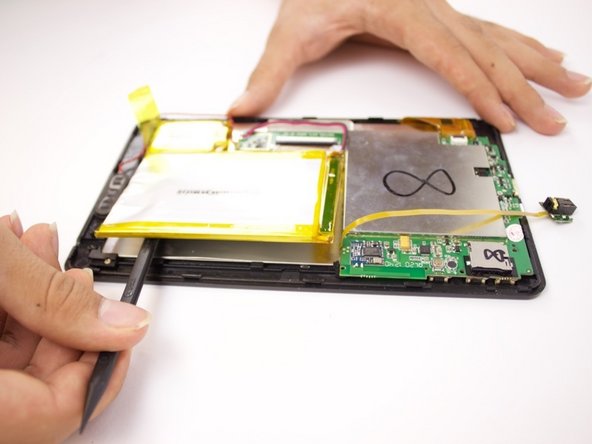
  7. Pipo Smart S1 Battery Replacement: 手順 7、 2の画像 1 Pipo Smart S1 Battery Replacement: 手順 7、 2の画像 2
    • Use a spudger to pry the battery and detach it from the glue underneath it.

    • Be careful not to pinch the battery—lithium batteries are hazardous and prone to short circuiting, and thus burning and/or exploding.

  8. Pipo Smart S1 Battery Replacement: 手順 8、 1の画像 1
    • Lift the battery and place it a little further away from the positive and negative battery wires.

  9. Pipo Smart S1 Battery Replacement: 手順 9、 1の画像 1
    • Using your soldering iron, melt the two lead spots to detach the wires.

    • The soldering iron is extremely hot, so handle with caution. Always keep the soldering iron holder next to you when using it so you can return it easily.

    • When reassembling, make sure you solder the right pole to the right spot on the circuit board, as swapping them can burn the motherboard.

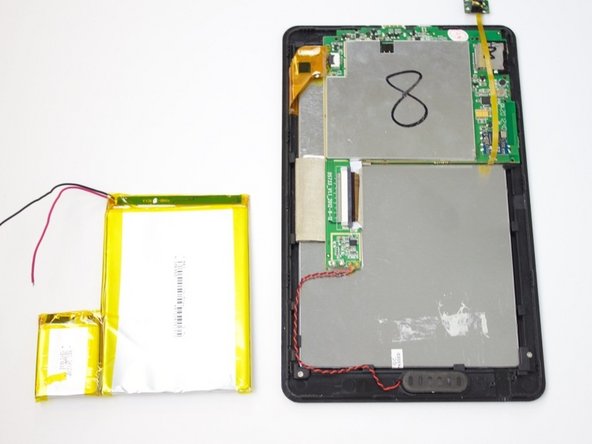
  10. Pipo Smart S1 Battery Replacement: 手順 10、 2の画像 1 Pipo Smart S1 Battery Replacement: 手順 10、 2の画像 2
    • Remove the two wires. Then remove the battery completely from the device.

    • Make sure you tape the negative and positive battery wires to keep them from short-circuiting.

終わりに

To reassemble your device, follow these instructions in reverse order.

作成者

3人の作成者と共同で作成されました。

Ali Alqallaf

メンバー登録日: 09/28/16

340 ポイント

3のガイドは作成済み

チーム

USF Tampa, Team 3-6, Passmore Fall 2016 USF Tampa, Team 3-6, Passmore Fall 2016人のメンバー

USFT-PASSMORE-F16S3G6

3 メンバー

6のガイドは作成済み

0 件のコメント

コメントを追加

統計データ:

過去 24時間: 1

過去 7 日: 5

過去 30 日: 14

今までの合計 988