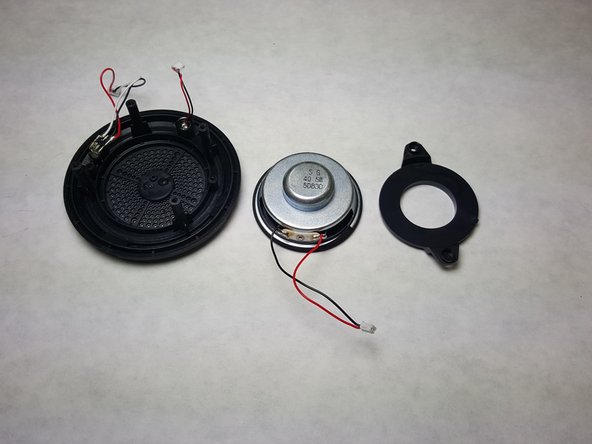
メインコンテンツにスキップ

Photive Rain Speaker Replacement

必要な工具と部品

  1. Photive Rain Speaker Replacement, Back Panel: 手順 1、 1の画像 1
    • Turn the speaker off before disassembling.

    • Remove the suction cup from its groove by twisting and turning it.

  2. Photive Rain Speaker Replacement: 手順 2、 1の画像 1
    • Remove the four 8.5 mm screws from the back panel of the speaker by using the Phillips #1 Screwdriver.

    • Remove back panel

  3. Photive Rain Speaker Replacement, Speaker: 手順 3、 1の画像 1
    • Carefully remove the front panel from the device.

  4. Photive Rain Speaker Replacement: 手順 4、 1の画像 1
    • Detach the connector clips from the motherboard using the iFixit Opening Tool.

    • Some force may be necessary to remove the plastic clips.

  5. Photive Rain Speaker Replacement: 手順 5、 2の画像 1 Photive Rain Speaker Replacement: 手順 5、 2の画像 2
    • After the speaker is detached, remove the two 8.5mm screws that hold the speaker to the front panel with a Phillips #1 screwdriver.

終わりに

To reassemble your device, follow these instructions in reverse order.

2 の人々がこのガイドを完成させました。

作成者

8人の作成者と共同で作成されました。

abcdef ghijk

メンバー登録日: 02/15/16

723 ポイント

4のガイドは作成済み

チーム

IUPUI, Team 1-4, Harley Spring 2016 IUPUI, Team 1-4, Harley Spring 2016人のメンバー

IUPUI-HARLEY-S16S1G4

3 メンバー

4のガイドは作成済み

0 件のコメント

コメントを追加

統計データ:

過去 24時間: 0

過去 7 日: 0

過去 30 日: 0

今までの合計 290