メインコンテンツにスキップ

Philips TAS7505 Battery Replacement

必要な工具と部品

  1. Philips TAS7505 Battery Replacement, Battery: 手順 1、 3の画像 1 Philips TAS7505 Battery Replacement, Battery: 手順 1、 3の画像 2 Philips TAS7505 Battery Replacement, Battery: 手順 1、 3の画像 3
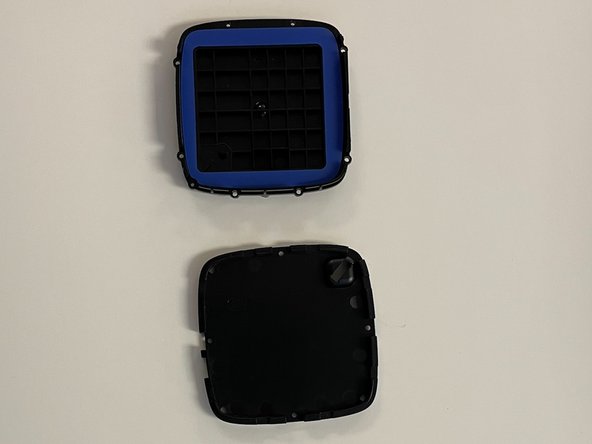
    • Remove the rubber dampener from the bottom of the speaker using your opening tool.

    • However, this will make it harder to replace the rubber dampener, and it may not stick. It is not necessary to the speaker's function.

  2. Philips TAS7505 Battery Replacement: 手順 2、 3の画像 1 Philips TAS7505 Battery Replacement: 手順 2、 3の画像 2 Philips TAS7505 Battery Replacement: 手順 2、 3の画像 3
    • Remove the four Phillips #0 screws attached to the cover and remove with the opening tool.

  3. Philips TAS7505 Battery Replacement: 手順 3、 2の画像 1 Philips TAS7505 Battery Replacement: 手順 3、 2の画像 2
    • Remove all Phillips #0 screws to remove the final layers to open the inside.

  4. Philips TAS7505 Battery Replacement: 手順 4、 2の画像 1 Philips TAS7505 Battery Replacement: 手順 4、 2の画像 2
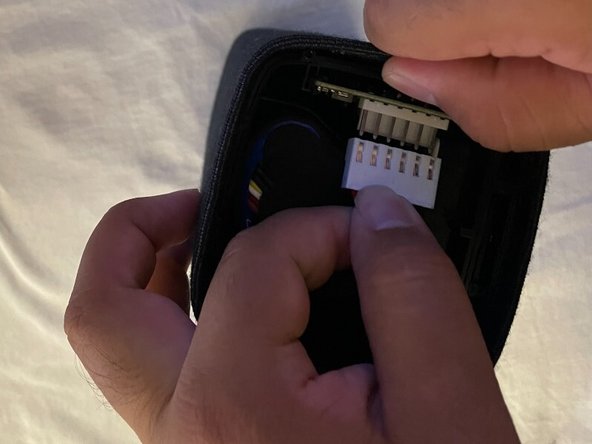
    • Remove the battery from the motherboard.

    • The cable that connects the battery to the speaker is attached to small pins. You can use your hands to wiggle the battery out.

  5. Philips TAS7505 Battery Replacement: 手順 5、 2の画像 1 Philips TAS7505 Battery Replacement: 手順 5、 2の画像 2
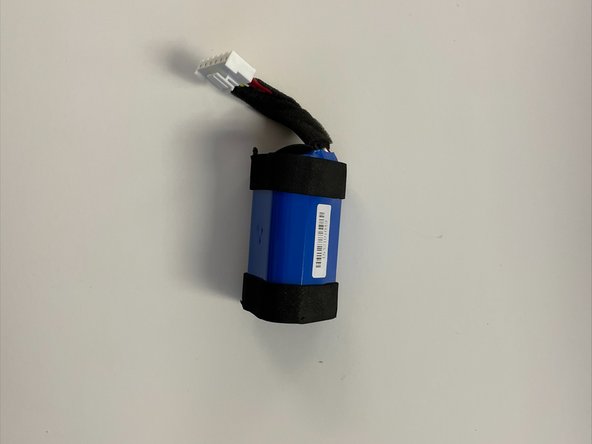
    • After removing the battery, insert the replacement battery.

終わりに

To reassemble your device, follow these instructions in reverse order.

ある他の人がこのガイドを完成しました。

作成者

6人の作成者と共同で作成されました。

Frederick Jimenez

メンバー登録日: 09/26/22

277 ポイント

2のガイドは作成済み

チーム

CSU Los Angeles, Team 5-2, Adachi Fall 2022 CSU Los Angeles, Team 5-2, Adachi Fall 2022人のメンバー

CSULA-ADACHI-F22S5G2

5 メンバー

5のガイドは作成済み

0 件のコメント

コメントを追加

統計データ:

過去 24時間: 0

過去 7 日: 5

過去 30 日: 25

今までの合計 523