メインコンテンツにスキップ

Philips Satinelle Tension Clip Replacement

必要な工具と部品

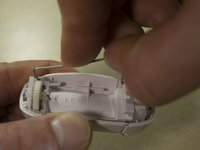
  1. Philips Satinelle Tension Clip Replacement, Tension Clip Replacement: 手順 1、 1の画像 1
    • Remove Tweezer Head by pushing to the left with thumb.

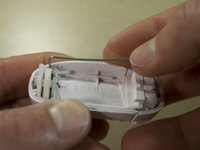
  2. Philips Satinelle Tension Clip Replacement: 手順 2、 3の画像 1 Philips Satinelle Tension Clip Replacement: 手順 2、 3の画像 2 Philips Satinelle Tension Clip Replacement: 手順 2、 3の画像 3
    • Locate the Tension Clip on the removable tweezer head.

    • Begin prying from the right side of the Tension Clip.

    • Finish removal by prying the left side of the Tension Clip.

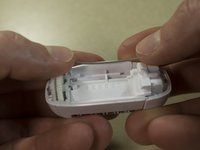
  3. Philips Satinelle Tension Clip Replacement: 手順 3、 3の画像 1 Philips Satinelle Tension Clip Replacement: 手順 3、 3の画像 2 Philips Satinelle Tension Clip Replacement: 手順 3、 3の画像 3
    • Replace the Tension Clip

    • Insert left side of clip roughly half way in.

    • Insert right side of clip and push both sides down with thumbs.

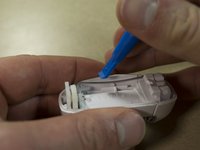
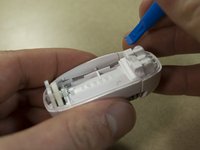
  4. Philips Satinelle Tension Clip Replacement: 手順 4、 2の画像 1 Philips Satinelle Tension Clip Replacement: 手順 4、 2の画像 2
    • Use Opening Tool to fully depress Tension Clip in place.

終わりに

Contact the manufacturer for a replacement Tension Clip.

To reassemble your device, follow these instructions in reverse order.

作成者

4人の作成者と共同で作成されました。

George Tipker IV

メンバー登録日: 11/11/17

148 ポイント

1ガイドが承認済み

チーム

IUPUI, Team S5-G5, Wilson Fall 2017 IUPUI, Team S5-G5, Wilson Fall 2017人のメンバー

IUPUI-WILSON-F17S5G5

3 メンバー

4のガイドは作成済み

0 件のコメント

コメントを追加

統計データ:

過去 24時間: 0

過去 7 日: 0

過去 30 日: 6

今までの合計 866