メインコンテンツにスキップ

Philips PD9000 37 Buttons Replacement

必要な工具と部品

  1. Philips PD9000 37 Buttons Replacement, Buttons: 手順 1、 1の画像 1
    • Lay the player flat so the outside casing is facing upwards. Using the screwdriver, unscrew all the case screws on the bottom of the player.

  2. Philips PD9000 37 Buttons Replacement: 手順 2、 3の画像 1 Philips PD9000 37 Buttons Replacement: 手順 2、 3の画像 2 Philips PD9000 37 Buttons Replacement: 手順 2、 3の画像 3
    • Open the disc flap and unscrew the screws inside. There will be three screws.

    • Using spudger, pry open the disk casing, and pull upwards removing it from the outer casing.

  3. Philips PD9000 37 Buttons Replacement: 手順 3、 3の画像 1 Philips PD9000 37 Buttons Replacement: 手順 3、 3の画像 2 Philips PD9000 37 Buttons Replacement: 手順 3、 3の画像 3
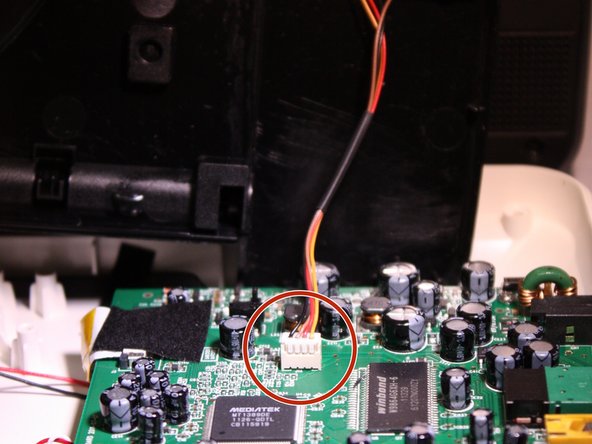
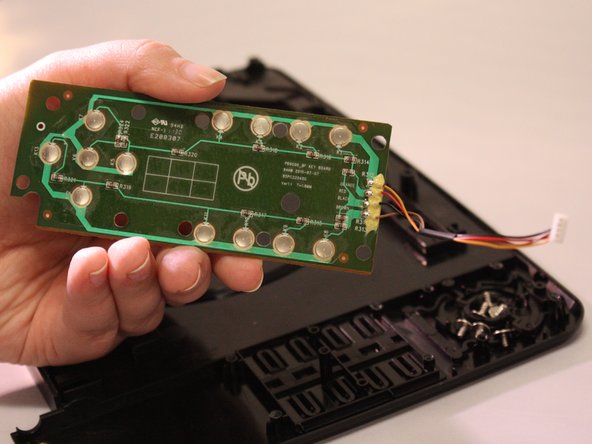
    • After casing has been detached, there will be a wire connecting the button panel on the disk flap case to the motherboard.

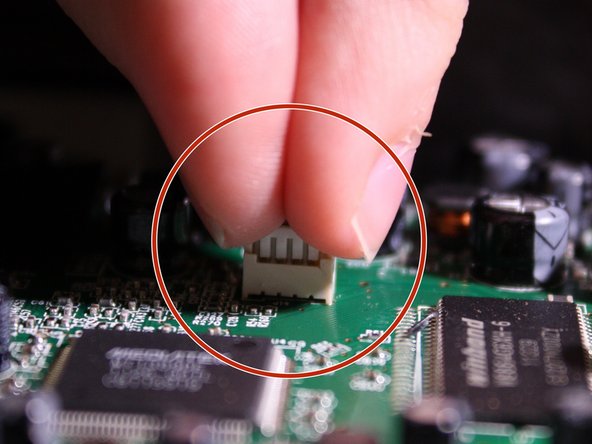
    • To detach this wire, use your fingers and tightly pinch the plastic connector, and gently pull upwards disconnecting it from the motherboard.

  4. Philips PD9000 37 Buttons Replacement: 手順 4、 1の画像 1
    • On the bottom side of the disk flap case, the back of the button panel will be visible. Using a Philips J0 screwdriver, unscrew all 6 screws.

  5. Philips PD9000 37 Buttons Replacement: 手順 5、 3の画像 1 Philips PD9000 37 Buttons Replacement: 手順 5、 3の画像 2 Philips PD9000 37 Buttons Replacement: 手順 5、 3の画像 3
    • Once unscrewed. gently pull upwards detaching the button panel from the casing.

終わりに

To reassemble your device, follow these instructions in reverse order.

作成者

3人の作成者と共同で作成されました。

Abigail Scarborough

メンバー登録日: 09/28/15

193 ポイント

1ガイドが承認済み

チーム

Eastern Washington University, Team 1-3, Matresse Fall 2015 Eastern Washington University, Team 1-3, Matresse Fall 2015人のメンバー

EWU-MATRESSE-F15S1G3

3 メンバー

4のガイドは作成済み

0 件のコメント

コメントを追加

統計データ:

過去 24時間: 0

過去 7 日: 1

過去 30 日: 4

今までの合計 1,729