メインコンテンツにスキップ

Philips Norelco Shaver 2100 Casing Replacement

必要な工具と部品

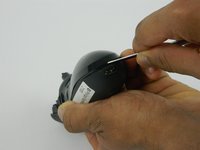
  1. Philips Norelco Shaver 2100 Casing Replacement, Casing: 手順 1、 1の画像 1
    • Remove the single screw on the back casing using a T8 Torx screwdriver.

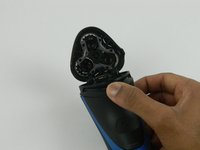
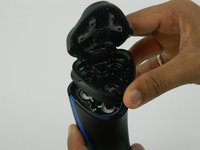
  2. Philips Norelco Shaver 2100 Casing Replacement: 手順 2、 2の画像 1 Philips Norelco Shaver 2100 Casing Replacement: 手順 2、 2の画像 2
    • Turn the shaver so that it is facing you.

    • Press the button on the shaver head to open it.

  3. Philips Norelco Shaver 2100 Casing Replacement: 手順 3、 1の画像 1
    • Remove the two 10.1 mm screws inside the shaver head using a T8 Torx screwdriver.

  4. Philips Norelco Shaver 2100 Casing Replacement: 手順 4、 2の画像 1 Philips Norelco Shaver 2100 Casing Replacement: 手順 4、 2の画像 2
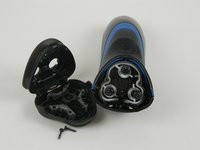
    • Lift the shaver head off of the casing.

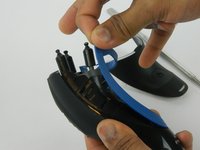
  5. Philips Norelco Shaver 2100 Casing Replacement: 手順 5、 3の画像 1 Philips Norelco Shaver 2100 Casing Replacement: 手順 5、 3の画像 2 Philips Norelco Shaver 2100 Casing Replacement: 手順 5、 3の画像 3
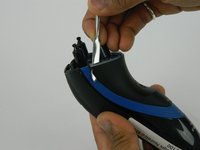
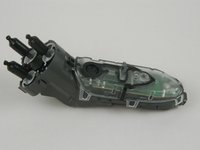
    • Gently pull the black and blue casing apart using a metal spudger.

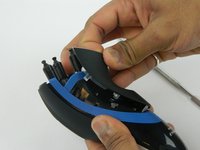
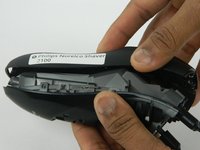
  6. Philips Norelco Shaver 2100 Casing Replacement: 手順 6、 3の画像 1 Philips Norelco Shaver 2100 Casing Replacement: 手順 6、 3の画像 2 Philips Norelco Shaver 2100 Casing Replacement: 手順 6、 3の画像 3
    • Pry the remaining casing open using a metal spudger.

    • Be careful using a metal spudger, as it may result in damaging the case.

終わりに

To reassemble your device, follow these instructions in reverse order.

ある他の人がこのガイドを完成しました。

作成者

3人の作成者と共同で作成されました。

Jose Moya

メンバー登録日: 10/30/17

176 ポイント

1ガイドが承認済み

チーム

USF Tampa, Team S1-G4, Thompson Fall 2017 USF Tampa, Team S1-G4, Thompson Fall 2017人のメンバー

USFT-THOMPSON-F17S1G4

3 メンバー

5のガイドは作成済み

0 件のコメント

コメントを追加

統計データ:

過去 24時間: 0

過去 7 日: 0

過去 30 日: 11

今までの合計 984