メインコンテンツにスキップ

Philips HD9252 Latch Button Replacement

必要な工具と部品

  1. Philips HD9252 Latch Button Replacement, Tray: 手順 1、 1の画像 1
    • Remove the tray from the air fryer by pressing the latch button in, and pulling the handle away.

  2. Philips HD9252 Latch Button Replacement: 手順 2、 1の画像 1
    • Pull the tray out of the basket.

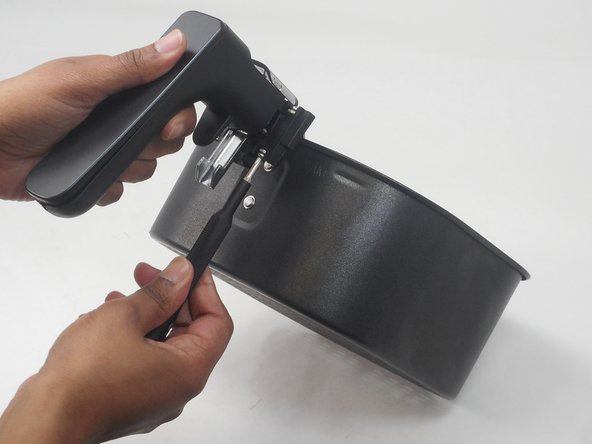
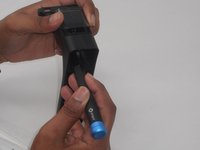
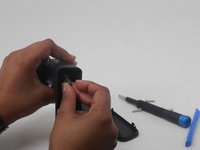
  3. Philips HD9252 Latch Button Replacement, Latch Button: 手順 3、 2の画像 1 Philips HD9252 Latch Button Replacement, Latch Button: 手順 3、 2の画像 2
    • Remove the two 14.8 mm screws placed in the top of the latch using a Phillips #00 screwdriver.

    • Remove the two 14.8 mm screws placed on the bottom of the latch using a Phillips #00 screwdriver.

  4. Philips HD9252 Latch Button Replacement: 手順 4、 1の画像 1
    • Remove the four 14.8 mm screws placed on front of the latch button using a Phillips #00 screwdriver.

  5. Philips HD9252 Latch Button Replacement: 手順 5、 1の画像 1
    • Pry off the back panel of the handle.

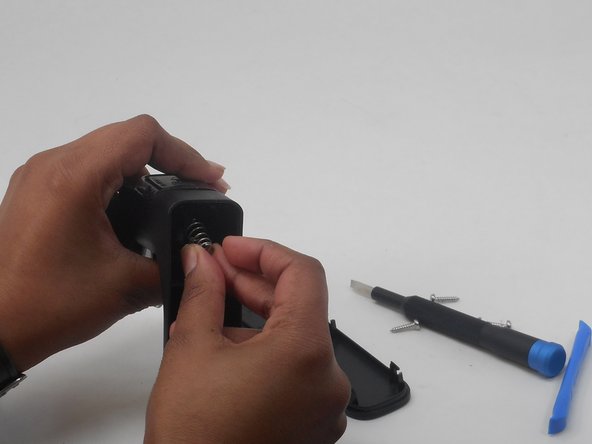
  6. Philips HD9252 Latch Button Replacement: 手順 6、 2の画像 1 Philips HD9252 Latch Button Replacement: 手順 6、 2の画像 2
    • Push the spring down with a nylon spudger so that it is underneath the button.

    • Slide the spring out of the back of the handle.

  7. Philips HD9252 Latch Button Replacement: 手順 7、 1の画像 1
    • Remove the front of the latch from the handle.

  8. Philips HD9252 Latch Button Replacement: 手順 8、 1の画像 1
    • Remove the button through the back of the handle.

終わりに

To reassemble your device, follow these instructions in reverse order.

作成者

2人の作成者と共同で作成されました。

Rolando_Gonzalez

メンバー登録日: 02/14/24

239 ポイント

1ガイドが承認済み

チーム

University of Memphis, Team 3-1, Sneed Spring 2024 University of Memphis, Team 3-1, Sneed Spring 2024人のメンバー

UM-SNEED-S24S3G1

4 メンバー

5のガイドは作成済み

0 件のコメント

コメントを追加

統計データ:

過去 24時間: 1

過去 7 日: 7

過去 30 日: 31

今までの合計 103