メインコンテンツにスキップ
リペアコミュニティに参加 - アカウントの作成

Petnet SmartFeeder SF10E 12 Pin Connector Replacement

必要な工具と部品

  1. Petnet SmartFeeder SF10E 12 Pin Connector Replacement, 12 Pin Connector: 手順 1、 3の画像 1 Petnet SmartFeeder SF10E 12 Pin Connector Replacement, 12 Pin Connector: 手順 1、 3の画像 2 Petnet SmartFeeder SF10E 12 Pin Connector Replacement, 12 Pin Connector: 手順 1、 3の画像 3
    • Eject the SmartBowl by pressing the button located at the front of the SmartFeeder base.

    FixBotに聞いてみる
  2. Petnet SmartFeeder SF10E 12 Pin Connector Replacement: 手順 2、 3の画像 1 Petnet SmartFeeder SF10E 12 Pin Connector Replacement: 手順 2、 3の画像 2 Petnet SmartFeeder SF10E 12 Pin Connector Replacement: 手順 2、 3の画像 3
    • Remove the food tub by twisting it counter-clockwise with both hands and lifting it up.

    FixBotに聞いてみる
  3. Petnet SmartFeeder SF10E 12 Pin Connector Replacement: 手順 3、 1の画像 1
    • Remove the black plastic gasket from the top of the SmartFeeder by placing your fingers on the side of it and lifting up.

    • It should come off easily.

    FixBotに聞いてみる
  4. Petnet SmartFeeder SF10E 12 Pin Connector Replacement: 手順 4、 1の画像 1
    • Flip over the SmartFeeder by using both hands.

    • Partially open the outer case of the SmartFeeder by wedging an iFixit Opening Tool on each side.

    FixBotに聞いてみる
  5. Petnet SmartFeeder SF10E 12 Pin Connector Replacement: 手順 5、 2の画像 1 Petnet SmartFeeder SF10E 12 Pin Connector Replacement: 手順 5、 2の画像 2
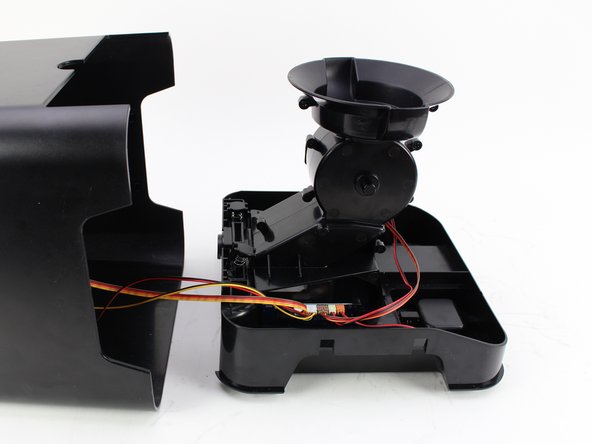
    • Turn the SmartFeeder on its side and with one hand on the base, carefully pull out the central section.

    • Place the bottom piece of the device right-side up.

    FixBotに聞いてみる
  6. Petnet SmartFeeder SF10E 12 Pin Connector Replacement: 手順 6、 2の画像 1 Petnet SmartFeeder SF10E 12 Pin Connector Replacement: 手順 6、 2の画像 2
    • Remove one 10 mm screw by using the Phillips #1 screwdriver.

    • Remove the plastic retaining piece for the daughterboard by pulling it out with one hand.

    FixBotに聞いてみる
  7. Petnet SmartFeeder SF10E 12 Pin Connector Replacement: 手順 7、 3の画像 1 Petnet SmartFeeder SF10E 12 Pin Connector Replacement: 手順 7、 3の画像 2 Petnet SmartFeeder SF10E 12 Pin Connector Replacement: 手順 7、 3の画像 3
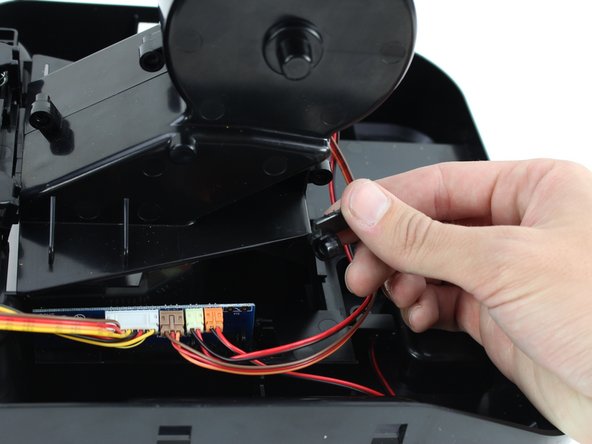
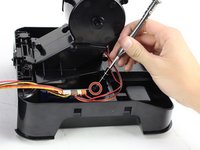
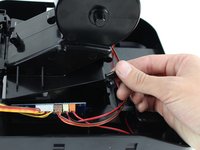
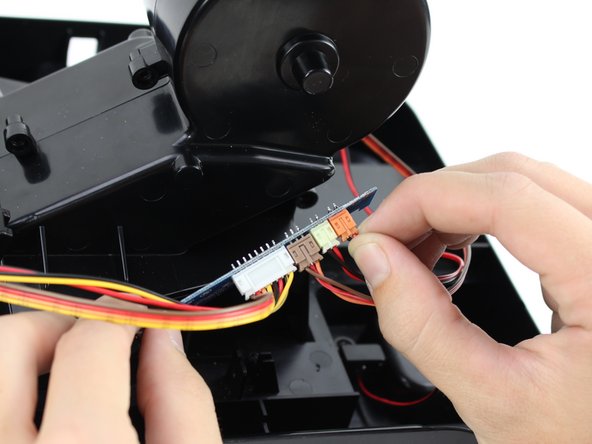
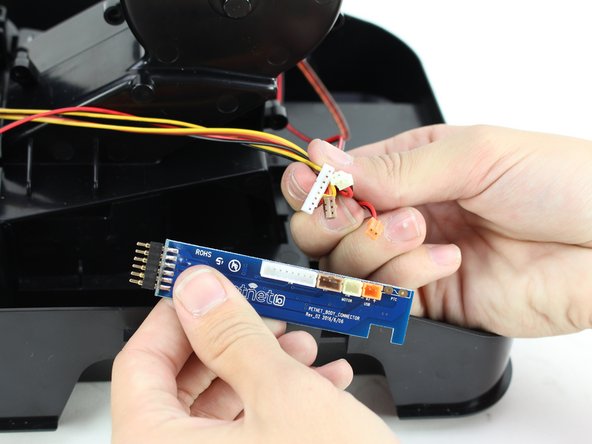
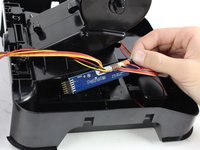
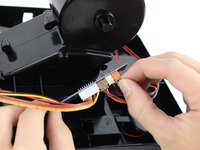
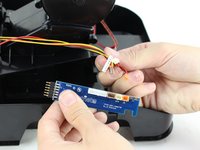
    • Pull the daughterboard out of the device and remove the three-prong connectors by using your hands.

    • Hold onto the sockets on the motherboard or you could accidentally pull off the entire assembly.

    FixBotに聞いてみる
終わりに

To reassemble your device, follow these instructions in reverse order.

作成者

3人の作成者と共同で作成されました。

Ashley Kim

メンバー登録日: 10/08/18

187 ポイント

1ガイドが承認済み

チーム

Cal Poly, Team S13-G7, White Fall 2018 Cal Poly, Team S13-G7, White Fall 2018人のメンバー

CPSU-WHITE-F18S13G7

4 メンバー

5のガイドは作成済み

0件のガイドコメント

コメントを追加

統計データ:

過去 24時間: 3

過去 7 日: 9

過去 30 日: 53

今までの合計 549