はじめに
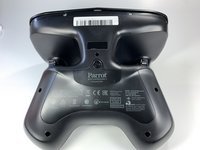
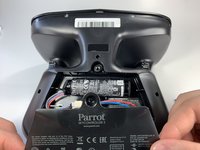
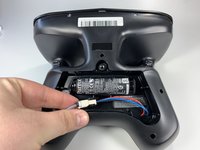
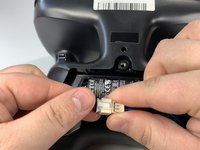
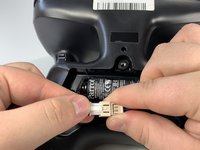
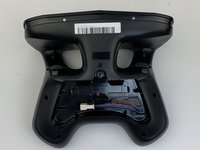
If you will be working on your Skycontroller 2, it is imperative that you remove the battery at the start. Also, if your Skycontroller 2 is not powering on or holding a charge, it is necessary to replace the battery. To replace the battery, use this guide.
Before beginning, make sure to power off your device completely and disconnect from any external power source.
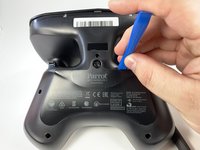
必要な工具と部品


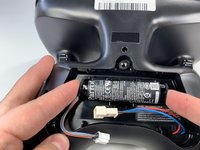
To reassemble your device, follow these instructions in reverse order.
ある他の人がこのガイドを完成しました。

チーム

Embry-Riddle Aeronautical University, Team S6-G1, Watkins Spring 2020 Embry-Riddle Aeronautical University, Team S6-G1, Watkins Spring 2020人のメンバー
ERAU-WATKINS-S20S6G1
4 メンバー
6のガイドは作成済み