はじめに
If there are shadows, hair or dust grains on the pictures, then it is recommended to clean the CCD, the recording IC. This guide will show you how to do that.
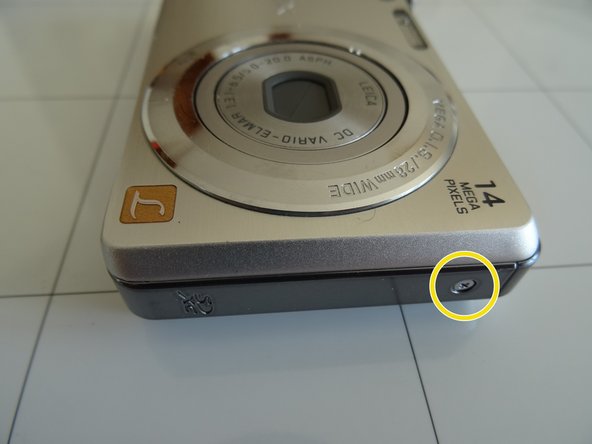
必要な工具と部品
-
-
Images taken with the FS16 of the same object before and after cleaning.
-
In the second picture the shadows are marked.
-
The third picture shows a picture after the successful repair
-
-
-
-
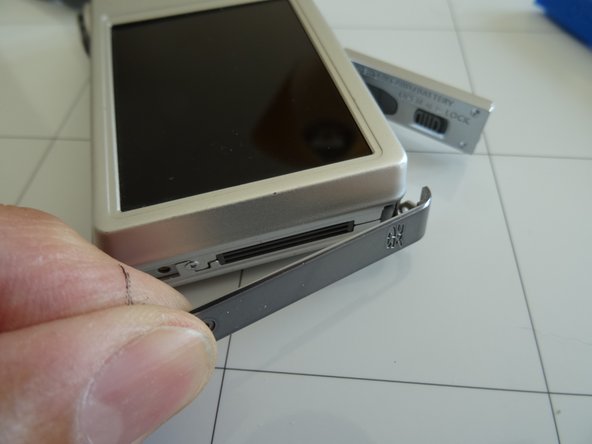
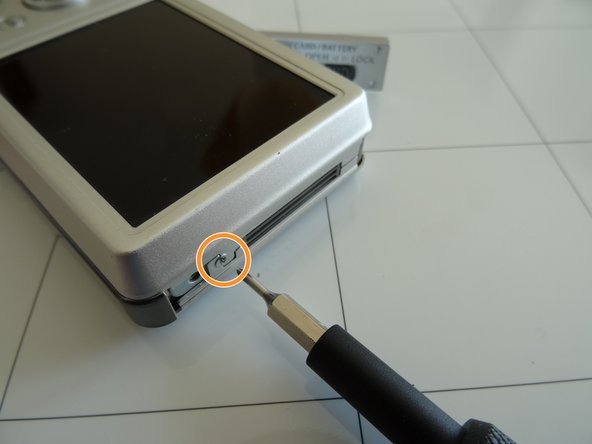
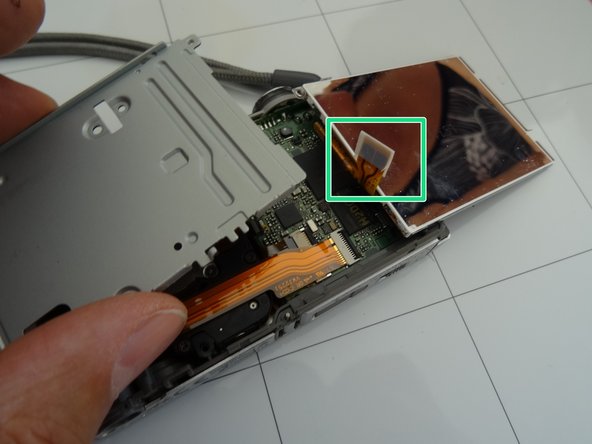
Under the display is another shielding plate. It is attached with two 6.4 mm #000 Phillips screws. Remove those to remove the shield
-
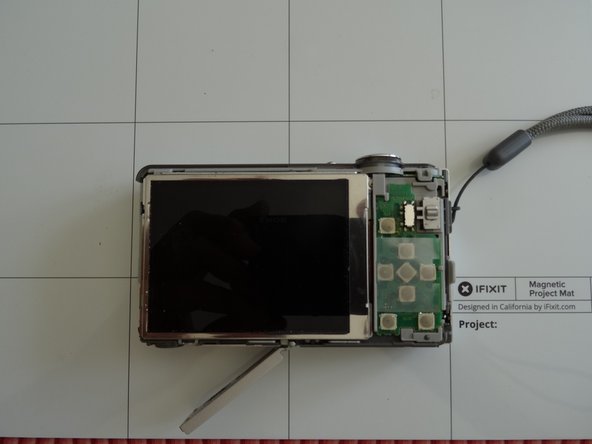
Remove the shield
-
Not to be alarmed: An unused connection will be visible on the display. It is secured with insulating tape. When assembling, push this ribbon cable back under the shielding plate.
-


Follow the steps in reversed order to reassemble your device.
Follow the steps in reversed order to reassemble your device.
3 の人々がこのガイドを完成させました。
以下の翻訳者の皆さんにお礼を申し上げます:
100%

oldturkey03さんは世界中で修理する私たちを助けてくれています! あなたも貢献してみませんか?
翻訳を始める ›
チーム

5 件のコメント
Thank you so much for this - much loved little camera saved from the bin!
I'm glad I could help!
VauWeh -
Vielen Dank für diese Reparatur-Anleitung! Super bebildert und beschriftet, da kann nichts schiefgehen. Für die Schrauben habe ich mir ein Paketband mit der Klebeseite nach oben fixiert, so dass ich diese entsprechend den Arbeitsschritten ablegen kann.