メインコンテンツにスキップ

Panasonic SC-PM31 Front Panel Replacement

必要な工具と部品

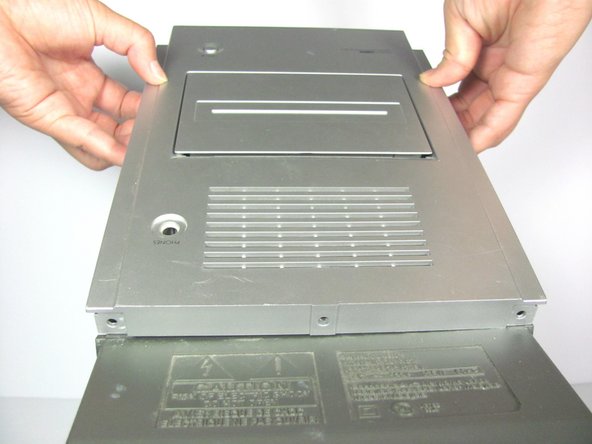
  1. Panasonic SC-PM31 Front Panel Replacement, Removing the side and back screws: 手順 1、 3の画像 1 Panasonic SC-PM31 Front Panel Replacement, Removing the side and back screws: 手順 1、 3の画像 2 Panasonic SC-PM31 Front Panel Replacement, Removing the side and back screws: 手順 1、 3の画像 3
    • Remove the five 9 mm #2 Phillips screws from the side panel nearest the power button.

    • Repeat the process for the opposite panel.

    • Remove the two 15 mm #2 Phillips screws from the back of the top panel.

    • Remove the middle 10mm #2 Phillips screw from the back of the top panel.

  2. Panasonic SC-PM31 Front Panel Replacement, Removing the panels: 手順 2、 2の画像 1 Panasonic SC-PM31 Front Panel Replacement, Removing the panels: 手順 2、 2の画像 2
    • If you do not have a plastic opening tool, you can open the system using your finger. However, if you choose to use your hands, make sure to wear gloves. The panel is very sharp.

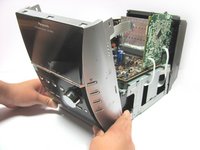
    • Swing the back half of the panel slightly away from the unit. Then, starting at the top back corner, slide plastic opening tool through the created gap from back to front. The panel should pop off. Repeat the process on the opposite panel.

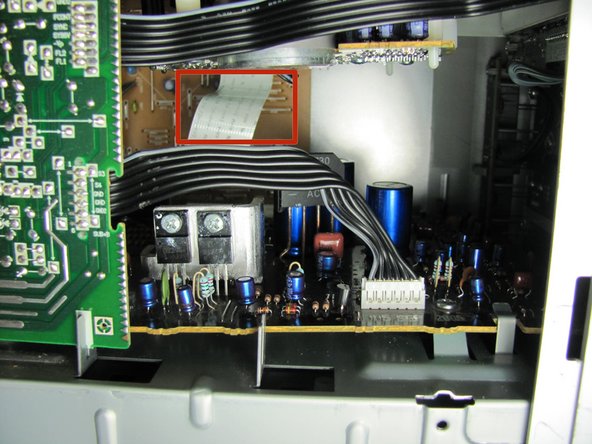
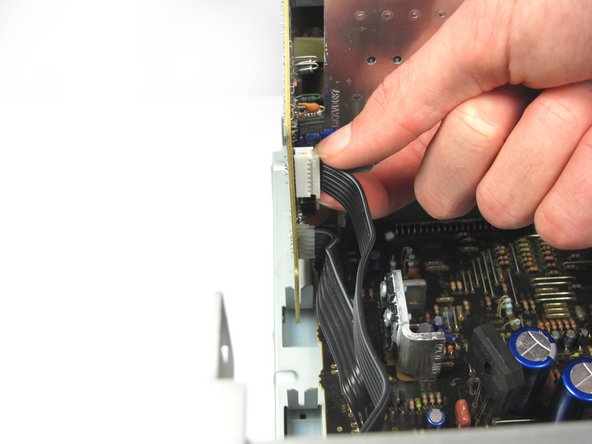
  3. Panasonic SC-PM31 Front Panel Replacement, Removing the white ribbon wire: 手順 3、 1の画像 1
    • Looking in through the side nearest the power button, use your fingers to pull the white ribbon connection toward you, away from the rear circuit board.

    • The process will require the use of moderate force and can be eased by wiggling the ribbon during removal.

  4. Panasonic SC-PM31 Front Panel Replacement, Removing the top panel: 手順 4、 2の画像 1 Panasonic SC-PM31 Front Panel Replacement, Removing the top panel: 手順 4、 2の画像 2
    • Remove the top panel. You will need to slightly bend the plastic tab outwards, to undo the clasp that is attached to the top.

    • When reassembling the device, reattach the white ribbon wire (Step 3) before replacing the top panel.

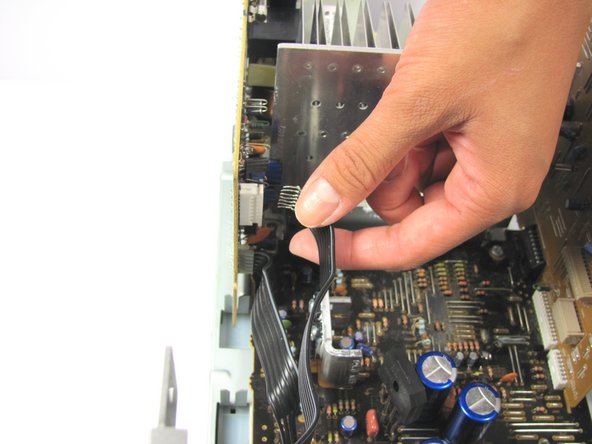
  5. Panasonic SC-PM31 Front Panel Replacement, Removing the top black wire: 手順 5、 3の画像 1 Panasonic SC-PM31 Front Panel Replacement, Removing the top black wire: 手順 5、 3の画像 2 Panasonic SC-PM31 Front Panel Replacement, Removing the top black wire: 手順 5、 3の画像 3
    • Unlike the other ribbon wire connectors, the white connector (in this step only) is not attached to the ribbon wire. It can not, and should not, be pulled out completely.

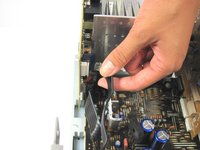
    • Locate the white connector where the top black ribbon wire attaches to the green and black circuit board.

    • Pinch the tabs on the white connector and pull it partially out.

    • Hold the black ribbon wire directly and pull it the rest of the way out.

  6. Panasonic SC-PM31 Front Panel Replacement: 手順 6、 1の画像 1
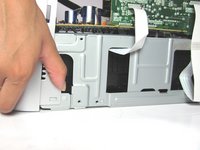
    • Pull the white ribbon cable from its base on the tan circuit board-located on the side of the system opposite the power button.

  7. Panasonic SC-PM31 Front Panel Replacement, Removing the front panel: 手順 7、 3の画像 1 Panasonic SC-PM31 Front Panel Replacement, Removing the front panel: 手順 7、 3の画像 2 Panasonic SC-PM31 Front Panel Replacement, Removing the front panel: 手順 7、 3の画像 3
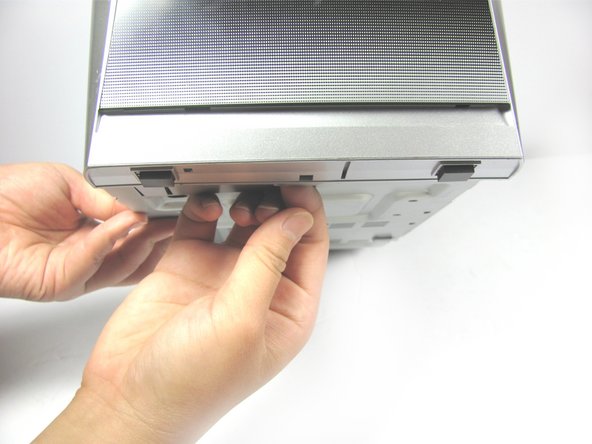
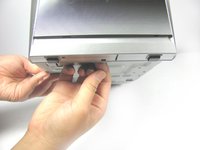
    • On the bottom sides of the front panel, pull the tabs outward to unclip the clasps.

    • Tilt the whole system up and unlock the bottom clasp of the front panel by pulling it toward you.

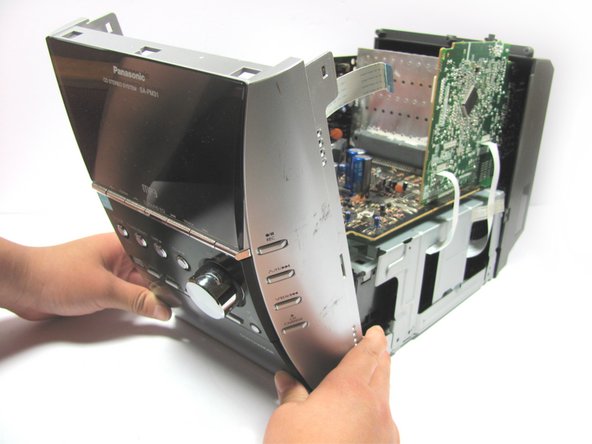
    • After placing the system back down, pull the front panel toward you to remove it.

終わりに

To reassemble your device, follow these instructions in reverse order.

3 の人々がこのガイドを完成させました。

作成者

6人の作成者と共同で作成されました。

Jessica Chao

メンバー登録日: 09/29/14

626 ポイント

5のガイドは作成済み

チーム

Cal Poly, Team 13-7, Forte Fall 2014 Cal Poly, Team 13-7, Forte Fall 2014人のメンバー

CPSU-FORTE-F14S13G7

5 メンバー

7のガイドは作成済み

0 件のコメント

コメントを追加

統計データ:

過去 24時間: 0

過去 7 日: 1

過去 30 日: 12

今までの合計 2,328