-
-
-
-
-
-
Rotate the camcorder so that the eye piece is facing you.
-
Remove the four black 4.5mm screws, sitting behind the battery.
-
Remove the 5th screw to the right of the battery dock.
-
Remove the battery by gently pulling away from the camcorder.
-
Be careful and place screws together so you don't lose any.
-
-
Rotate the camcorder so that the tape compartment is facing you.
-
Remove the single 4.5mm black screw above the hook for the hand strap.
-
Undoing the strap on one end may help.
-
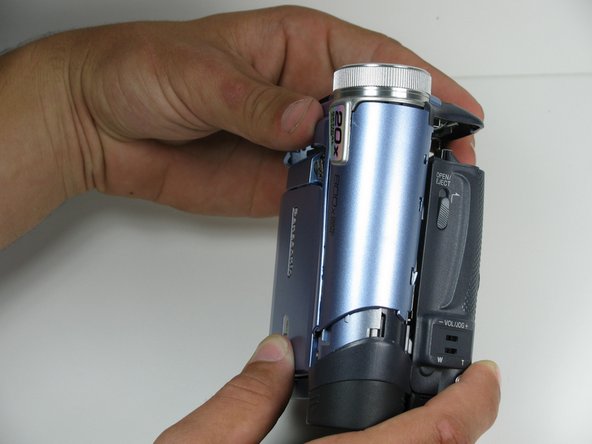
Rotate the camcorder so that the lens is facing you.
-
Remove the single 4.5mm black screw from the front panel.
-
-
Rotate the camcorder so that the bottom is facing towards you.
-
Remove the single remaining 4.5mm black screw from the bottom.
-
Remove the four silver 4.5mm screws from the body.
-
-
Open the LCD screen on the side of the camcorder.
-
Using a #00 screwdriver, remove the two 4.5mm silver screws located on either side of the hinge of the LCD screen.
-
-
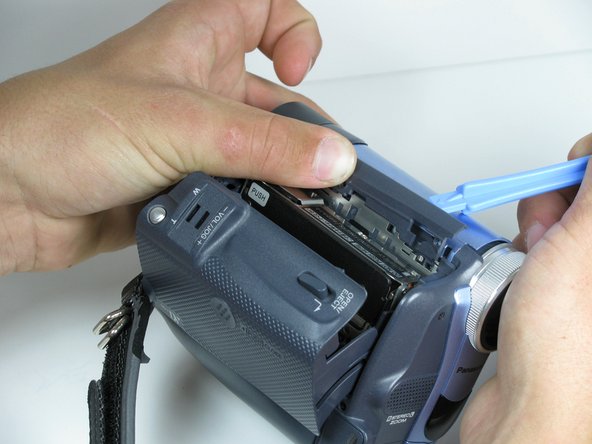
Carefully remove the front cover from the body of the camcorder.
-
This should come apart with relative ease, however a plastic opening tool may help remove the panel.
-
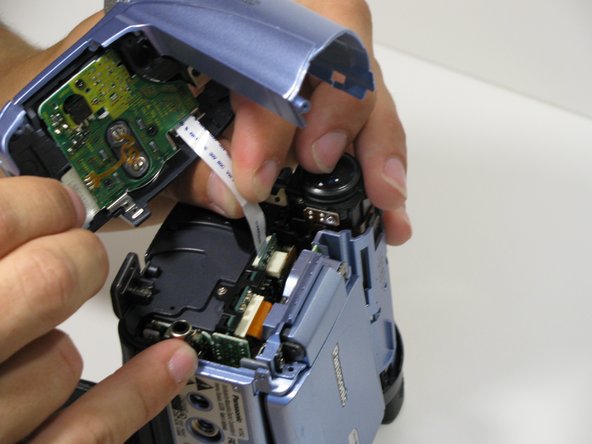
There is a ribbon cable attached to the front panel and the camcorder body, DO NOT pull that off when you remove this panel.
-
このガイドを埋め込む
サイズを選択し、以下のコードをコピーして、このガイドを小さなウィジェットとしてサイト/フォーラムに埋め込みます。
プレビュー