メインコンテンツにスキップ

この修理ガイドは変更されています。最新の未承認バージョンに切り替えます。

Panasonic Lumix DMC-ZS8 LCD Display Screen Replacement

必要な工具と部品

  1. Panasonic Lumix DMC-ZS8 LCD Display Screen Replacement, Removing External Screws: 手順 1、 3の画像 1 Panasonic Lumix DMC-ZS8 LCD Display Screen Replacement, Removing External Screws: 手順 1、 3の画像 2 Panasonic Lumix DMC-ZS8 LCD Display Screen Replacement, Removing External Screws: 手順 1、 3の画像 3
    • Remove Battery and Strap from unit.

    • Remove the 3 screws from the bottom

    • Remove screws from both sides of unit (4 screws total)

  2. Panasonic Lumix DMC-ZS8 LCD Display Screen Replacement, Removing the Side Panels: 手順 2、 2の画像 1 Panasonic Lumix DMC-ZS8 LCD Display Screen Replacement, Removing the Side Panels: 手順 2、 2の画像 2
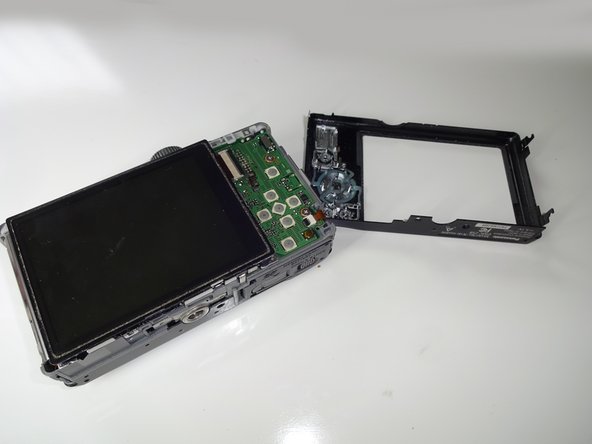
    • Remove both side panels from unit. You can pry them off with your finger nail or a spudger

  3. Panasonic Lumix DMC-ZS8 LCD Display Screen Replacement, Removing the Rear Cover: 手順 3、 2の画像 1 Panasonic Lumix DMC-ZS8 LCD Display Screen Replacement, Removing the Rear Cover: 手順 3、 2の画像 2
    • Pry off rear cover. Make sure LCD remains in place.

    • There is a thin film of adhesive attaching the LCD to the rear cover. It releases easily with a little pressure. If necessary hold the LCD in place while removing the rear cover.

  4. Panasonic Lumix DMC-ZS8 LCD Display Screen Replacement, Removing the LCD: 手順 4、 3の画像 1 Panasonic Lumix DMC-ZS8 LCD Display Screen Replacement, Removing the LCD: 手順 4、 3の画像 2 Panasonic Lumix DMC-ZS8 LCD Display Screen Replacement, Removing the LCD: 手順 4、 3の画像 3
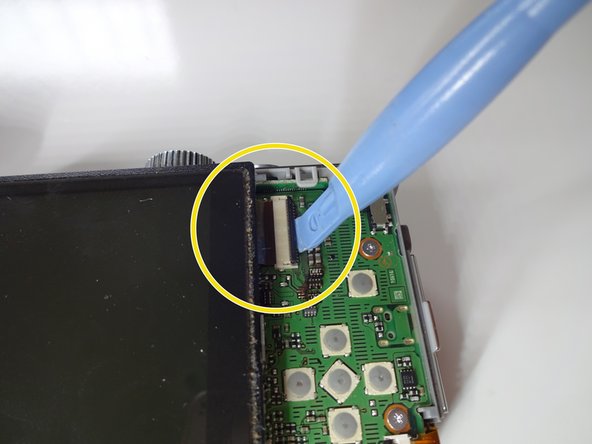
    • Release the Ziff clamp holding the LCD cable. 1st photo shows clamp in closed position.

    • You can use a spudger to release the clamp. You can also use your finger nail, but be careful it is very fragile.

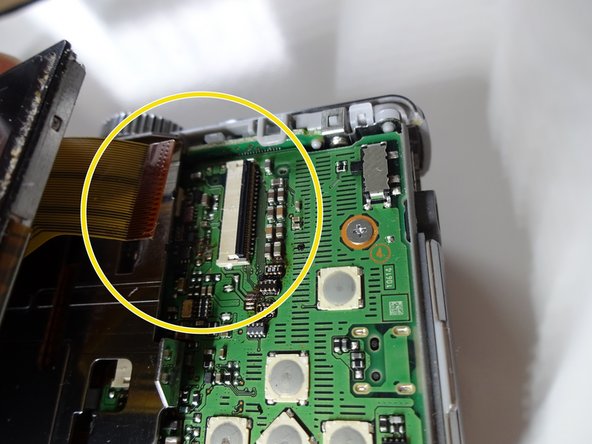
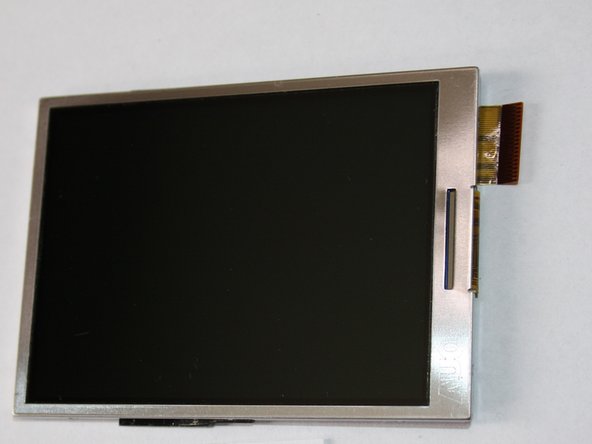
    • Remove the LCD Flex from the clamp

  5. Panasonic Lumix DMC-ZS8 LCD Display Screen Replacement: 手順 5、 3の画像 1 Panasonic Lumix DMC-ZS8 LCD Display Screen Replacement: 手順 5、 3の画像 2 Panasonic Lumix DMC-ZS8 LCD Display Screen Replacement: 手順 5、 3の画像 3
    • You may need to pry off the window plate of your old screen if the new screen doesn't have one.

    • If required: Remove the window plate from your old screen if your new LCD doesn't have one. Save this part for re-install.

  6. Panasonic Lumix DMC-ZS8 LCD Display Screen Replacement, Clean up Window Plate and Reassemble: 手順 6、 2の画像 1 Panasonic Lumix DMC-ZS8 LCD Display Screen Replacement, Clean up Window Plate and Reassemble: 手順 6、 2の画像 2
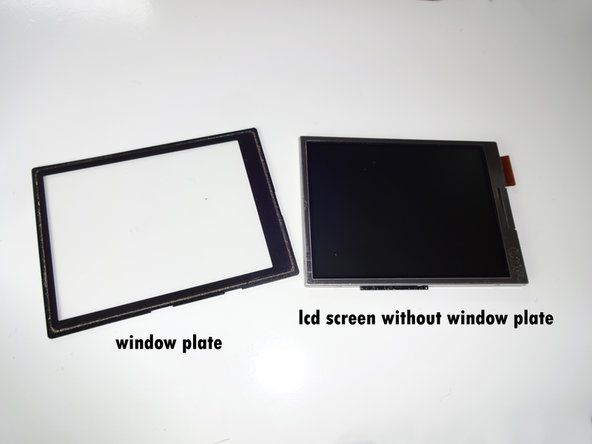
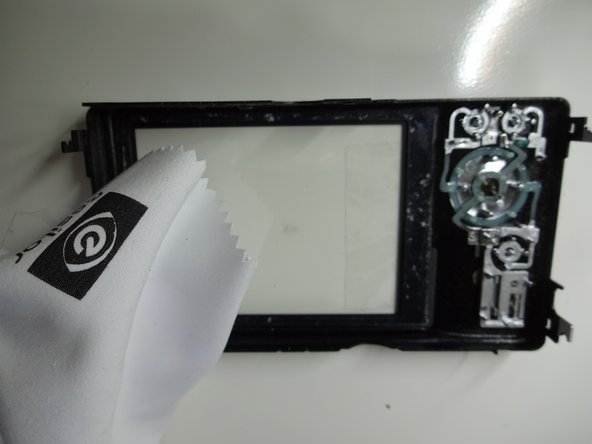
    • If your new LCD does not come with a window plate: Tape your old window plate in place as shown in the photo. Make sure it lines up properly and fits into the grooves. This makes re-assembly much easier.

    • If necessary clean the window plate and LCD with a micro fiber dry cloth. Make sure there is no debris or dust before you re-install. DO NOT use any liquids.

    • Now just reverse the steps to re-assemble your camera with the new screen.

終わりに

To reassemble your device, follow these instructions in reverse order.

作成者

2人の作成者と共同で作成されました。

Sales Cameraparts4you

メンバー登録日: 07/01/16

3,150 ポイント

20のガイドは作成済み

0 件のコメント

コメントを追加

統計データ:

過去 24時間: 0

過去 7 日: 0

過去 30 日: 2

今までの合計 352