メインコンテンツにスキップ
リペアコミュニティに参加 - アカウントの作成

Panasonic Lumix DMC-ZS25 Screen Replacement

必要な工具と部品

    1. Panasonic Lumix DMC-ZS25  Screen Replacement, Screen: 手順 1、 3の画像 1 Panasonic Lumix DMC-ZS25  Screen Replacement, Screen: 手順 1、 3の画像 2 Panasonic Lumix DMC-ZS25  Screen Replacement, Screen: 手順 1、 3の画像 3
      • Open the four 3.40 mm screws from the right and left sides of your Panasonic Lumix Camera.

      • Remove the two 2.60 mm screws located next to the battery.

      FixBotに聞いてみる

      コメントを追加

    2. Panasonic Lumix DMC-ZS25  Screen Replacement: 手順 2、 1の画像 1
      • Use the plastic opening tool to open the outer cover of your device from the HDMI port.

      • Open it carefully to avoid breaking the cover.

      FixBotに聞いてみる

      コメントを追加

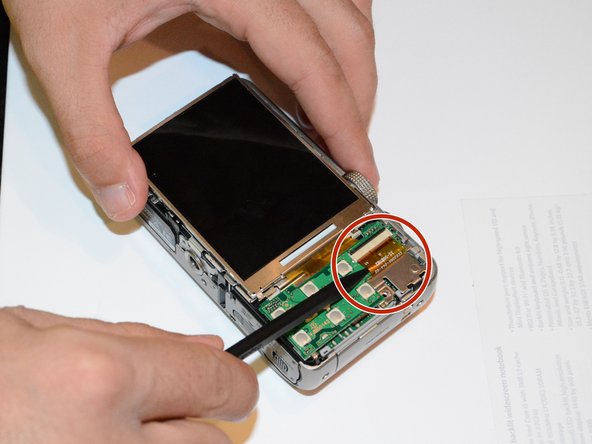
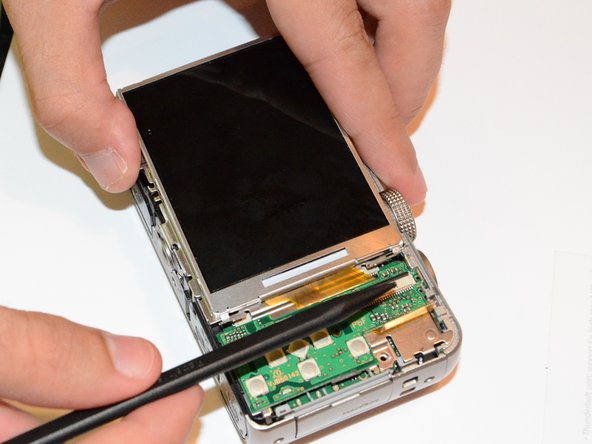
    3. Panasonic Lumix DMC-ZS25  Screen Replacement: 手順 3、 3の画像 1 Panasonic Lumix DMC-ZS25  Screen Replacement: 手順 3、 3の画像 2 Panasonic Lumix DMC-ZS25  Screen Replacement: 手順 3、 3の画像 3
      • Use a spudger to carefully detach the ribbon cable without breaking it.

      FixBotに聞いてみる

      コメントを追加

    4. Panasonic Lumix DMC-ZS25  Screen Replacement: 手順 4、 1の画像 1
      • Use the plastic opening tool to lift and remove the buttons board as shown.

      FixBotに聞いてみる

      コメントを追加

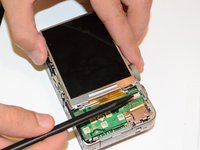
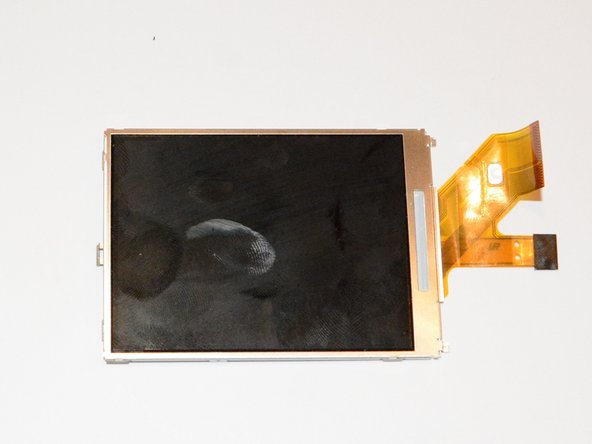
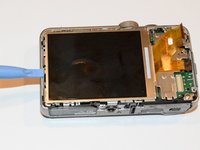
    5. Panasonic Lumix DMC-ZS25  Screen Replacement: 手順 5、 2の画像 1 Panasonic Lumix DMC-ZS25  Screen Replacement: 手順 5、 2の画像 2
      • Carefully lift the screen using the plastic opening tool as shown.

      FixBotに聞いてみる

      コメントを追加

終わりに

To reassemble your device, follow these instructions in reverse order.

キャンセル: このガイドを終了できませんでした。

3 の人々がこのガイドを完成させました。

作成者

5人の作成者と共同で作成されました。

Abbas Khan

メンバー登録日: 01/21/15

482 ポイント

4のガイドは作成済み

チーム

USF Tampa, Team 9-5, Brown Winter 2015 USF Tampa, Team 9-5, Brown Winter 2015人のメンバー

USFT-BROWN-W15S9G5

3 メンバー

7のガイドは作成済み

1件のガイドコメント

- Of the two 2.60 mm screws on the bottom of the camera, only the one closest to the back needs to be removed.

- The correct screwdriver is JIS Type S #00. A Phillips driver can ruin the screws.

- The screen shown in step 5 consists of two parts: the LCD and a frame. The replacement LCD that I ordered came without the frame, so a little more disassembly was required, including a bit of delicate soldering: the narrow ribbon cable is really two cables, soldered together. The solder joints are hidden under the piece of black electric tape at the end.

nasorenga - 返信 共有

コメントを追加

統計データ:

過去 24時間: 1

過去 7 日: 7

過去 30 日: 40

今までの合計 4,896