メインコンテンツにスキップ

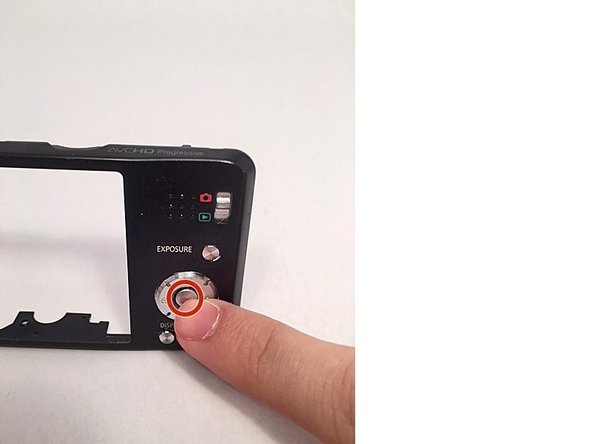
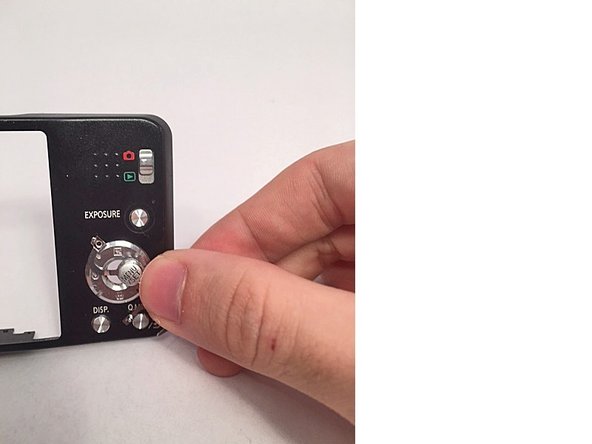
Panasonic Lumix DMC-ZS19 Menu/Set Button Replacement

必要な工具と部品

  1. Panasonic Lumix DMC-ZS19 Menu/Set Button  Replacement, Menu/Set Button: 手順 1、 3の画像 1 Panasonic Lumix DMC-ZS19 Menu/Set Button  Replacement, Menu/Set Button: 手順 1、 3の画像 2 Panasonic Lumix DMC-ZS19 Menu/Set Button  Replacement, Menu/Set Button: 手順 1、 3の画像 3
    • Start by removing the screws located on the left and right hand side panels of the camera (two sets of pairs of screws). Next remove the pair of screws on the bottom of the camera. (6 in total)

  2. Panasonic Lumix DMC-ZS19 Menu/Set Button  Replacement: 手順 2、 1の画像 1
    • Gently remove the loosened panel from the LCD screen.

  3. Panasonic Lumix DMC-ZS19 Menu/Set Button  Replacement: 手順 3、 3の画像 1 Panasonic Lumix DMC-ZS19 Menu/Set Button  Replacement: 手順 3、 3の画像 2 Panasonic Lumix DMC-ZS19 Menu/Set Button  Replacement: 手順 3、 3の画像 3
    • Carefully use a finger to pop out the Menu/Set button from the panel by pushing on it.

終わりに

To reassemble your device, follow these instructions in reverse order.

2 の人々がこのガイドを完成させました。

作成者

1人の作成者と共同作成されました。

Willard Scott

メンバー登録日: 08/26/15

257 ポイント

1ガイドが承認済み

チーム

USF Tampa, Team 14-1, Meier Fall 2015 USF Tampa, Team 14-1, Meier Fall 2015人のメンバー

USFT-MEIER-F15S14G1

4 メンバー

10のガイドは作成済み

0 件のコメント

コメントを追加

統計データ:

過去 24時間: 0

過去 7 日: 0

過去 30 日: 0

今までの合計 267