Remove 1 screw (0.4mm) from left side of unit
Remove 1 screw (0.4mm) from right side of unit near Strap bar.
Remove 1 screw (0.6mm) from right side of unit next to usb door
Remove 3 Screws from bottom of unit
Remove 2 (0.6mm) screws next to door
Remove 1 (0.4mm) screw opposite of door
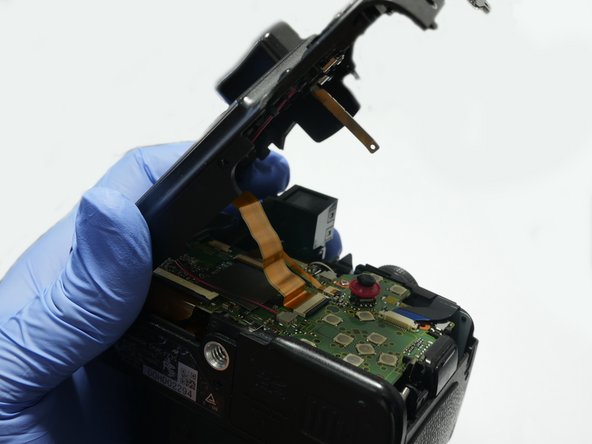
Please be careful. Do not lift the cover fully because it is still attached to the Main Board via flex cables.
Lift the cover slightly as shown in picture # 1
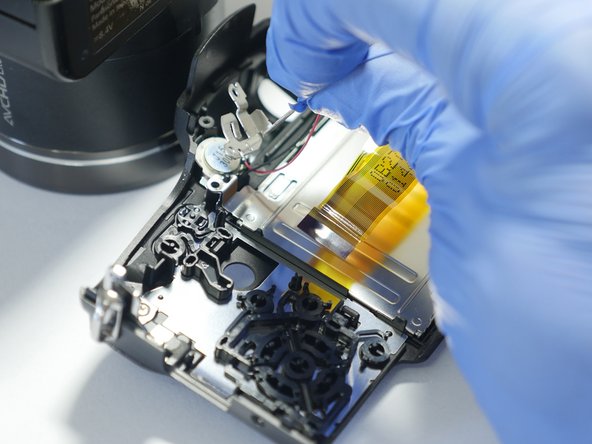
Tilt the back cover as shown in picture #2. Be careful because the flex cables are still attached.
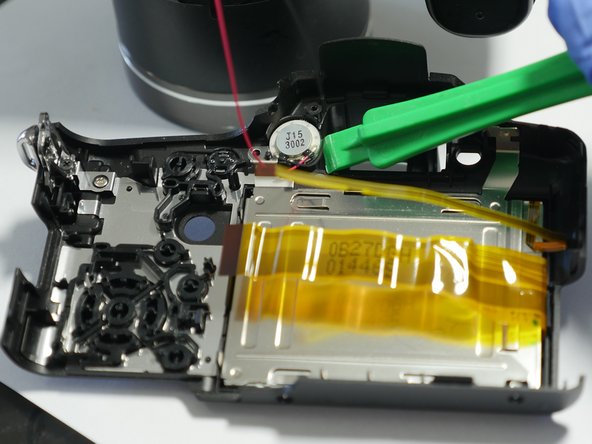
Flip up LCD cable clamp with a spudger or other tool.
Flip up backlite cable clamp with a spudger or other tool
Removal of the mic wire is optional. My suggestion is to leave it attached. The mic can get damaged if you pull on the wire.
Remove the 2 screws (0.4mm) that are holding the mic assembly
Next step (shown in picture #2) remove the metal mic hold part.
Next step (shown in picture #3) use a spudger to pry off the mic. Careful not to damage the wiring.
Release the hold clips that hold the LCD retainer in place.
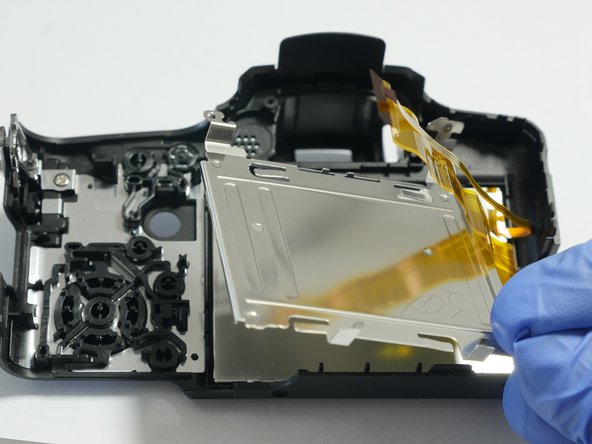
Remove the LCD metal retainer plate as shown in picture #2
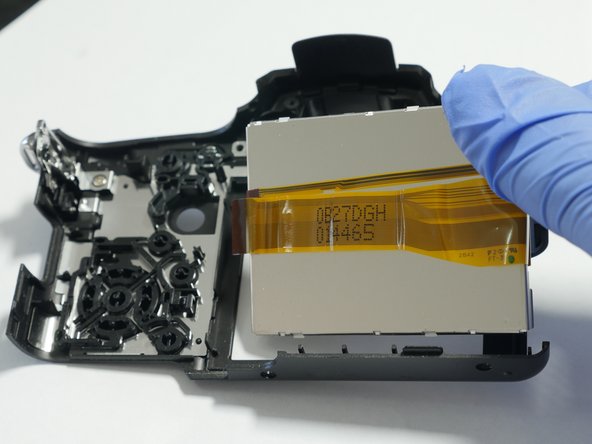
Remove the LCD as shown in picture # 3
このガイドを埋め込む
サイズを選択し、以下のコードをコピーして、このガイドを小さなウィジェットとしてサイト/フォーラムに埋め込みます。
1つの手順
全ガイド
小サイズ - 600px
中サイズ - 800px
大サイズ - 1200px
プレビュー