この修理ガイドは変更されています。最新の未承認バージョンに切り替えます。
はじめに
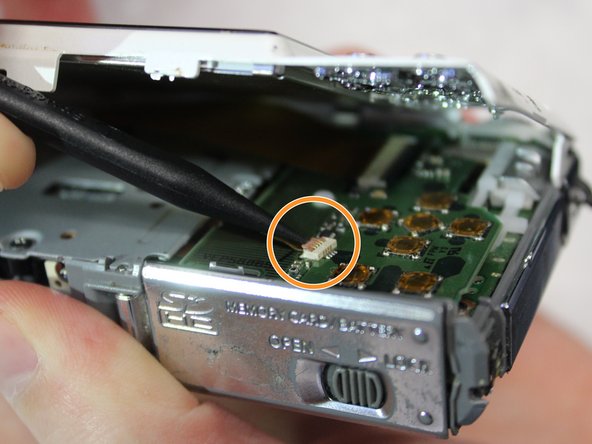
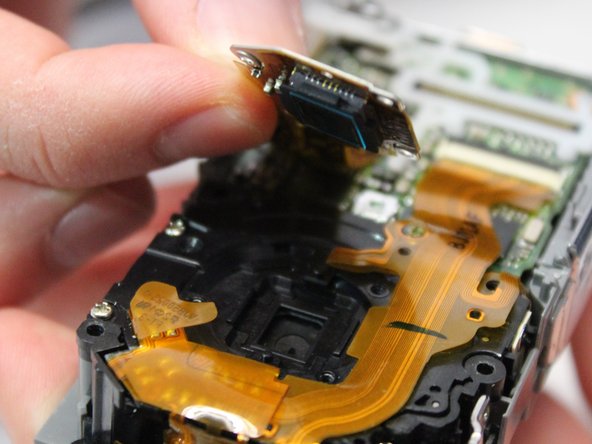
This guide will show you how to access and remove the photoreceptor from the camera. It features three ribbon cables that you should handle carefully due to their delicate nature. As always, you should take note as to what screws go where so that you do not cause internal damage to your device.
必要な工具と部品
-
-
Remove both of the 3 mm screws on the bottom of the camera connected to the side panel.
-
-
-
-
Locate and remove the silver 2mm screw on the protection panel.
-
Remove the three black 8mm screws that remain.
-
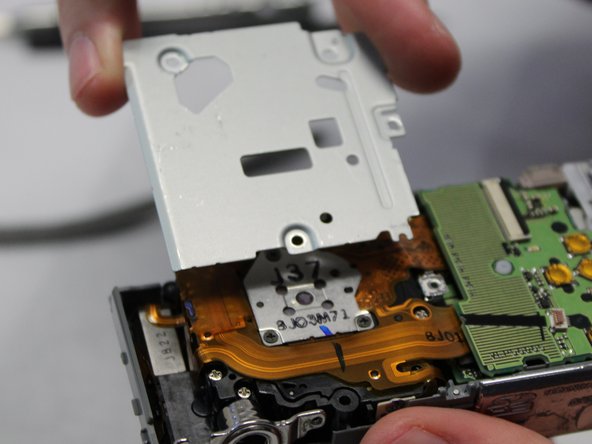
Proceed to remove the protection panel entirely.
-


To reassemble your device, follow these instructions in reverse order.
To reassemble your device, follow these instructions in reverse order.
ある他の人がこのガイドを完成しました。
チーム

Baylor, Team S2-G3, Johnson Spring 2018 Baylor, Team S2-G3, Johnson Spring 2018人のメンバー
BU-JOHNSON-S18S2G3
3 メンバー
6のガイドは作成済み