この修理ガイドは変更されています。最新の未承認バージョンに切り替えます。
はじめに
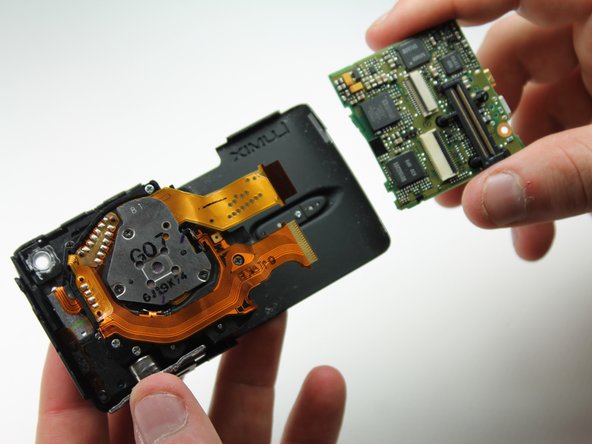
This guide will show you how to remove the motherboard so you can replace it.
必要な工具と部品
-
-
-
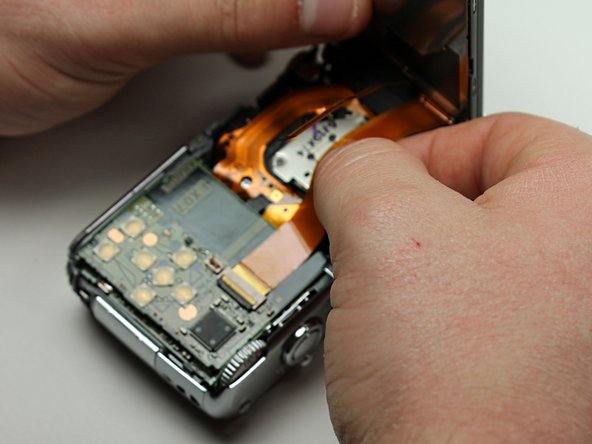
Using the spudger, pry off the top cover by gliding the spudger along the entire edge between the top cover and the front cover.
-


もう少しです!
To reassemble your device, follow these instructions in reverse order.
終わりに
To reassemble your device, follow these instructions in reverse order.
チーム

Cal Poly, Team 6-23, Amido Spring 2012 Cal Poly, Team 6-23, Amido Spring 2012人のメンバー
CPSU-AMIDO-S12S6G23
4 メンバー
10のガイドは作成済み