メインコンテンツにスキップ

このバージョンは誤った内容を含んでいる可能性があります。最新の承認済みスナップショットに切り替えてください。

必要な工具と部品

  1. この手順は未翻訳です。 翻訳を手伝う。

    : 手順 1、 3の画像 1 : 手順 1、 3の画像 2 : 手順 1、 3の画像 3
    • Remove 5 screws attached to the back case using a 00 Phillips head screwdriver.

  2. この手順は未翻訳です。 翻訳を手伝う。

    : 手順 2、 1の画像 1
    • Using your hands and a pry tool, lever the back case off.

  3. この手順は未翻訳です。 翻訳を手伝う。

    : 手順 3、 2の画像 1 : 手順 3、 2の画像 2
    • Remove the back case.

  4. この手順は未翻訳です。 翻訳を手伝う。

    : 手順 4、 3の画像 1 : 手順 4、 3の画像 2 : 手順 4、 3の画像 3
    • Using a 00 Phillips head screwdriver, remove a screw from the top right corner of the screen.

    • Lift the screen, being careful not to tear the ribbon cables on the right side.

  5. この手順は未翻訳です。 翻訳を手伝う。

    : 手順 5、 2の画像 1 : 手順 5、 2の画像 2
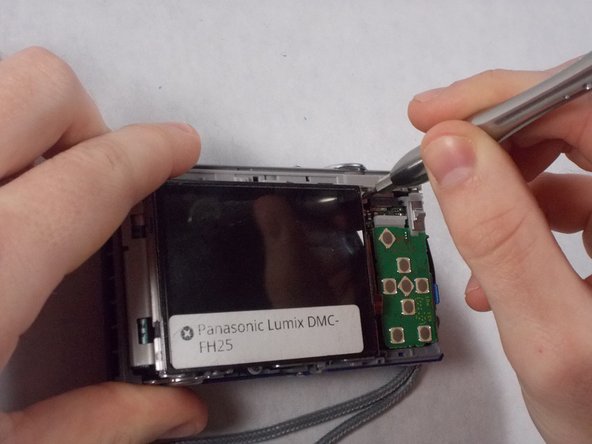
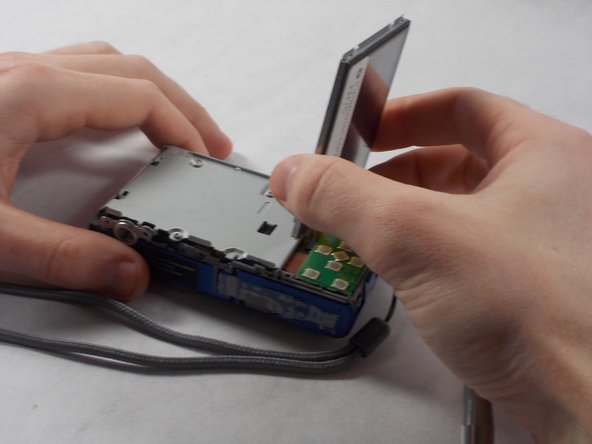
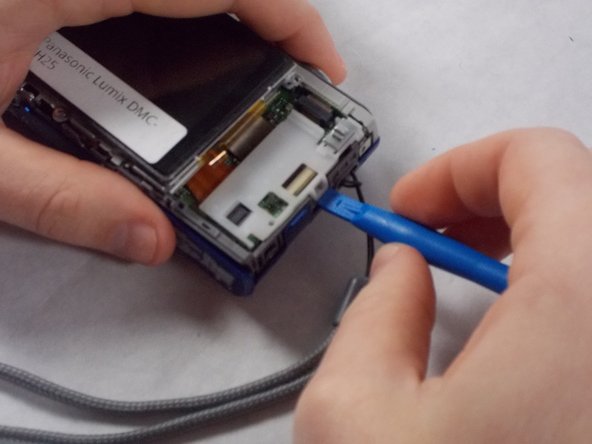
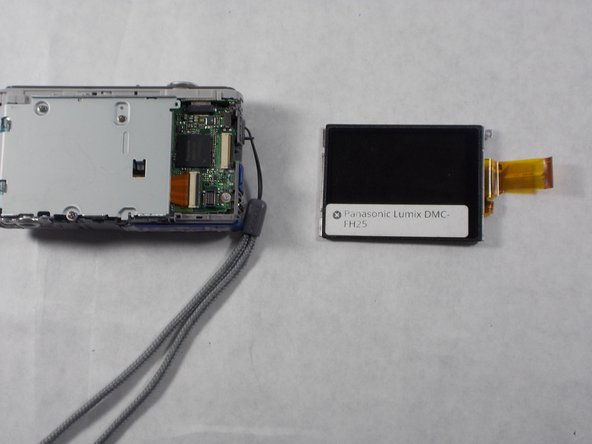
    • Access the ribbon cables by removing the green button receiver panel using a plastic opening tool. There is a white panel beneath. Carefully remove this using a plastic opening tool. The white panel may require some elbow grease to get it off, and the panel may make a snapping sound as it comes off.

  6. この手順は未翻訳です。 翻訳を手伝う。

    : 手順 6、 2の画像 1 : 手順 6、 2の画像 2
    • One of the ribbon cables will be housed behind the screen and the other will be under the panels. Gently pull each free from the housing and remove the screen.

ゴール

2 の人々がこのガイドを完成させました。

作成者

2人の作成者と共同で作成されました。

Janice Weldon

メンバー登録日: 03/07/17

612 ポイント

5のガイドは作成済み

チーム

UMass Dartmouth, Team S6-G6, Isaacson Spring 2017 UMass Dartmouth, Team S6-G6, Isaacson Spring 2017人のメンバー

UMASSD-ISAACSON-S17S6G6

3 メンバー

10のガイドは作成済み

コメント 1 件

it has been quite easy tank you for sharing your help serge jobin

Serge Jobin - 返信

コメントを追加

統計データ:

過去 24時間: 0

過去 7 日: 0

過去 30 日: 4

今までの合計 437