はじめに
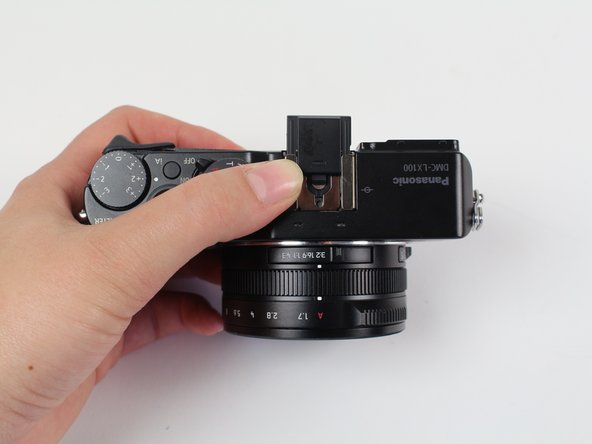
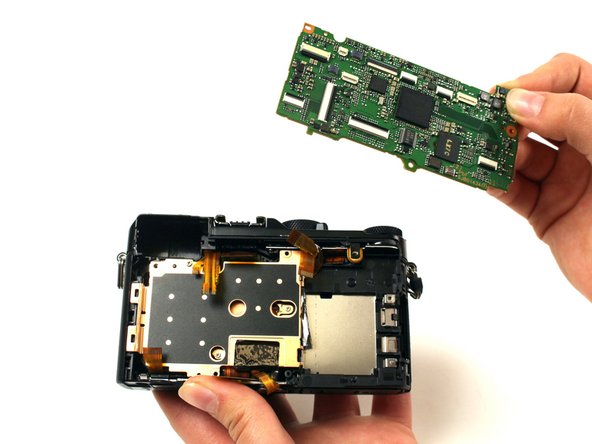
Is your camera still not turning on even with a working battery? Are your pictures not storing properly? Is your screen working, but still not displaying pictures? These problems may be due to a broken or faulty motherboard.
必要な工具と部品
-
-
Looking at the bottom of the camera, slide the OPEN/LOCK switch to the left into the OPEN position.
-
-
-
Use a Phillips #000 screwdriver to remove the five 4.5 mm screws located on the bottom of the camera and the top one on the left side, with the lens facing you.
-
Use a Phillips #000 screwdriver to remove the two 3.5 mm screws, one below the lens and one on the left side.
-
Use a Phillips #000 screwdriver to remove the 7.1 mm screw from the right side of the camera.
-
-
-
-
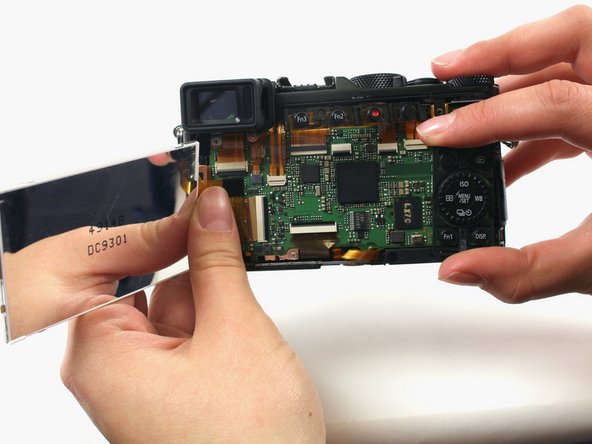
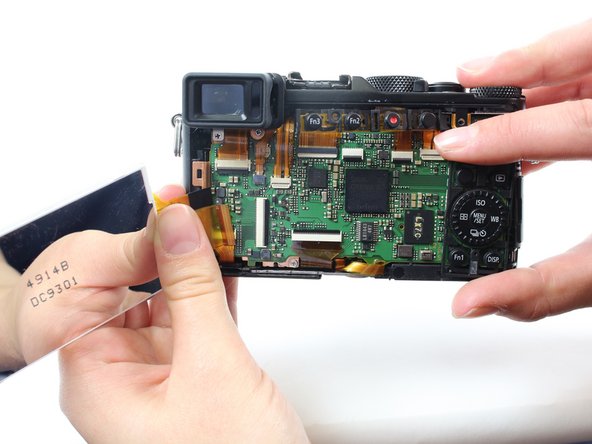
Disconnect the nine visible ribbon cables/ZIF connectors by flipping the black bars up and pulling the ribbon straight out of the connector.
-
Disconnect two more cables in the upper left corner of the board, hidden behind the visible cables.
-
To reassemble your device, follow these instructions in reverse order.
To reassemble your device, follow these instructions in reverse order.
3 の人々がこのガイドを完成させました。
2 件のコメント
This camera is a true dust harvester.
Thanks to this guide I have dared to clean the sensor successfully.
I know that I will have to return to the task in a few months but now I am more sure of the process.
Thanks a lot
Just a quick question! After replacing the motherboard, the camera works just fine or is it needed a software intervention?


