はじめに
スクリーンにヒビが入ってしまった?撮ったばかりの写真を確認できない?その問題は壊れたり故障した液晶スクリーンのせいです。このガイドで直す方法を説明します。
必要な工具と部品
-
-
#000のプラスドライバー(PH000)を使って、カメラ底面にある長さ4.5mmのネジ5本と、左側面の上側にある1本を外して下さい。左右側面はレンズが手前に向いている状態での向きを指します。
-
合計2本の長さ3.5mmのネジを外して下さい。レンズの下に1本、左側面に1本あります。
-
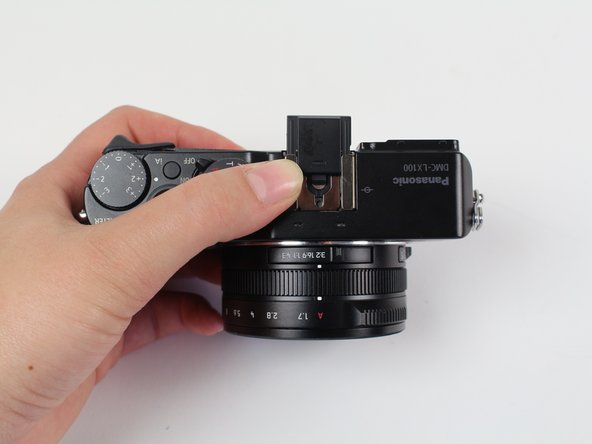
#000のプラスドライバー(PH000)を使って、カメラ右側面にある長さ7.1mmのネジ1本を外して下さい。
-
-


組み立て直す際は、本ガイドと逆の順番で作業をして下さい。
組み立て直す際は、本ガイドと逆の順番で作業をして下さい。
8 の人々がこのガイドを完成させました。
チーム

Cal Poly, Team 70-4, Forte Winter 2016 Cal Poly, Team 70-4, Forte Winter 2016人のメンバー
CPSU-FORTE-W16S70G4
4 メンバー
13のガイドは作成済み
8 件のコメント
Fantastic guide, what a help. Follow the caution details about stripping screws. I found that a #00 screwdriver worked better in some places than the #000. The screw in step 9 holds onto the back of the cameras frame in step 8 on my camera, so you might have to peel back the rubber thumb grip to get at it before you start prying the back case off so you don't bend or break the case. Other than that if I had to do it again it probably would take less than 20 minutes.Iit took me about an hour after stripping a couple screws with my #000 and looking for another screwdriver. Also a spudger isn't necessary, I used a guitar pick and a tooth pick to accomplish the same thing.
gunsr4kids - 返信
Same questions as pouliquen, where to find a new LCD and part number ? thanks for help :)
Brilliant guide! I had the same problem as gunsr4kids. The screw in step 9 was actually holding the frame in place. I had to lift up the thumb rubber on the left side (there is adhesive on the back) to reveal the screw. Don't pull the rubber to hard
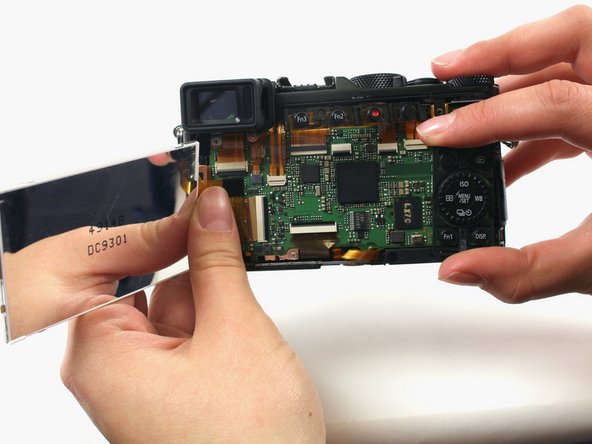
The part number is DC9301