メインコンテンツにスキップ
リペアコミュニティに参加 - アカウントの作成

Panasonic KX-TGA600M Keypad Replacement

閲覧: 1247

統計データ:

過去24時間:
3
過去7日:
20
過去30日:
79
今までの合計
1,247
コメント: 1

1件のガイドコメント

修理ガイドのコメントへ
完了済み: 2

2人のユーザーがこのガイドを「完了」させました。あなたも加わりませんか?

お気に入り: 0

誰もこのガイドをお気に入りに登録していません。一番最初の登録者になりませんか?

所要時間: 20分
難易度: 簡単
Panasonic KX-TGA600M Keypad Replacement

はじめに

手順 1 に進む ↓

Use this guide to replace the keypad on your phone.

必要な工具と部品

ツール

    1. Panasonic KX-TGA600M Keypad Replacement, Battery: 手順 1、 2の画像 1 Panasonic KX-TGA600M Keypad Replacement, Battery: 手順 1、 2の画像 2
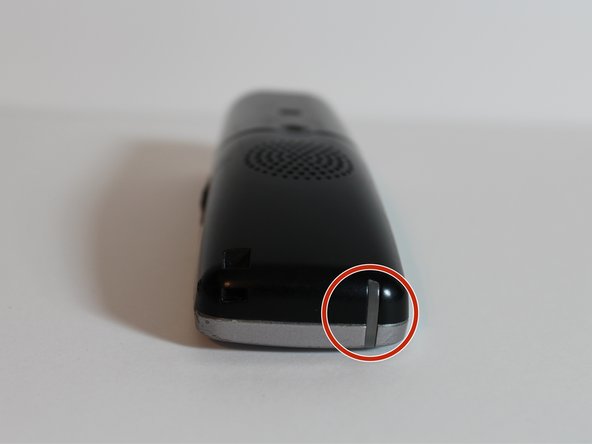
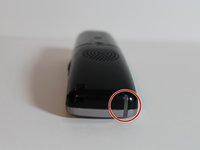
      • On the back of the phone, remove battery cover.

      • Push down on the marked indentation and pull downwards.

      FixBotに聞いてみる

      コメントを追加

    2. Panasonic KX-TGA600M Keypad Replacement: 手順 2、 1の画像 1
      • Pull out to remove the battery.

      FixBotに聞いてみる

      コメントを追加

    1. Panasonic KX-TGA600M Keypad Replacement, Keypad: 手順 3、 1の画像 1
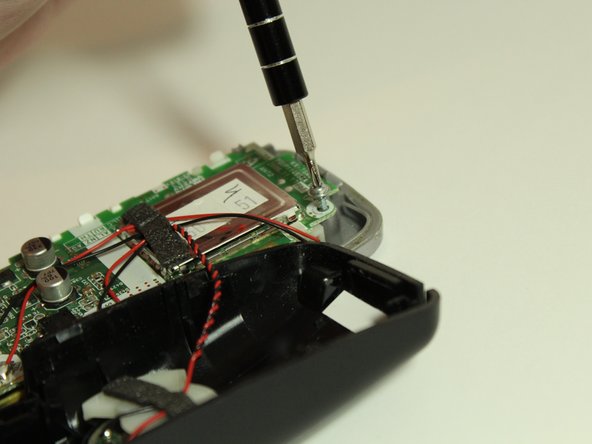
      • Once battery is removed, use the Phillips #00 screwdriver to remove the two silver screws at the bottom left and right corners on the back of the phone.

      FixBotに聞いてみる

      コメントを追加

    2. Panasonic KX-TGA600M Keypad Replacement: 手順 4、 3の画像 1 Panasonic KX-TGA600M Keypad Replacement: 手順 4、 3の画像 2 Panasonic KX-TGA600M Keypad Replacement: 手順 4、 3の画像 3
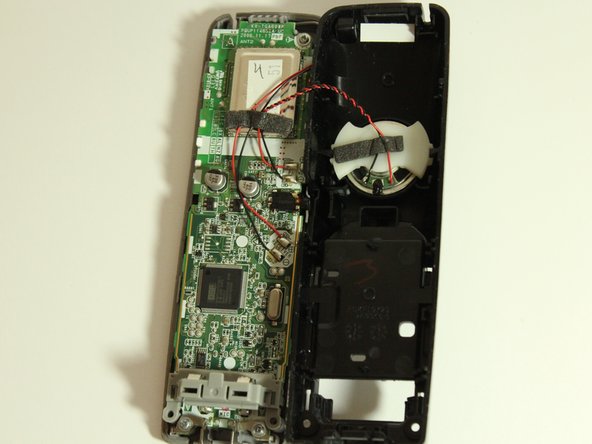
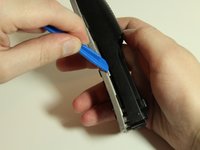
      • Pull the phone apart. The plastic opening tool may be needed.

      • The clear light piece will fall out, so make sure you place it next to the screws.

      FixBotに聞いてみる

      コメントを追加

    3. Panasonic KX-TGA600M Keypad Replacement: 手順 5、 3の画像 1 Panasonic KX-TGA600M Keypad Replacement: 手順 5、 3の画像 2 Panasonic KX-TGA600M Keypad Replacement: 手順 5、 3の画像 3
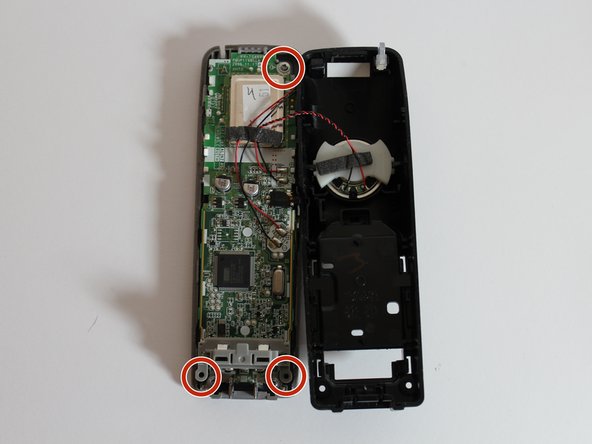
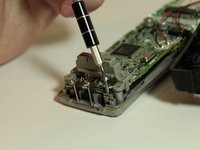
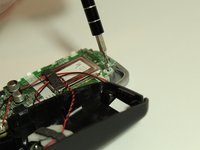
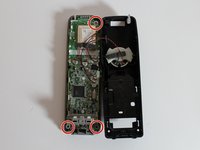
      • Use the Phillips #00 screwdriver to remove the three screws holding the circuit-board in place.

      • The screws are located in the top right corner, bottom left corner, and bottom right corner.

      FixBotに聞いてみる

      コメントを追加

    4. Panasonic KX-TGA600M Keypad Replacement: 手順 6、 1の画像 1
      • Once the screws are out, remove the charging contacts beneath the two bottom corner screws.

      FixBotに聞いてみる

      コメントを追加

    5. Panasonic KX-TGA600M Keypad Replacement: 手順 7、 1の画像 1
      • Remove the circuit board.

      FixBotに聞いてみる

      コメントを追加

    6. Panasonic KX-TGA600M Keypad Replacement: 手順 8、 1の画像 1
      • Pull back the black silicone keypad.

      FixBotに聞いてみる

      コメントを追加

終わりに

To reassemble your device, follow these instructions in reverse order.

キャンセル: このガイドを終了できませんでした。

2 の人々がこのガイドを完成させました。

作成者

と共同で作成されました。

Lauren Bowman

メンバー登録日: 01/31/17

158 ポイント

1ガイドが承認済み

チーム

University of North Texas, Team 1-4, Campbell Spring 2017 University of North Texas, Team 1-4, Campbell Spring 2017人のメンバー

UNT-CAMPBELL-S17S1G4

4 メンバー

36のガイドは作成済み

1件のガイドコメント

Incomplete explanation with what materials to clean

asalmoom - 返信 共有

コメントを追加

統計データ:

過去 24時間: 3

過去 7 日: 20

過去 30 日: 79

今までの合計 1,247