メインコンテンツにスキップ

Panasonic HDC-TM90 LCD Screen Replacement

必要な工具と部品

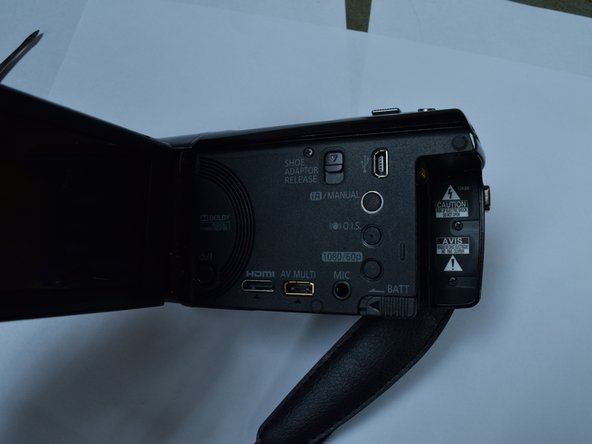
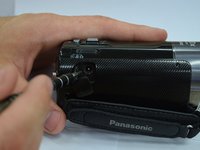
  1. Panasonic HDC-TM90 LCD Screen Replacement, Battery: 手順 1、 1の画像 1
    • Open the LCD screen.

  2. Panasonic HDC-TM90 LCD Screen Replacement: 手順 2、 1の画像 1
    • Slide the battery release switch away from the battery.

  3. Panasonic HDC-TM90 LCD Screen Replacement: 手順 3、 1の画像 1
    • While holding the switch away from the battery, push the battery out of the slot.

  4. Panasonic HDC-TM90 LCD Screen Replacement: 手順 4、 1の画像 1
    • Remove the battery from the camera.

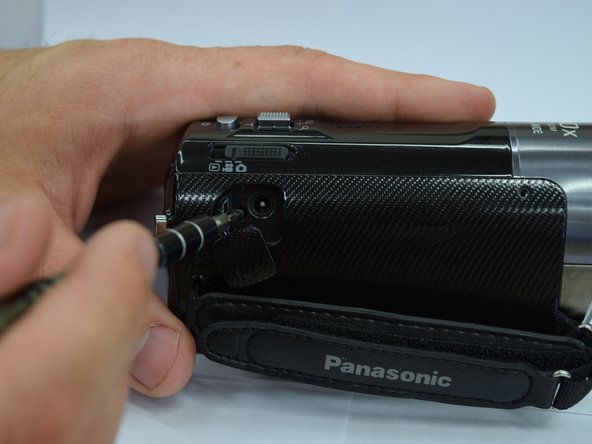
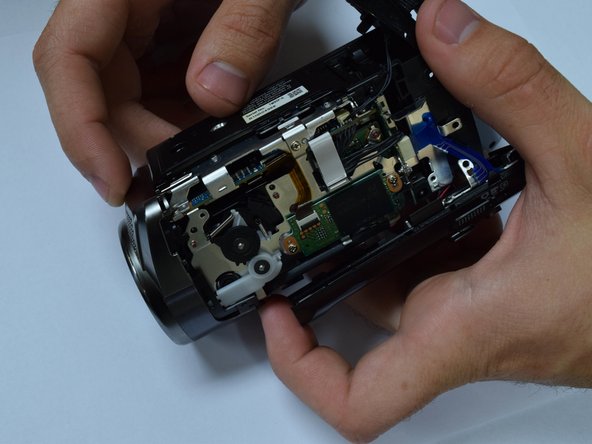
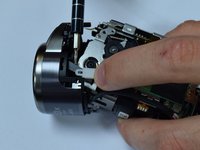
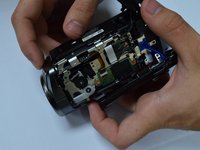
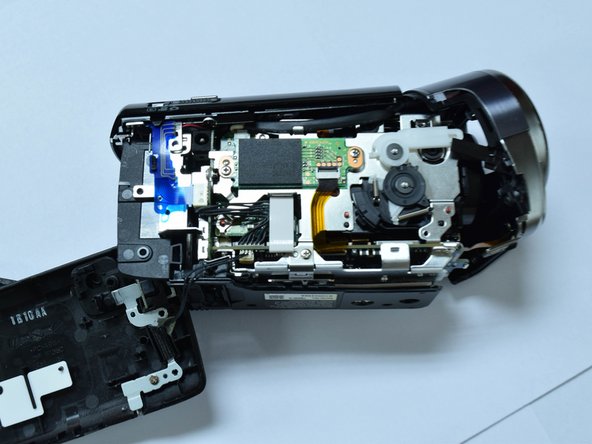
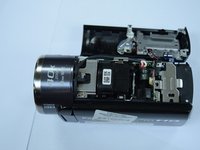
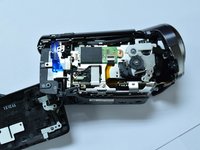
  5. Panasonic HDC-TM90 LCD Screen Replacement, Panasonic HDC-TM90 Lens Clean: 手順 5、 3の画像 1 Panasonic HDC-TM90 LCD Screen Replacement, Panasonic HDC-TM90 Lens Clean: 手順 5、 3の画像 2 Panasonic HDC-TM90 LCD Screen Replacement, Panasonic HDC-TM90 Lens Clean: 手順 5、 3の画像 3
    • Remove 5 screws from the side panel body of the camcorder.

    • Use the spudger to remove the top of the camcorder.

  6. Panasonic HDC-TM90 LCD Screen Replacement: 手順 6、 2の画像 1 Panasonic HDC-TM90 LCD Screen Replacement: 手順 6、 2の画像 2
    • Unscrew three screws to remove the lens rim on the front of the camcorder.

    • Be aware of the wires attaching the lens rim to the body of the camcorder. You will not be able to separate the lens rim completely.

    • Use caution when separating the shutter lever.

  7. Panasonic HDC-TM90 LCD Screen Replacement: 手順 7、 1の画像 1
    • Remove the rubber ring around the lens.

  8. Panasonic HDC-TM90 LCD Screen Replacement: 手順 8、 1の画像 1
    • Unscrew the lens by removing the three screws connected to it.

  9. Panasonic HDC-TM90 LCD Screen Replacement, LCD Screen: 手順 9、 2の画像 1 Panasonic HDC-TM90 LCD Screen Replacement, LCD Screen: 手順 9、 2の画像 2
    • Remove the side panel of the camcorder.

    • Remove the top panel of the camcorder.

    • For help with this step see prerequisite guide: Lens Clean.

  10. Panasonic HDC-TM90 LCD Screen Replacement: 手順 10、 1の画像 1
    • Open camcorder screen.

  11. Panasonic HDC-TM90 LCD Screen Replacement: 手順 11、 1の画像 1
    • Turn the LCD screen perpendicular to the camcorder.

    • Remove the screws.

    • Have caution when you remove the screen. There is a wire connecting it to the rest of the camera that should not be detached.

  12. Panasonic HDC-TM90 LCD Screen Replacement: 手順 12、 1の画像 1
    • Carefully pry the plastic backing on the screen using a metal spudger.

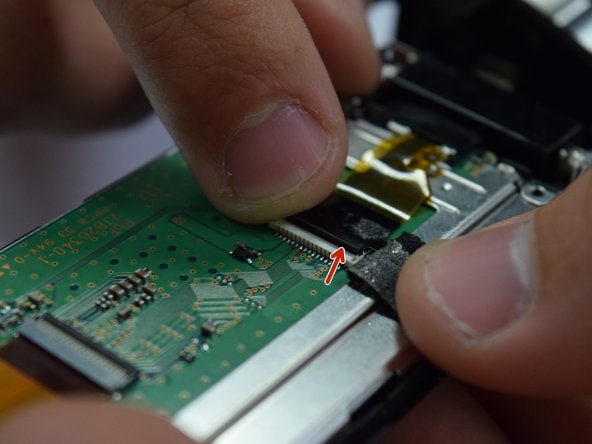
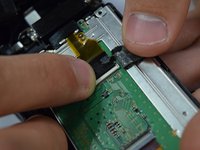
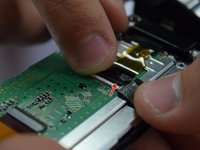
  13. Panasonic HDC-TM90 LCD Screen Replacement: 手順 13、 2の画像 1 Panasonic HDC-TM90 LCD Screen Replacement: 手順 13、 2の画像 2
    • Peel back the black tape holding the wire strip to the camcorder screen.

    • Unclip the small latch from the wire strip.

  14. Panasonic HDC-TM90 LCD Screen Replacement: 手順 14、 1の画像 1
    • Remove the screws from the metal frame.

    • Be careful when holding the screen after the frame has been unscrewed. The screen and all of its components are unattached and can fall apart.

終わりに

To reassemble your device, follow these instructions in reverse order.

作成者

3人の作成者と共同で作成されました。

BayleeVersteeg

メンバー登録日: 01/30/17

37 ポイント

2のガイドは作成済み

チーム

Baylor, Team 8-4, Whitney Spring 2017 Baylor, Team 8-4, Whitney Spring 2017人のメンバー

BU-WHITNEY-S17S8G4

3 メンバー

5のガイドは作成済み

コメント 1 件

Steps 1-4 are good pre-reqs.

Are all of steps 5-8 absolutely necessary for LCD screen replacement?

Step 9-bullet 3: Change to 'note' rather than bullet point and put it first.

Step 11-bullet 2: List the # of screws to be removed and with what screwdriver. Show 2nd picture of screws to remove on actual LCD door.

Step 11-bullet 3: Change to a "caution" rather than just a bullet. Also we had a spring fall out at this step with no idea where it came from. Perhaps you could address this.

Step 12- We actually had to use a 2nd spudger to pry it apart. One as a wedge and one as a lever to separate.

Step 14-bullet 2: change to a "Warning" symbol.

Seems to be an incomplete guide, as the LCD screen is still affixed to the device.

Rene Klopf - 返信

コメントを追加

統計データ:

過去 24時間: 0

過去 7 日: 0

過去 30 日: 5

今までの合計 587