メインコンテンツにスキップ

Panasonic DMP-BD89 Disk Drive Replacement

必要な工具と部品

  1. Panasonic DMP-BD89 Disk Drive Replacement, Disk Tray Cover: 手順 1、 2の画像 1 Panasonic DMP-BD89 Disk Drive Replacement, Disk Tray Cover: 手順 1、 2の画像 2
    • First, before powering off, press the eject button to open the tray.

  2. Panasonic DMP-BD89 Disk Drive Replacement: 手順 2、 3の画像 1 Panasonic DMP-BD89 Disk Drive Replacement: 手順 2、 3の画像 2 Panasonic DMP-BD89 Disk Drive Replacement: 手順 2、 3の画像 3
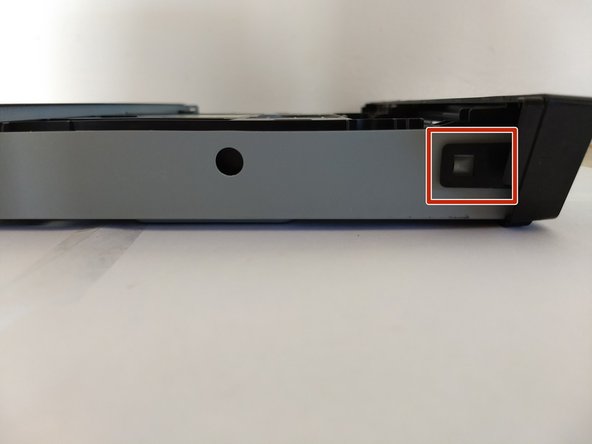
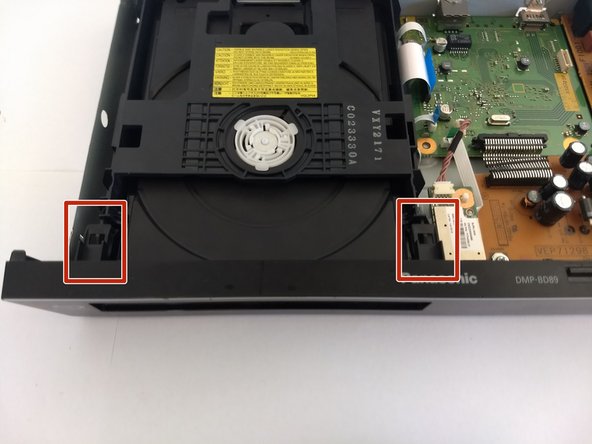
    • Remove the front cover of the tray.

    • Do so by gently pushing it out, away from the player, ensuring the pictured tabs clear the tray.

    • Then slide it vertically up and away.

  3. Panasonic DMP-BD89 Disk Drive Replacement: 手順 3、 2の画像 1 Panasonic DMP-BD89 Disk Drive Replacement: 手順 3、 2の画像 2
    • Press eject button to close the tray.

    • Make sure to unpower and unplug device before continue work on other fixes.

  4. Panasonic DMP-BD89 Disk Drive Replacement, Exterior Cover: 手順 4、 2の画像 1 Panasonic DMP-BD89 Disk Drive Replacement, Exterior Cover: 手順 4、 2の画像 2
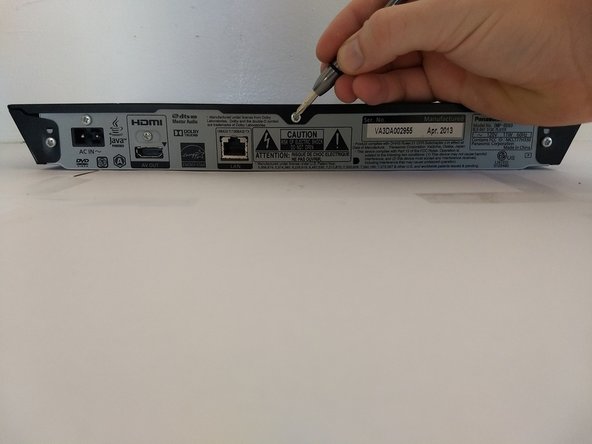
    • Using a Phillips #1 screwdriver, unscrew the back three screws.

  5. Panasonic DMP-BD89 Disk Drive Replacement: 手順 5、 1の画像 1
    • Slide the top panel horizontally to remove it.

  6. Panasonic DMP-BD89 Disk Drive Replacement: 手順 6、 3の画像 1 Panasonic DMP-BD89 Disk Drive Replacement: 手順 6、 3の画像 2 Panasonic DMP-BD89 Disk Drive Replacement: 手順 6、 3の画像 3
    • Locate 6 tabs across the device.

    • 2 are on the bottom, 1 is on the left and right, and 2 are are on the inside.

  7. Panasonic DMP-BD89 Disk Drive Replacement: 手順 7、 1の画像 1
    • Pop the 6 markers out.

    • Then take off the cover.

  8. Panasonic DMP-BD89 Disk Drive Replacement, Disk Drive: 手順 8、 2の画像 1 Panasonic DMP-BD89 Disk Drive Replacement, Disk Drive: 手順 8、 2の画像 2
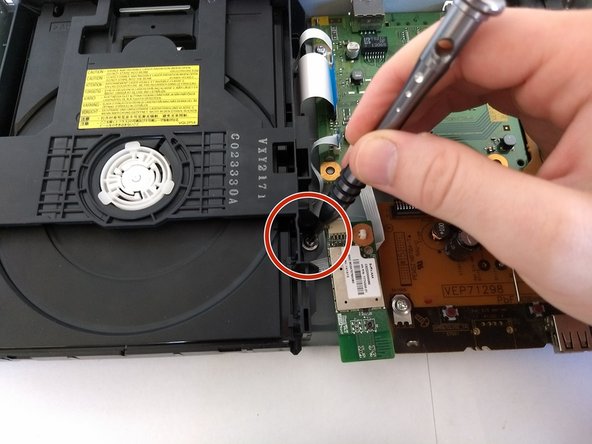
    • Remove screws surrounding disk drive that attach it to outer cover.

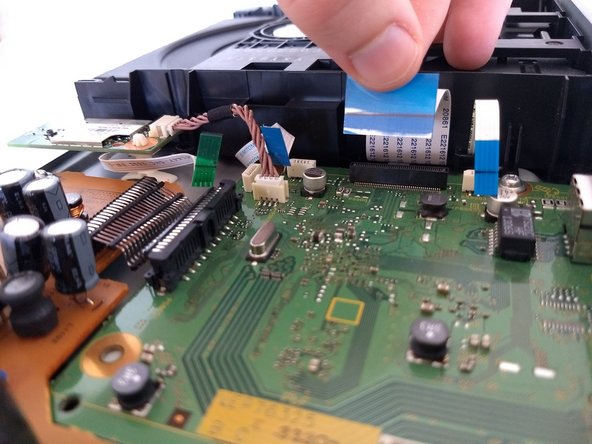
  9. Panasonic DMP-BD89 Disk Drive Replacement: 手順 9、 2の画像 1 Panasonic DMP-BD89 Disk Drive Replacement: 手順 9、 2の画像 2
    • Remove the one green andthree blue tabs pictured that connect the disk drive to the board. Try to do so carefully, to avoid damage to the hardware.

  10. Panasonic DMP-BD89 Disk Drive Replacement: 手順 10、 1の画像 1
    • Carefully take the drive out of the device. Note where the feet need to go back in for reassembly.

終わりに

To reassemble your device, follow these instructions in reverse order. Ensure the feet of the disk drive go back in the holes.

作成者

2人の作成者と共同で作成されました。

Julian

メンバー登録日: 10/17/17

113 ポイント

1ガイドが承認済み

チーム

UC Santa Barbara, Team S2-G9, Weedon Fall 2017 UC Santa Barbara, Team S2-G9, Weedon Fall 2017人のメンバー

UCSB-WEEDON-F17S2G9

4 メンバー

4のガイドは作成済み

0 件のコメント

コメントを追加

統計データ:

過去 24時間: 0

過去 7 日: 0

過去 30 日: 9

今までの合計 883