メインコンテンツにスキップ

Packard Bell EasyNote TJ65-CU-030GE hdd Replacement

必要な工具と部品

  1. Packard Bell EasyNote TJ65-CU-030GE hdd Replacement, battery and keyboard: 手順 1、 3の画像 1 Packard Bell EasyNote TJ65-CU-030GE hdd Replacement, battery and keyboard: 手順 1、 3の画像 2 Packard Bell EasyNote TJ65-CU-030GE hdd Replacement, battery and keyboard: 手順 1、 3の画像 3
    • first remove battery

    • secondly with a flat thin screwdriver clip keyboard

  2. Packard Bell EasyNote TJ65-CU-030GE hdd Replacement, disconnecting/unplugging the keyboard cable: 手順 2、 3の画像 1 Packard Bell EasyNote TJ65-CU-030GE hdd Replacement, disconnecting/unplugging the keyboard cable: 手順 2、 3の画像 2 Packard Bell EasyNote TJ65-CU-030GE hdd Replacement, disconnecting/unplugging the keyboard cable: 手順 2、 3の画像 3
    • carefully flip keyboard

    • lift the black bracket that holds the keyboard

    • look for the screws that have DOOR written near them

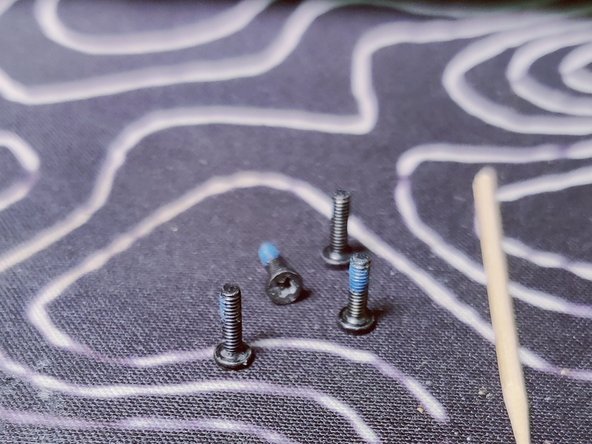
  3. Packard Bell EasyNote TJ65-CU-030GE hdd Replacement, opening the back cover: 手順 3、 3の画像 1 Packard Bell EasyNote TJ65-CU-030GE hdd Replacement, opening the back cover: 手順 3、 3の画像 2 Packard Bell EasyNote TJ65-CU-030GE hdd Replacement, opening the back cover: 手順 3、 3の画像 3
    • start unscrewing

    • there should be 4 of them

    • next press the plastic near the DOOR RELEASE text while making sure there`s nothing preventing the rear door from opening

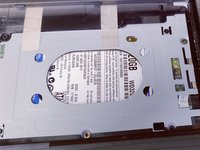
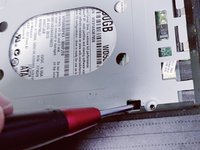
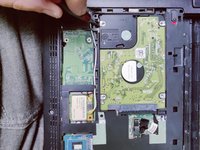
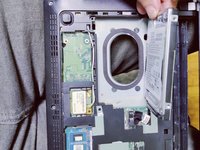
  4. Packard Bell EasyNote TJ65-CU-030GE hdd Replacement, removing HDD cable and inserting the new one: 手順 4、 2の画像 1 Packard Bell EasyNote TJ65-CU-030GE hdd Replacement, removing HDD cable and inserting the new one: 手順 4、 2の画像 2
    • lift hdd with any screwdriver

    • remove the cable

    • add the new HDD/SSD

    • and now follow the steps backwards to reassemble

終わりに

To reassemble your device, follow these instructions in reverse order.

ある他の人がこのガイドを完成しました。

作成者

2人の作成者と共同で作成されました。

Harfas

メンバー登録日: 08/25/21

109 ポイント

1ガイドが承認済み

0 件のコメント

コメントを追加

統計データ:

過去 24時間: 1

過去 7 日: 17

過去 30 日: 37

今までの合計 564