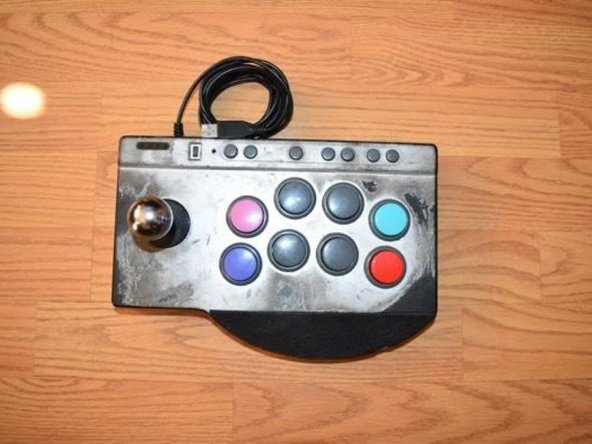
メインコンテンツにスキップ

PXN Arcade Stick Button Replacement

必要な工具と部品

  1. PXN Arcade Stick Button Replacement, Buttons: 手順 1、 1の画像 1
    • Place the PXN Arcade Stick on a flat surface.

  2. PXN Arcade Stick Button Replacement: 手順 2、 1の画像 1
    • Turn the controller upside down.

    • Remove the four screws from the bottom of the device.

  3. PXN Arcade Stick Button Replacement: 手順 3、 1の画像 1
    • Set the back cover aside, being cautious of the cable connected to the motherboard.

    • Unplug the controller converter plug.

  4. PXN Arcade Stick Button Replacement: 手順 4、 1の画像 1
    • Unplug the button you wish to replace.

  5. PXN Arcade Stick Button Replacement: 手順 5、 2の画像 1 PXN Arcade Stick Button Replacement: 手順 5、 2の画像 2
    • Push in and down on the button components.

  6. PXN Arcade Stick Button Replacement: 手順 6、 2の画像 1 PXN Arcade Stick Button Replacement: 手順 6、 2の画像 2
    • Use a spudger to push in and up on the button housing.

  7. PXN Arcade Stick Button Replacement: 手順 7、 1の画像 1
    • Line up the replacement button with the socket and push down.

  8. PXN Arcade Stick Button Replacement: 手順 8、 1の画像 1
    • Push the new button down into the back case of the controller.

終わりに

To reassemble your device, follow these instructions in reverse order.

作成者

1人の作成者と共同作成されました。

Derek Rosales

メンバー登録日: 10/21/24

157 ポイント

1ガイドが承認済み

チーム

CSU Los Angeles, Team 3-7, Harris Fall 2024 CSU Los Angeles, Team 3-7, Harris Fall 2024人のメンバー

CSULA-HARRIS-F24S3G7

1 メンバー

2のガイドは作成済み

0件のガイドコメント

コメントを追加

統計データ:

過去 24時間: 45

過去 7 日: 82

過去 30 日: 244

今までの合計 2,106