はじめに
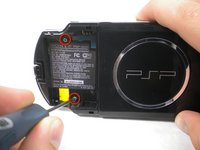
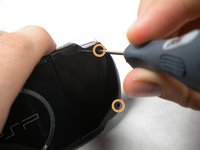
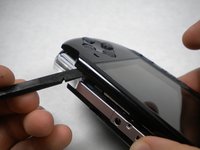
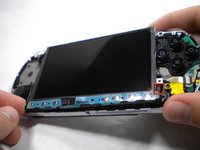
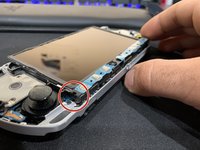
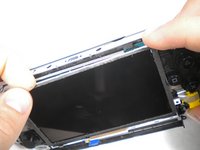
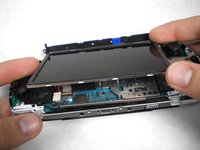
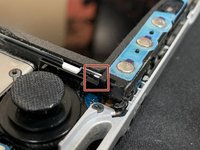
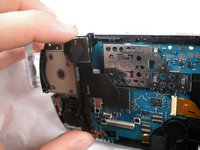
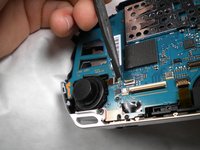
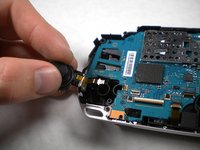
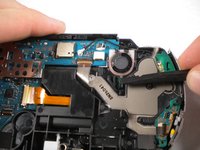
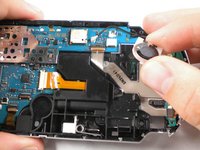
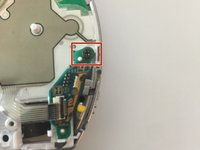
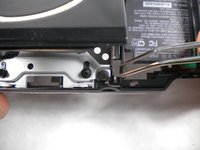
このガイドを参照して、PSP 3000 UMDドライブを交換します。
必要な工具と部品
デバイスを再組み立てする際は、これらの手順を逆の順番に従って作業を進めてください。
デバイスを再組み立てする際は、これらの手順を逆の順番に従って作業を進めてください。
26 の人々がこのガイドを完成させました。
以下の翻訳者の皆さんにお礼を申し上げます:
100%
これらの翻訳者の方々は世界を修理する私たちのサポートをしてくれています。 あなたも貢献してみませんか?
翻訳を始める ›
6 件のコメント
Perfect!!! You forgot to mention 'GET YOUR EYEGLASSES' for the 50+ year old fathers that have to help on this procedure!!!! Man, oh man, are those parts small and delicate!!!! GREAT tutorial, than you very much! Blind in Boston.
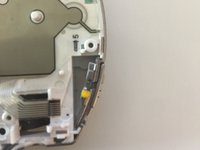
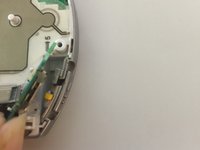
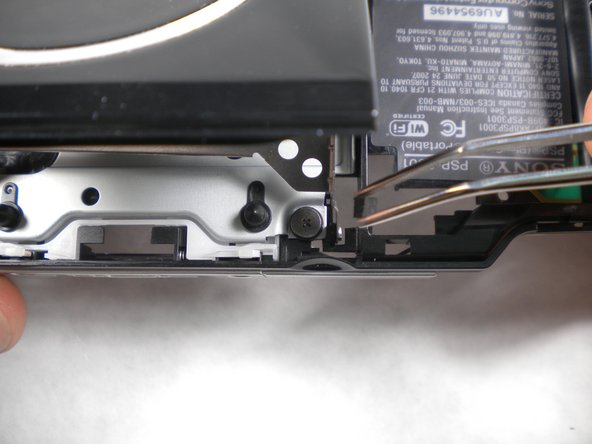
The tutorial was great btw, however after assembling everything into my new blue Mod i was left with a white plastic piece and a spring witch is in my psp 3001 models , not sure but i see in the last picture of this tutorial you have the white piece left in the drive. it is located behind the cd rom part near the top of the psp where the 2 x holes are. it sucks cause it dont close properly without the white piece and theres also 1 of the 2 springs not mentioned in this tutorial neither im trying to figure out where it goes. But thanks for this guide as it has helped me alot..
:)
Ken
Someone found the location of the missing spring? Haven’t figured it out yet…
This has too many extra steps. If you’re *just* taking out the UMD drive, you only need to follow these sections: battery, casing, LCD screen, UMD drive. This guide should really just be called “how to completely disassemble your PSP 3000”.


